Iotty E1/E2 Plus smart switch review
One-minute review
If you’re updating your home decor and furnishings and want something a bit special, these switches could be the ones for you. The sleek Italian design is eye-catching, even without the added visual appeal of the backlight.
In common with some of the best smart switches, they are 25mm deep, requiring at the very least a 35mm deep backbox (more on that later) and modern ‘switch-first’ wiring with a neutral wire in the light switch socket.
Most pre-1990s UK properties are not wired in this way, so I’d recommend you enlist the services of an electrician to assess your wiring.
All in all, these are beautiful switches that, once fitted, are highly capable and easy to use. For physical operation, you simply press on the touch-sensitive faceplate, or you can use the plethora of supported smart home ecosystems to control your home lighting.
Beautiful as they may be, they’re pretty pricey and given that I’d strongly recommend using the services of an electrician to fit the switches, there are added installation costs to consider.
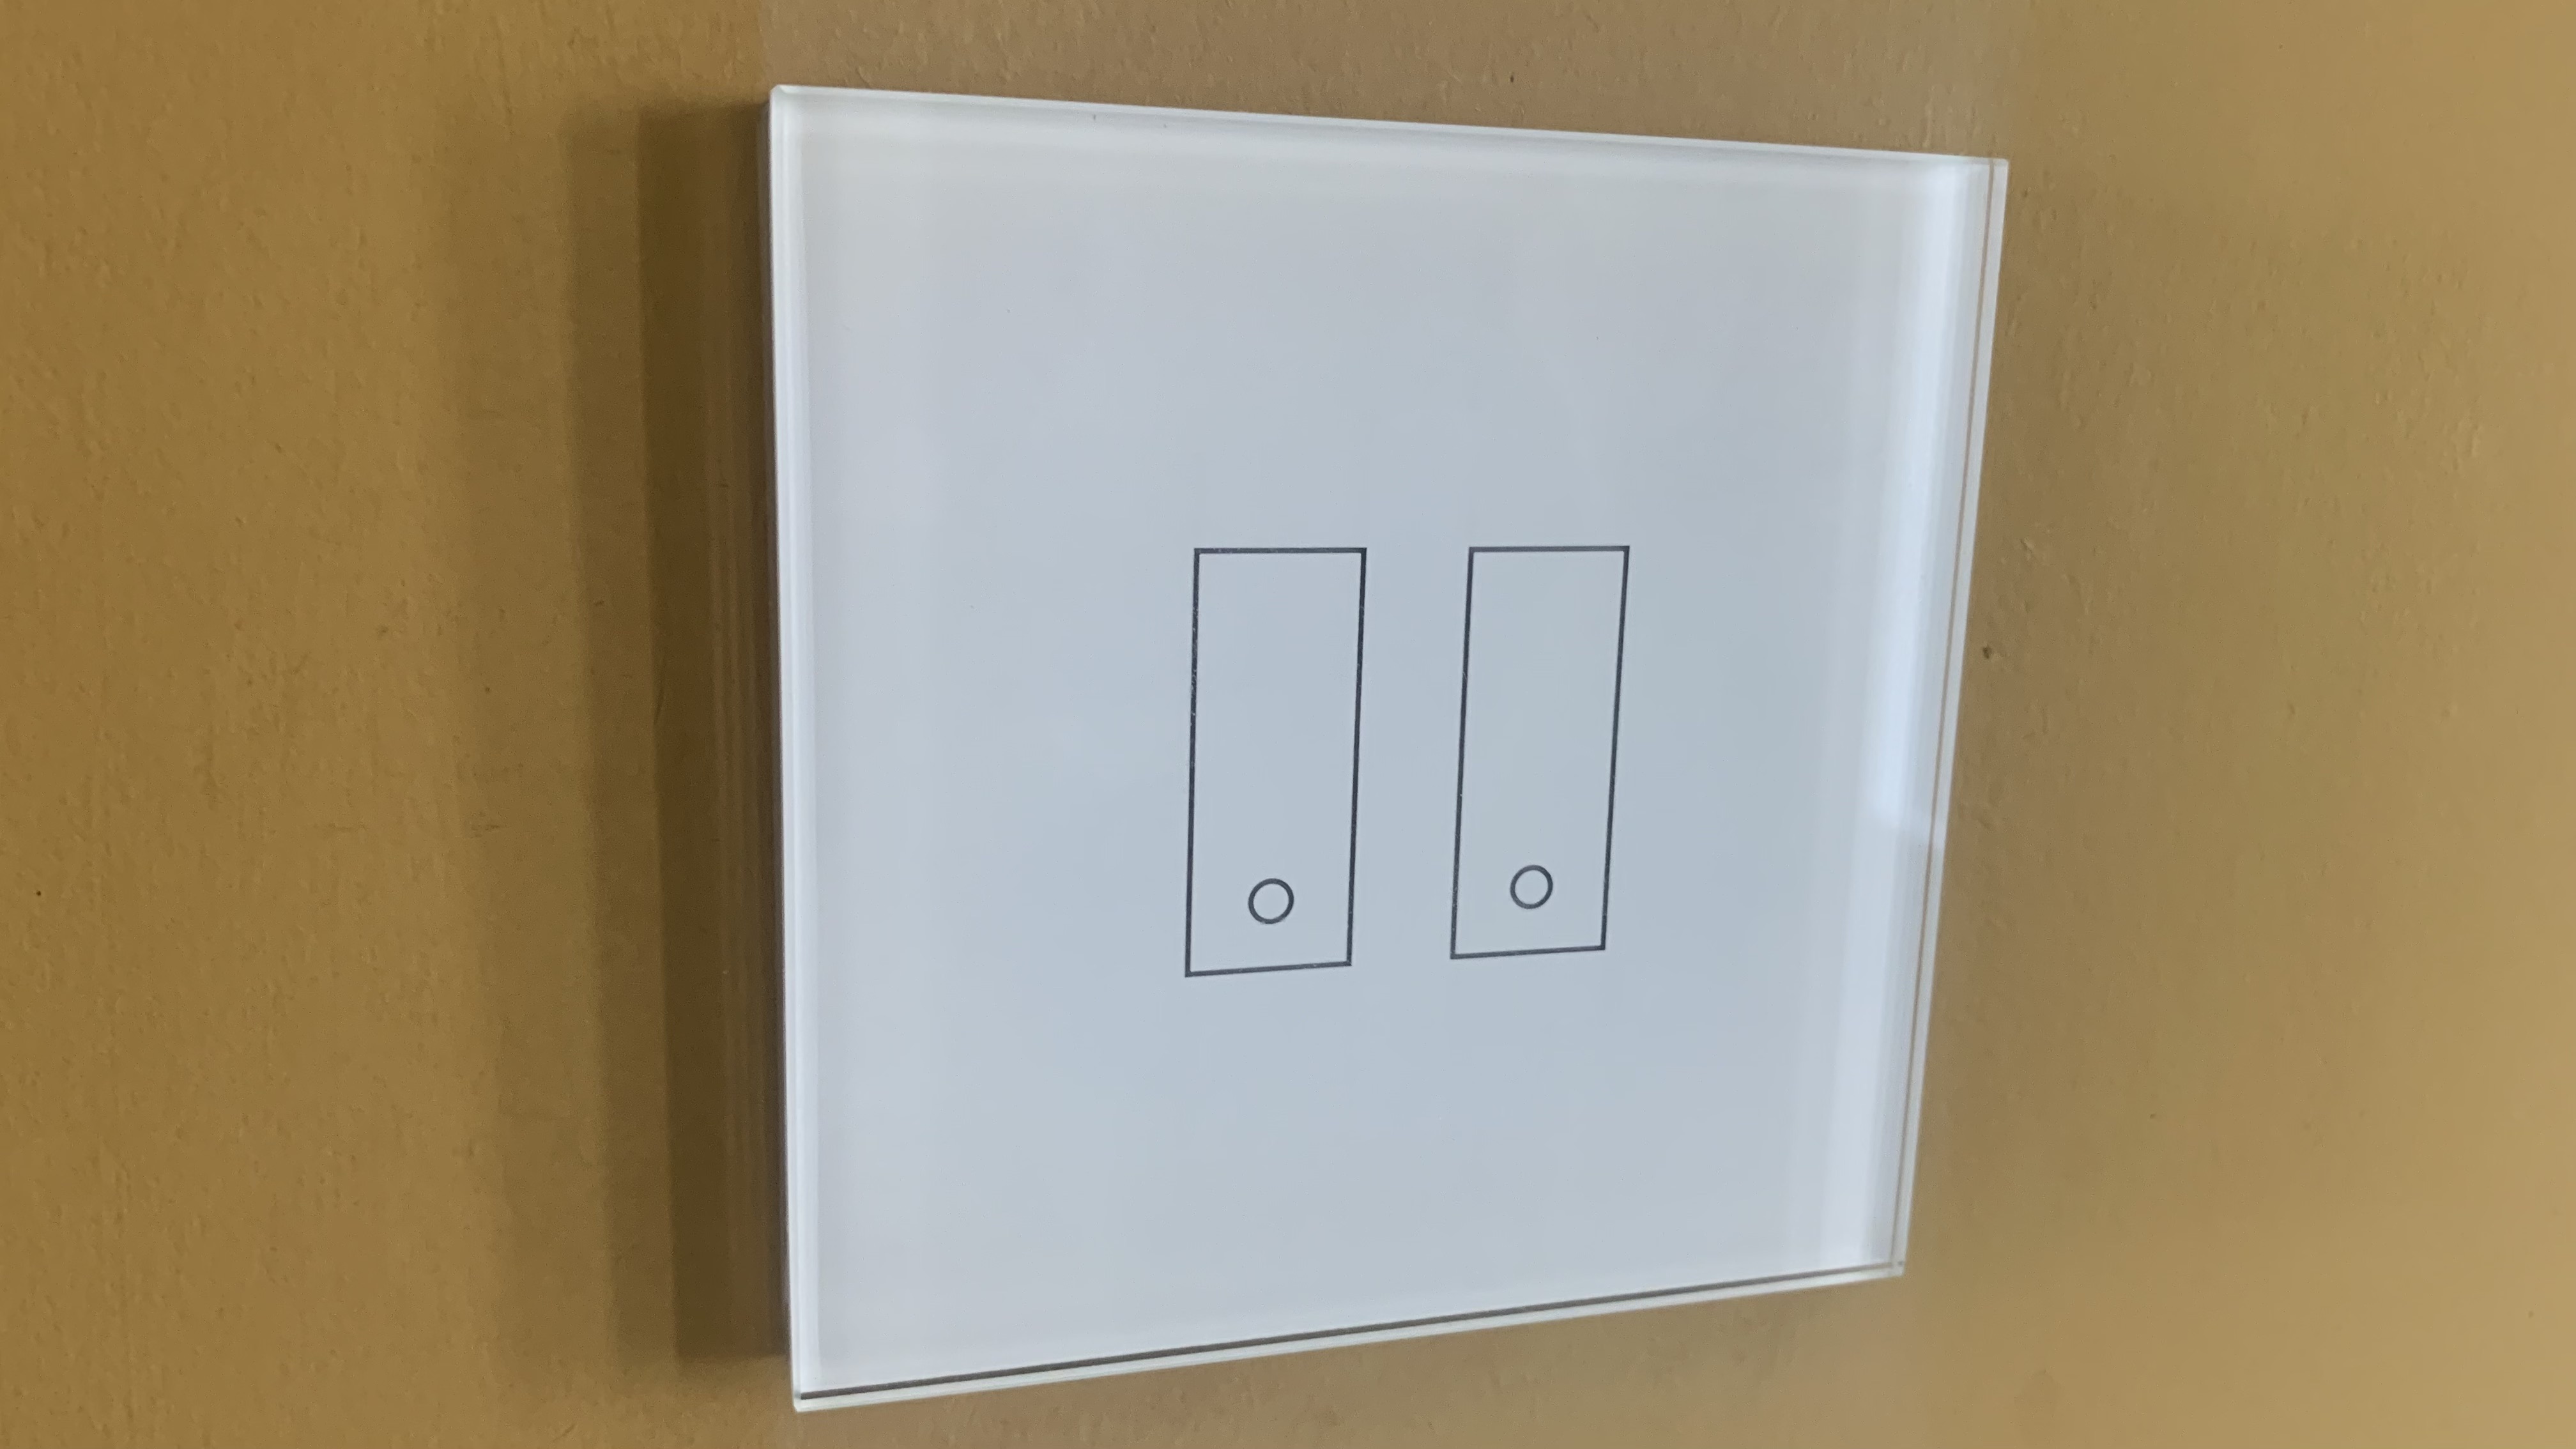
Iotty E1/E2 Plus smart switch review: Price and availability
The iotty E1/E2 Plus smart switches are exclusively available in Europe at the time of writing, though some crafty US smart home enthusiasts have found ways to acquire them. In the UK, both the one-gang and two-gang switches retail for £99.90 and are available at Amazon.
There are also three and five-pack discounts on the iotty UK website, but trying to place an order is a bit of a minefield. I spent a while trying to navigate this; I think you can get three switches for the price of two, but navigating the checkout process is about as manic as playing Tetris at higher levels, so I’m not sure. Note too that the switches will be shipped from Italy, so you’ll need to pay import duty at 20%.
Iotty E1/E2 Plus smart switch: Specs table
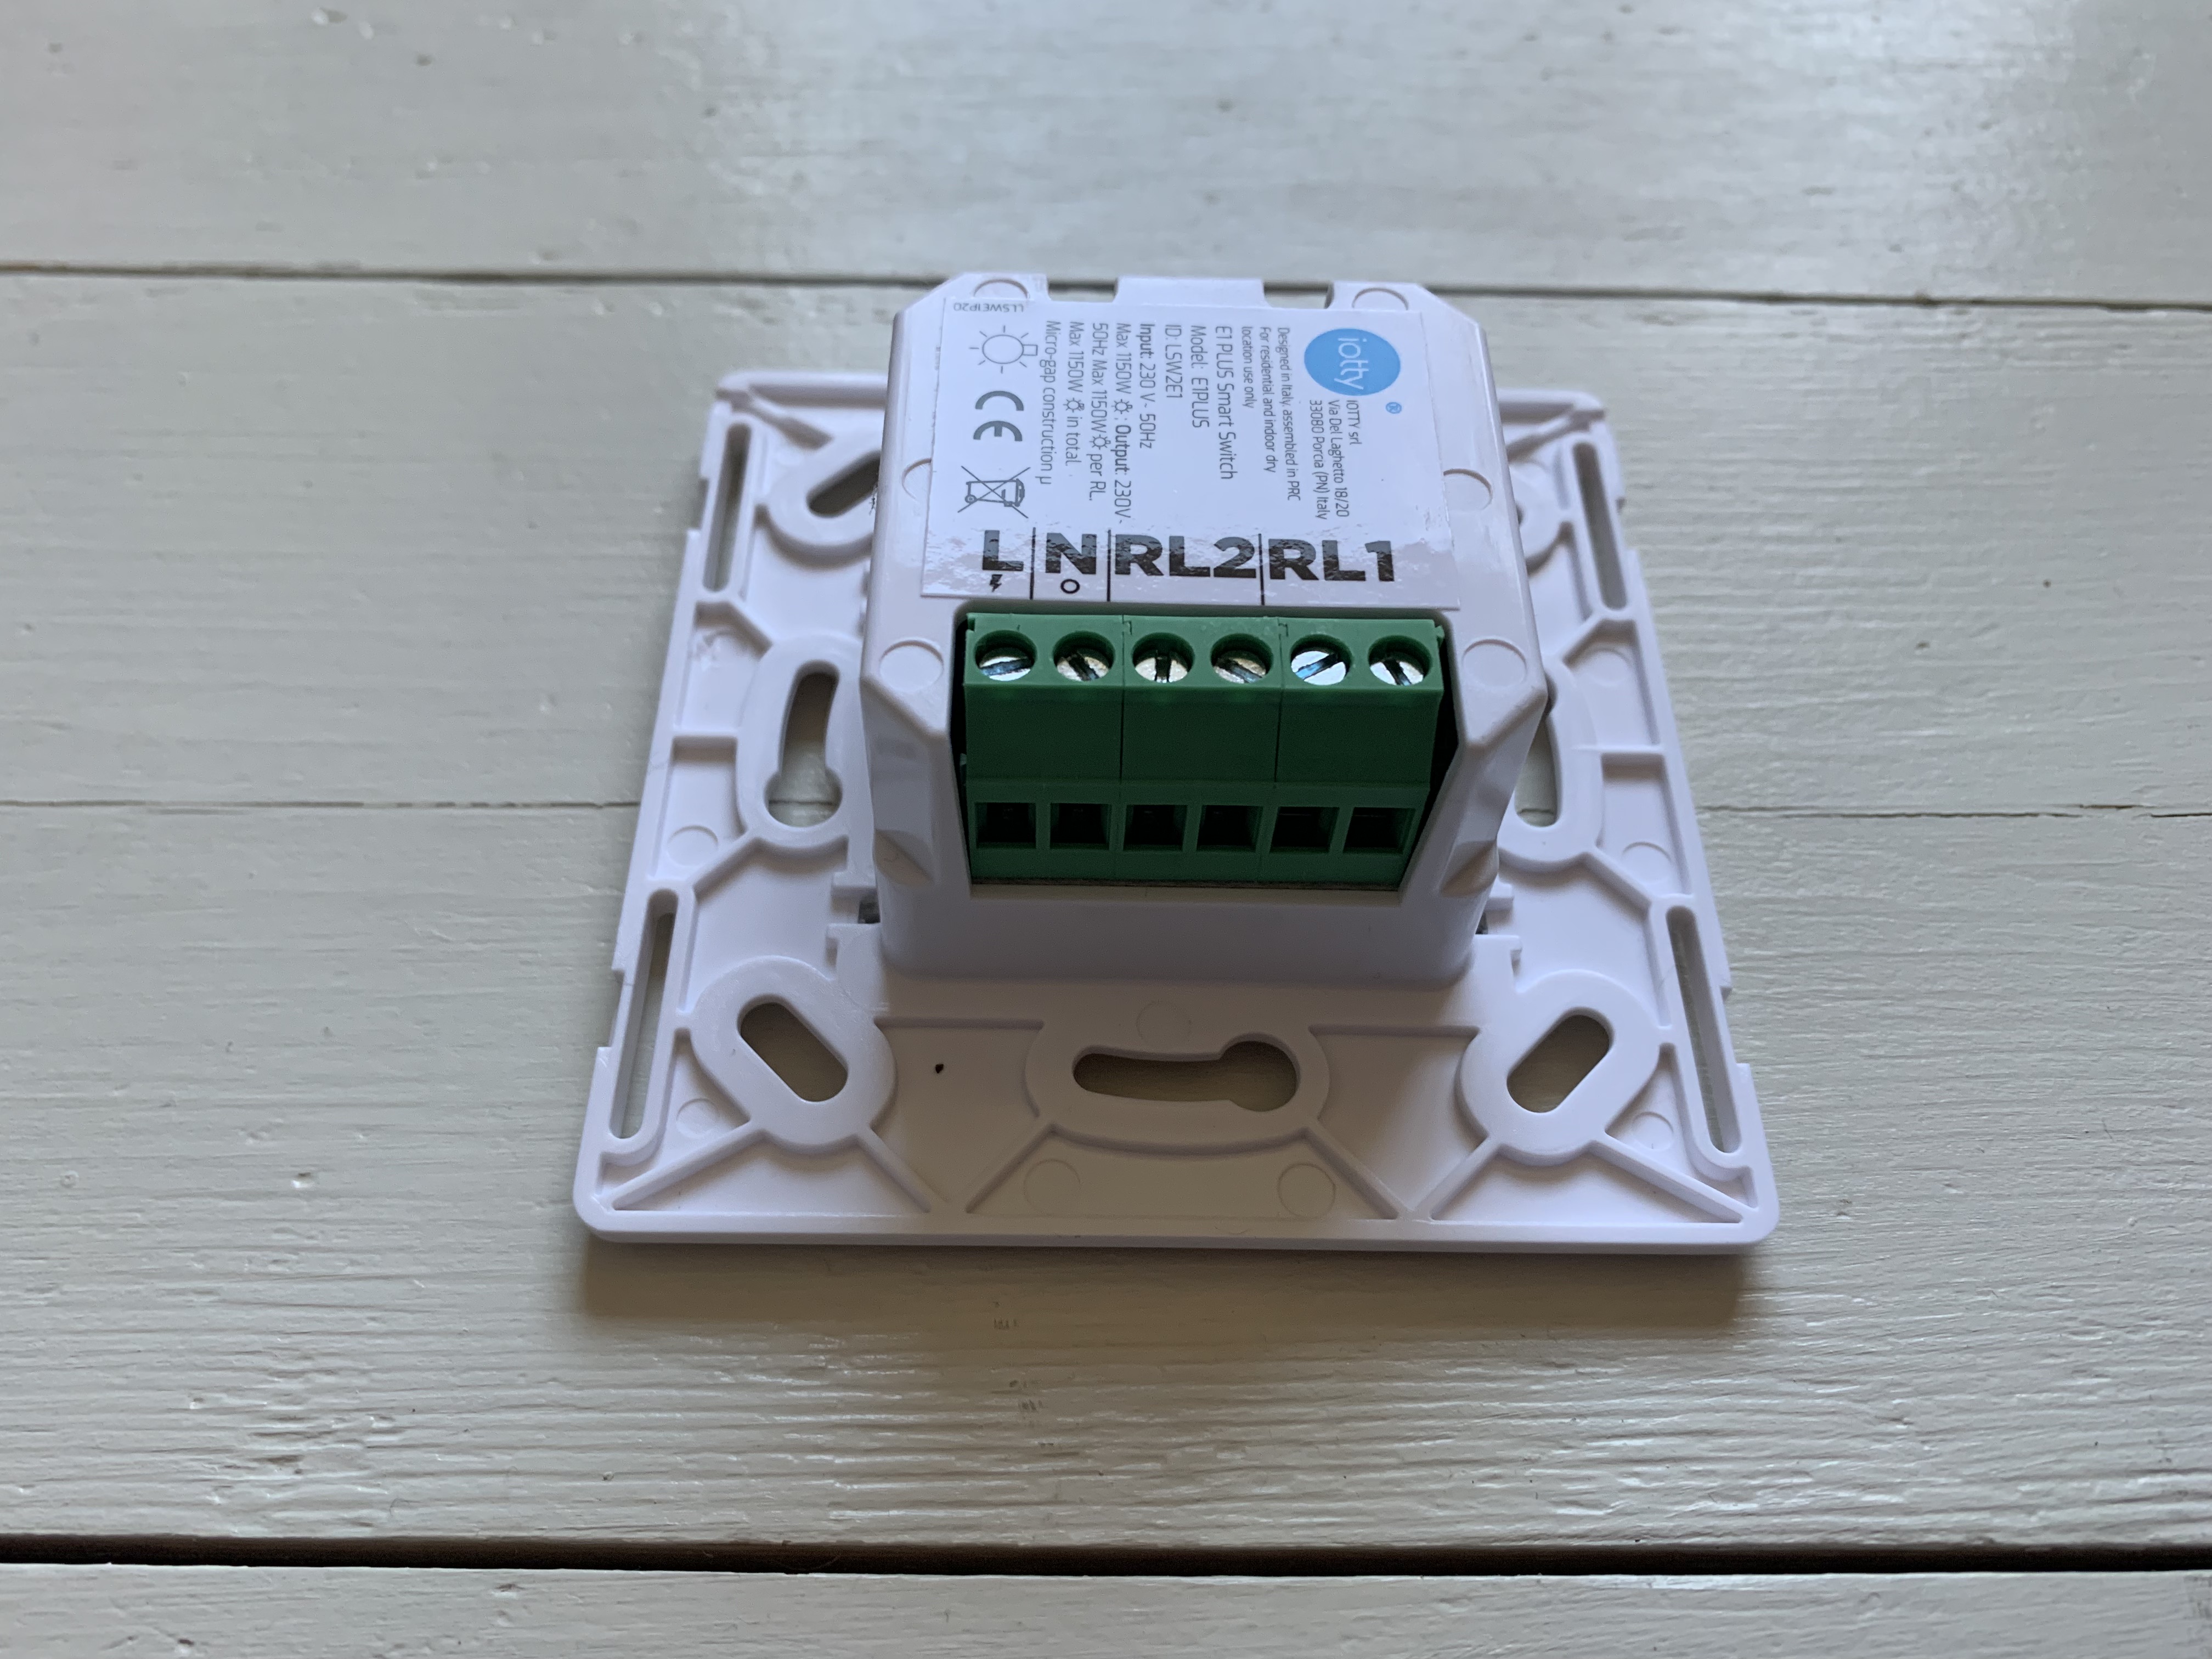
Iotty E1/E2 Plus smart switch review: Physical installation
- The switches can’t be directly connected to solid wiring
- Space inside the backbox is at a premium
- Wiring the two-gang switch can be challenging
Generally speaking, the installation of a single-gang iotty Plus switch shouldn’t present too many problems, assuming that you have the prerequisite wiring and 35mm back boxes.
There are, however, some complexities worth noting. I installed the iotty E1/E2 Plus switches for this review, but I’d personally recommend using an electrician unless you’re very confident, or have more modern wiring at home. That aside, I can share some of my experience installing the switches.
I found that connecting the switch directly to a standard solid light circuit made things really difficult if not impossible; there needs to be more flexibility in the wires to allow the switch to be manoeuvred inside the backbox without using undue force.
To remedy this, I used the same flexible, stranded cabling used inside a ceiling light bulb fitting (if it’s good enough in a light fitting then it must be good enough in a light switch, I figured) and connected lengths of it to the terminal block before joining them to the relevant solid cable using Wago lever connectors, which can be purchased from various hardware stores.
The Wago connectors also allowed me to very quickly swap wires for testing purposes (like when I found an error in the in-app wiring diagram and paper documentation; the single gang switch uses the RL2 connectors and not the RL1. Worth knowing).
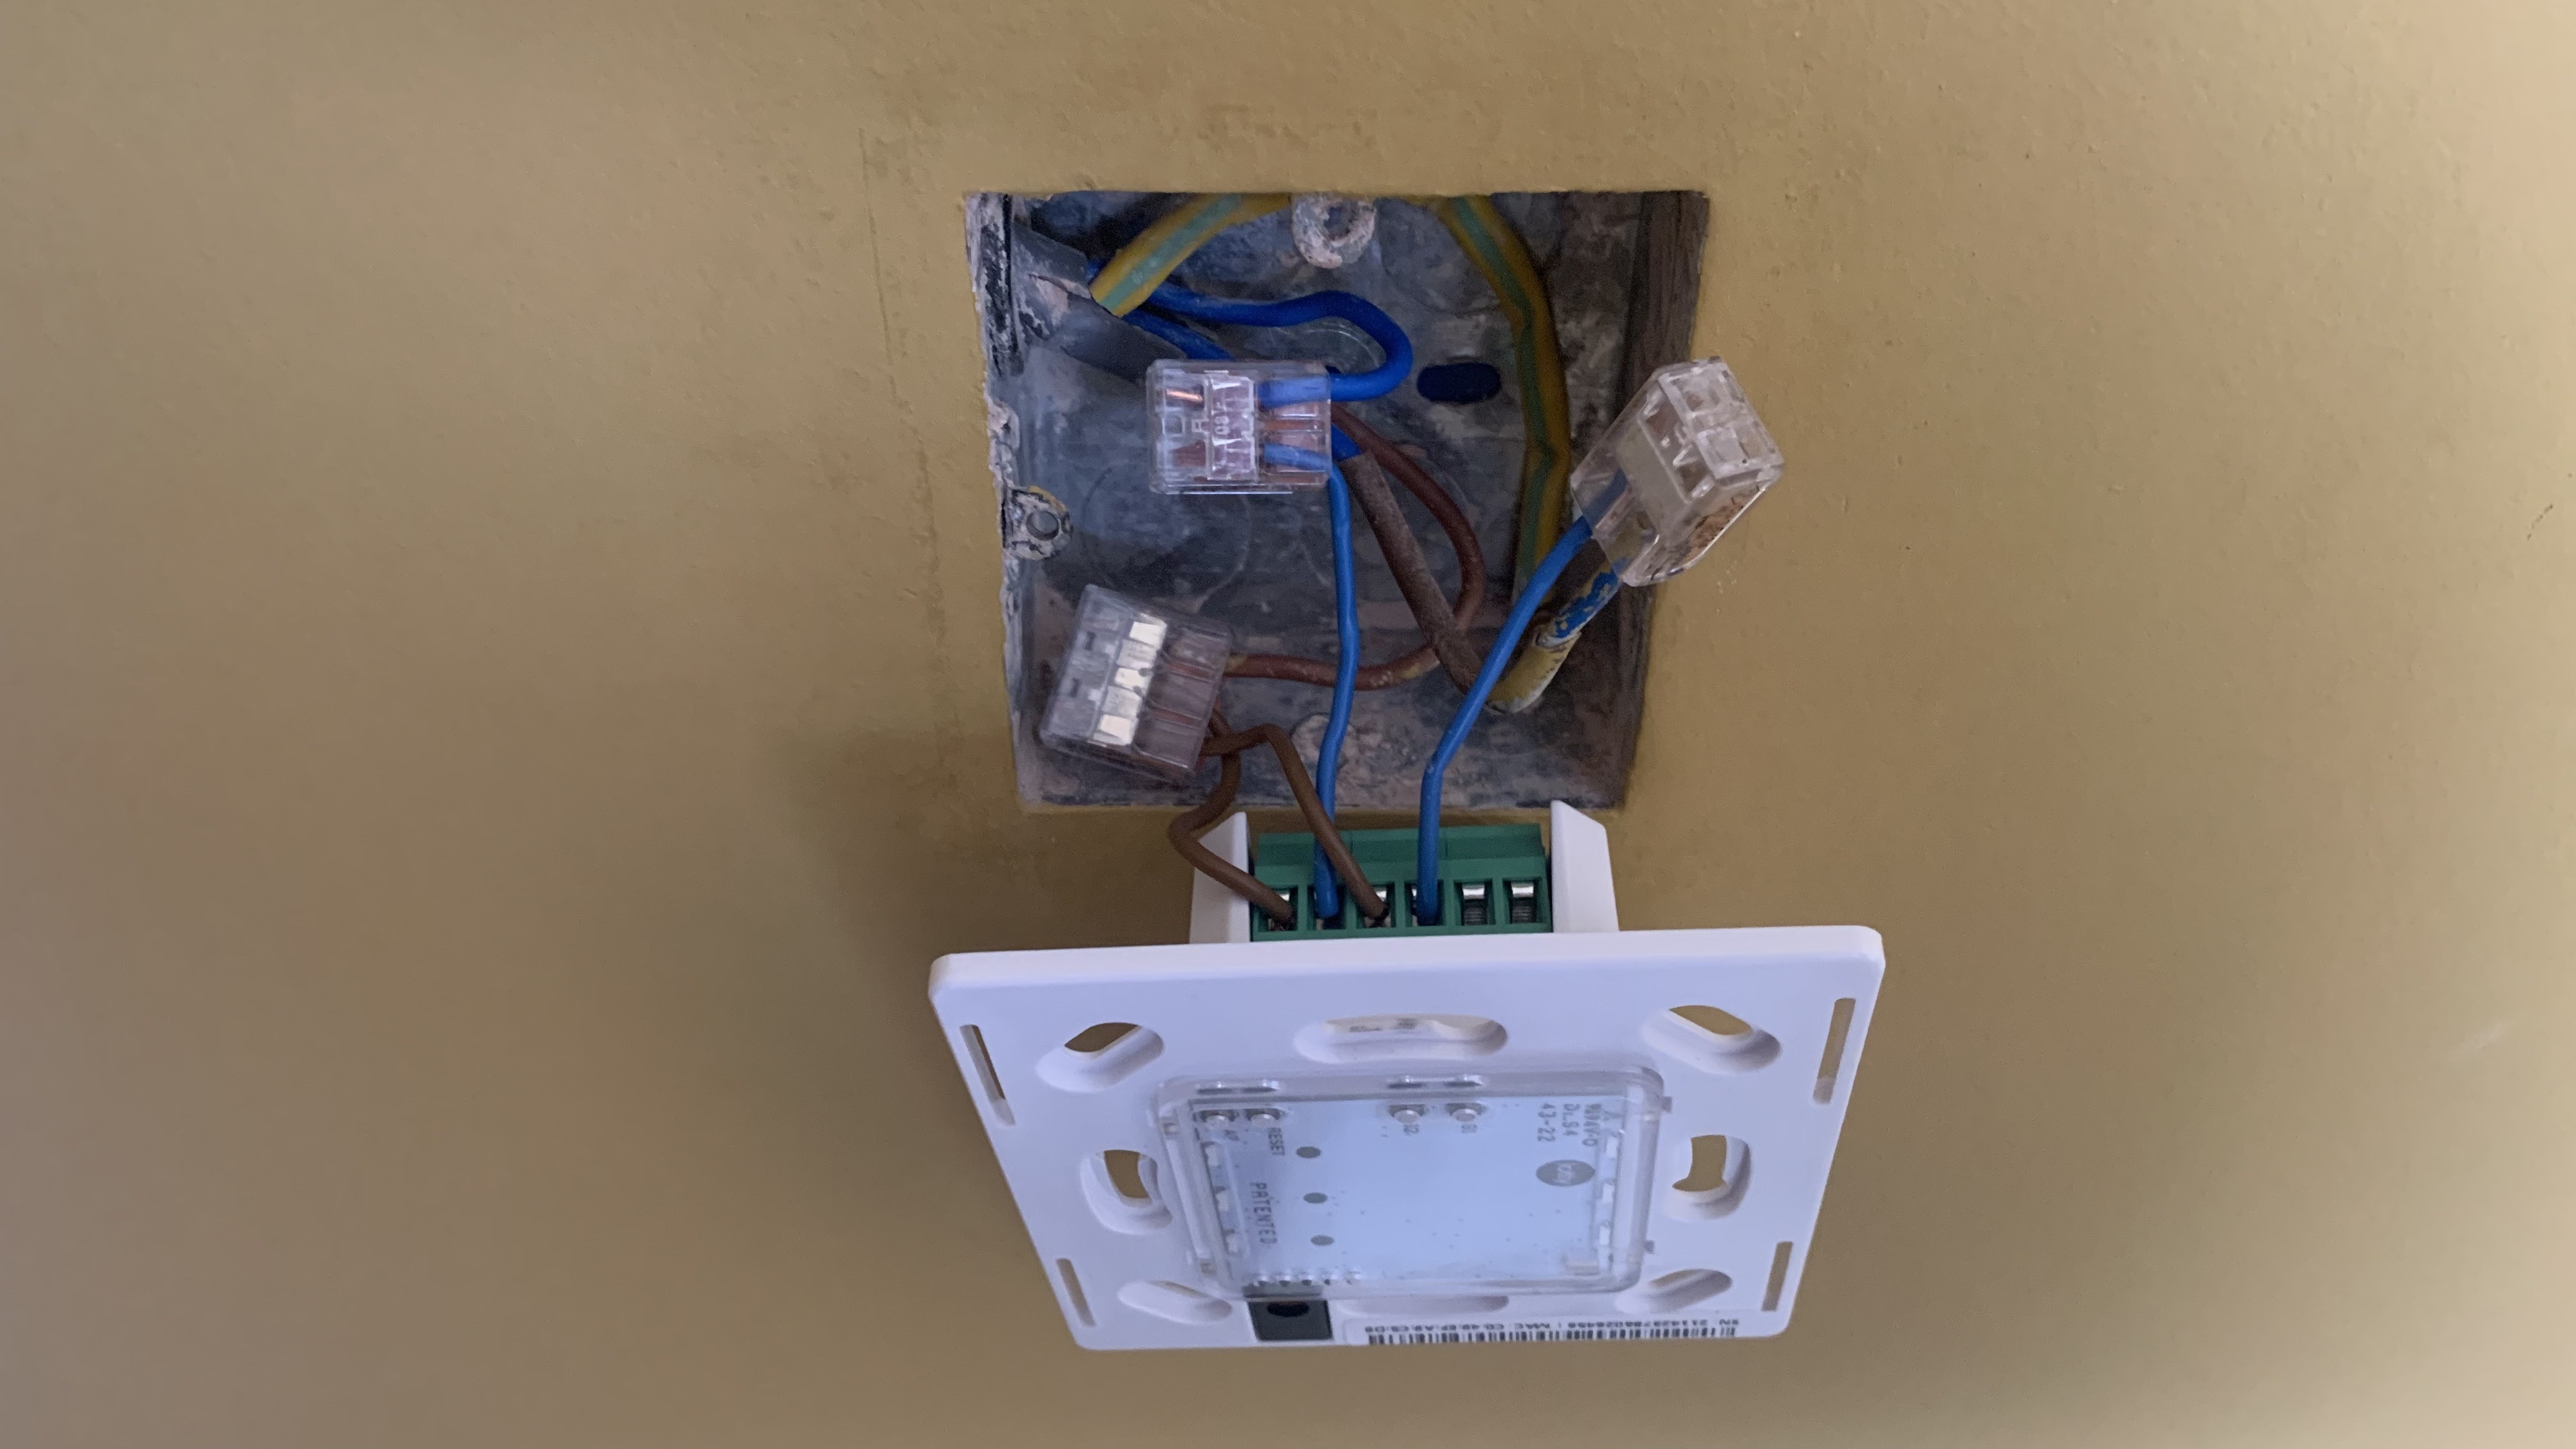
The main bulk of the switch is in the centre, so I moved the stiff solid wiring out of the way and into the space surrounding it. It just took a little bit of thought and cable management for it to be ready to be screwed on and powered up.
I’d also recommend taking care when using the supplied aluminium screws, as they’re much softer than the steel ones typically supplied with UK light switches. They appear to be made of bubble gum; expensive Italian bubble gum, but still bubble gum.
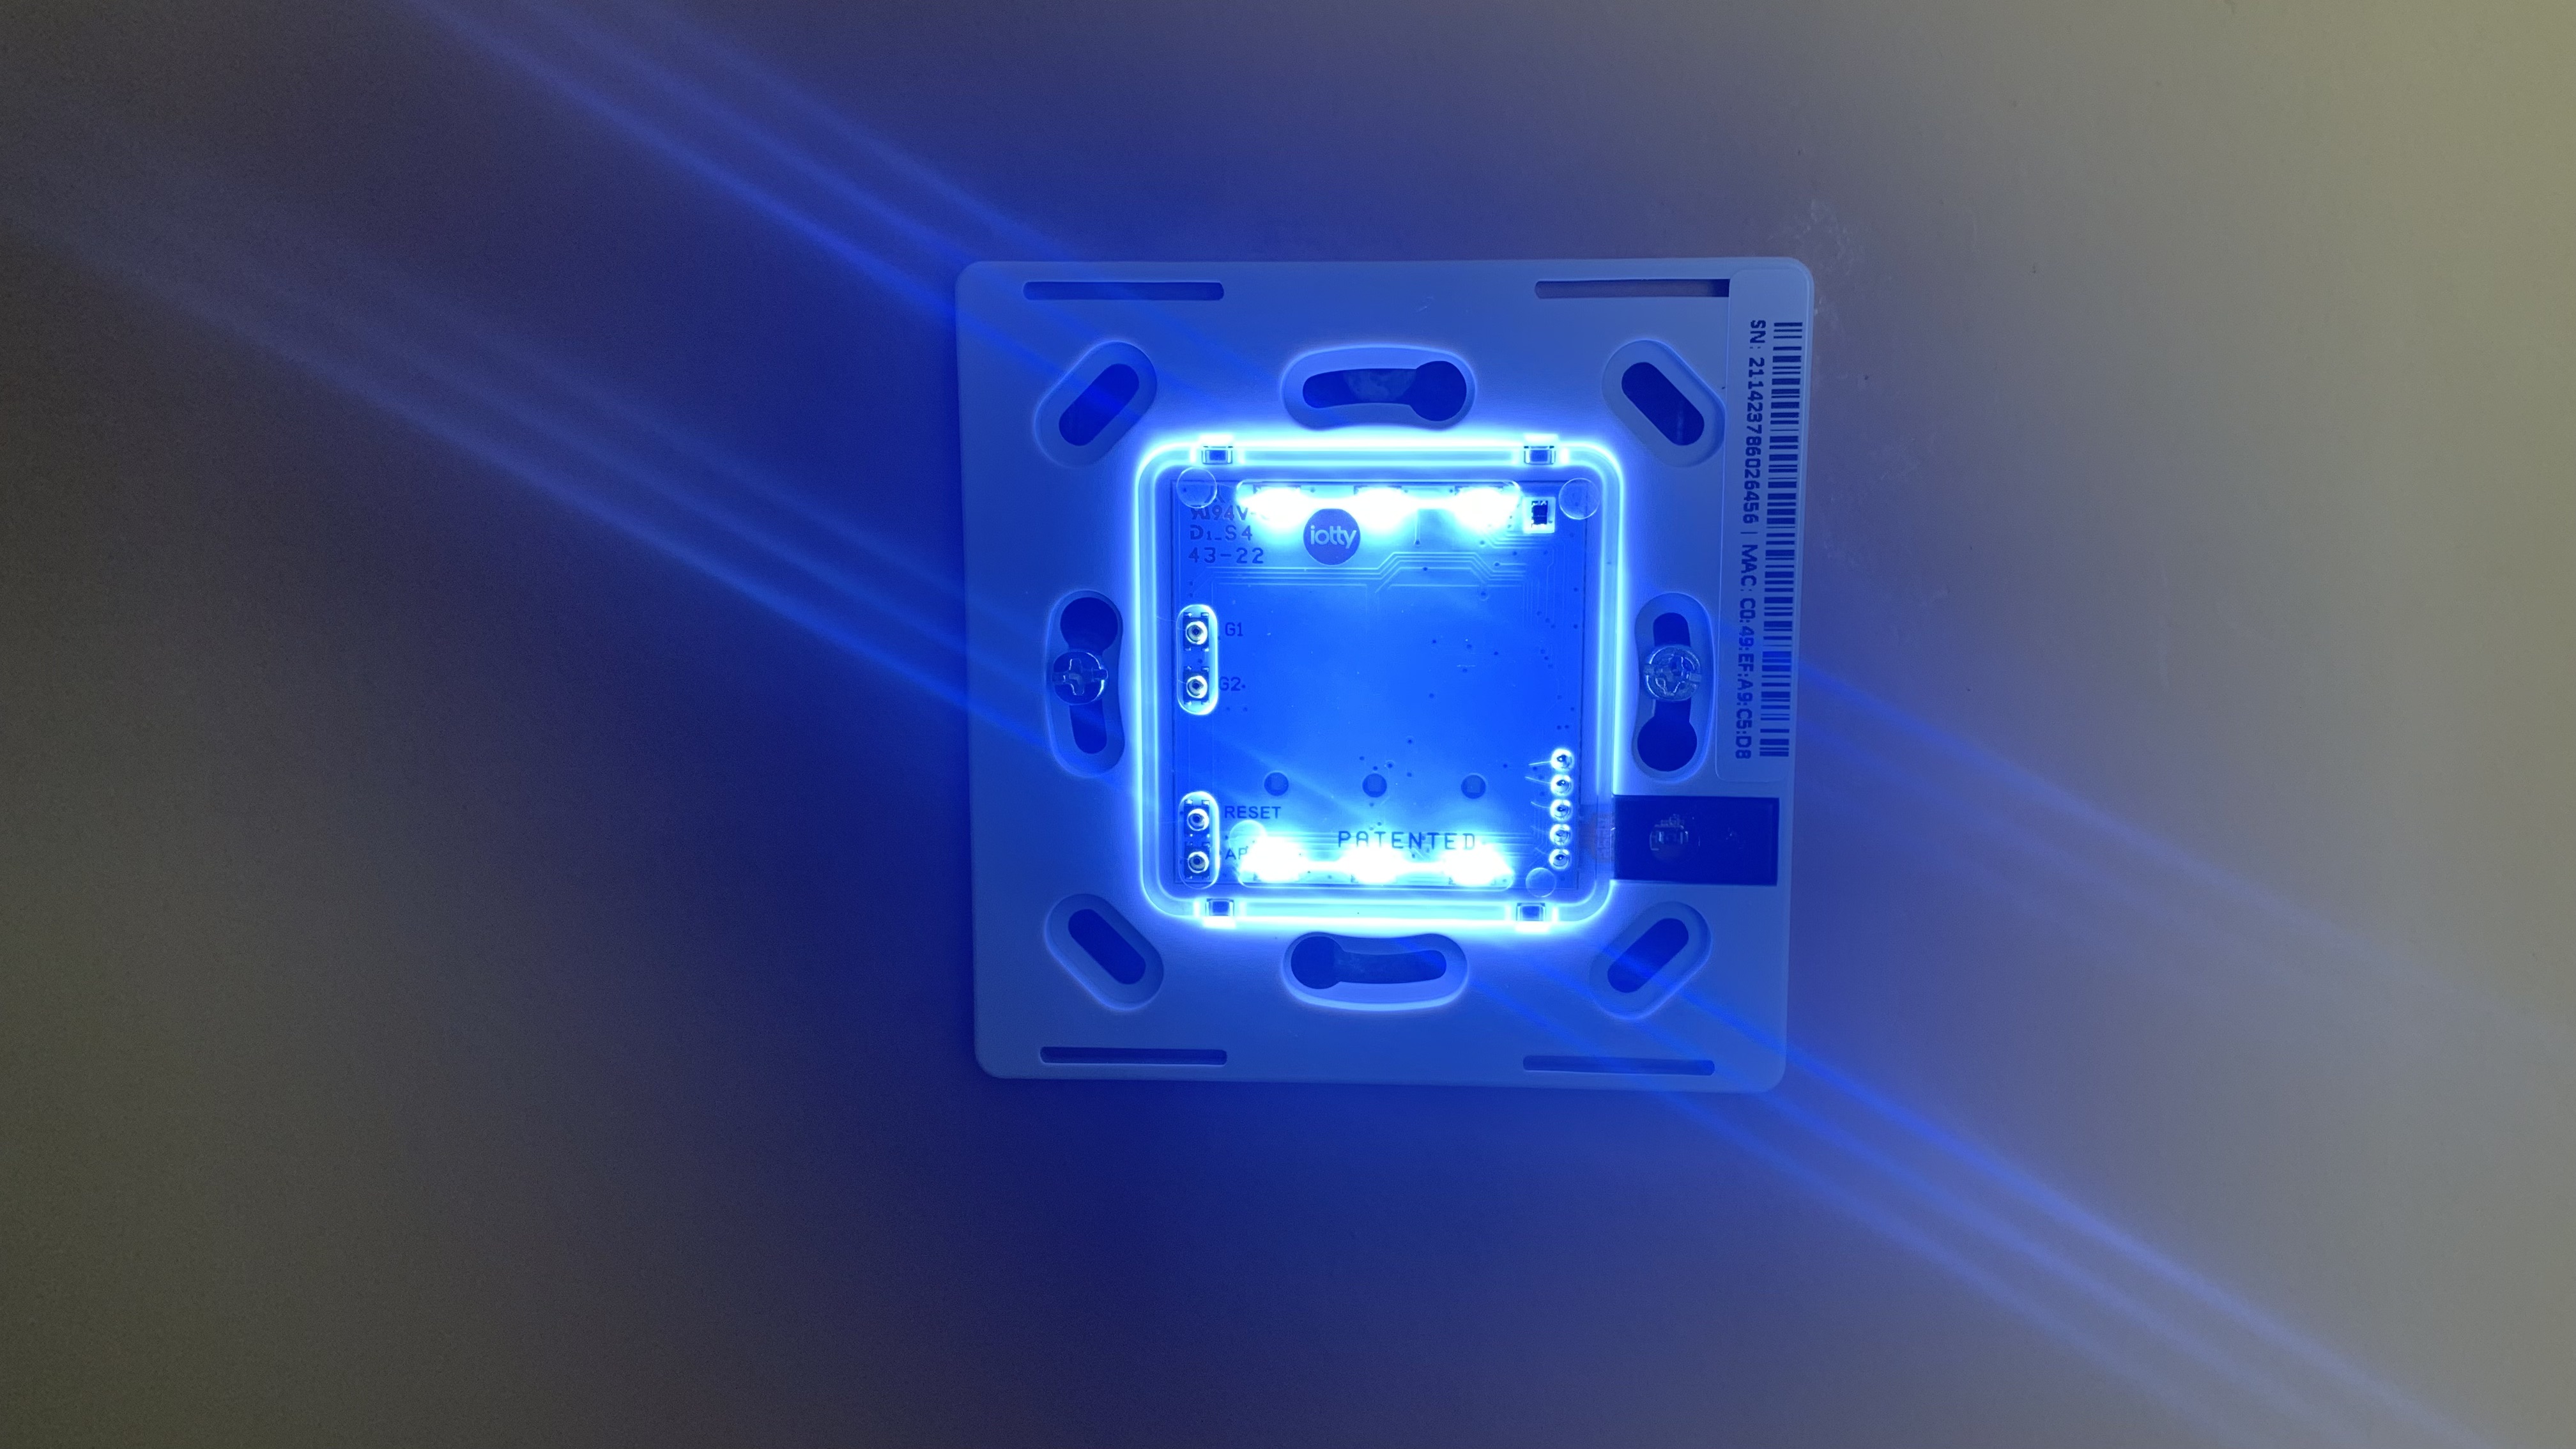
Fitting a pair of two-gang switches presents more of a problem as, at least with my home’s wiring, you end up with a now-redundant extra solid wire cable, so I would recommend fitting a 47mm back box if you’re faced with this situation.
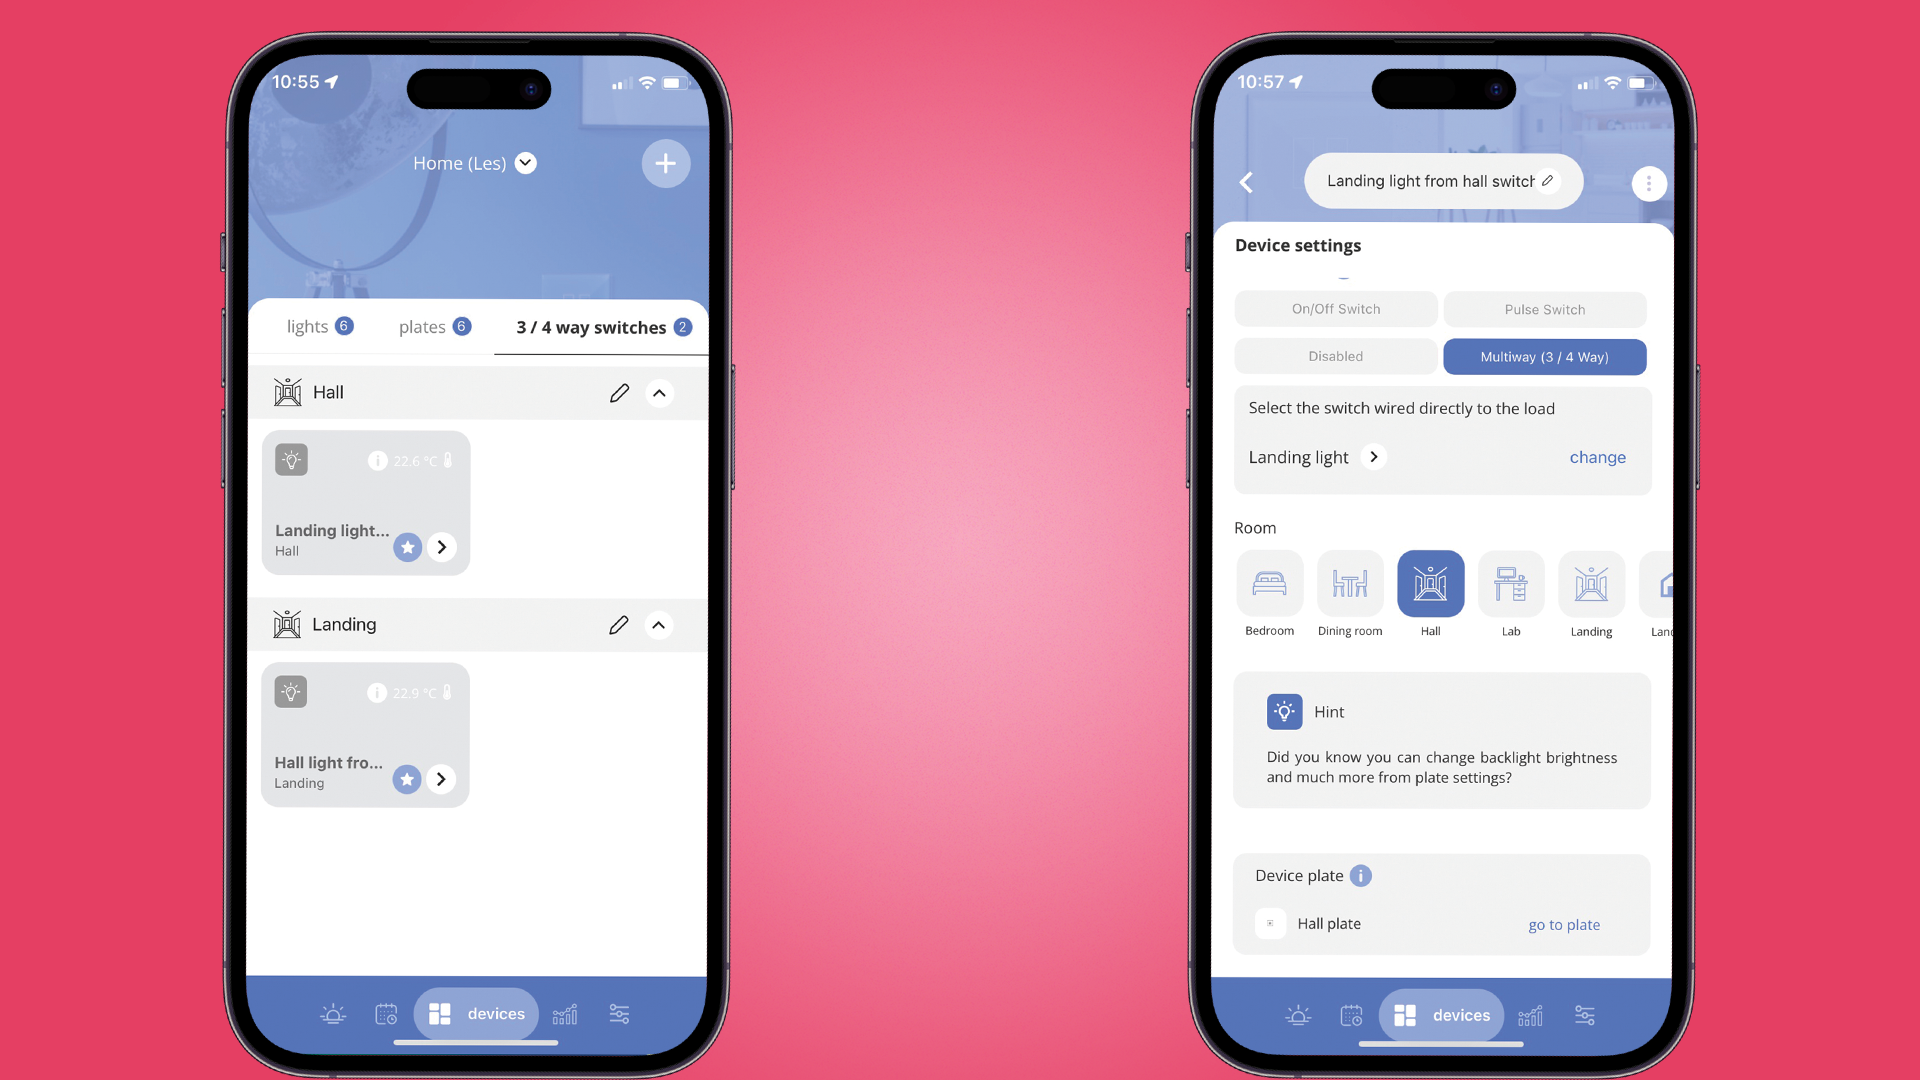
It also took a fair amount of head-scratching and testing, as well as a little experimentation in the app, to figure out how to use the multiway configuration with the two-gang switches. It turns out, only one of the two gangs needs to be physically connected to the wiring. The other gang, I assume, uses witchcraft…
Otherwise, the faceplate snaps on snugly, and is tight enough to stay put but easy enough to remove. It would be a real positive if the faceplates were available for purchase separately so that you can try out different colourways, but then the faceplate could be fitted to another manufacturer's cheaper switch, I suppose.
Iotty E1/E2 Plus smart switch review: Performance
These switches have a range of sensors that help to drive your automations:
Additionally, the iotty switches also support some pretty neat added features, which make the switches especially useful when used across multiple rooms in your home. The first is multiway switching, which allows you to control one light from two switches – for example, one by your bed and one by the door.
The switch can also fetch information from the internet, like sunset and sunrise times, geolocation data, and weather information, opening your smart home up to a plethora of new smart lighting automations. They also work as a pulse switch for a gate or garage door.
Naturally, they also work well when used as a physical touch switch. The only problem so far after six weeks of testing was following a series of power cuts, meaning one of the switches needed to be reset and reconfigured in the application.
Iotty E1/E2 Plus Smart Switch review: Application
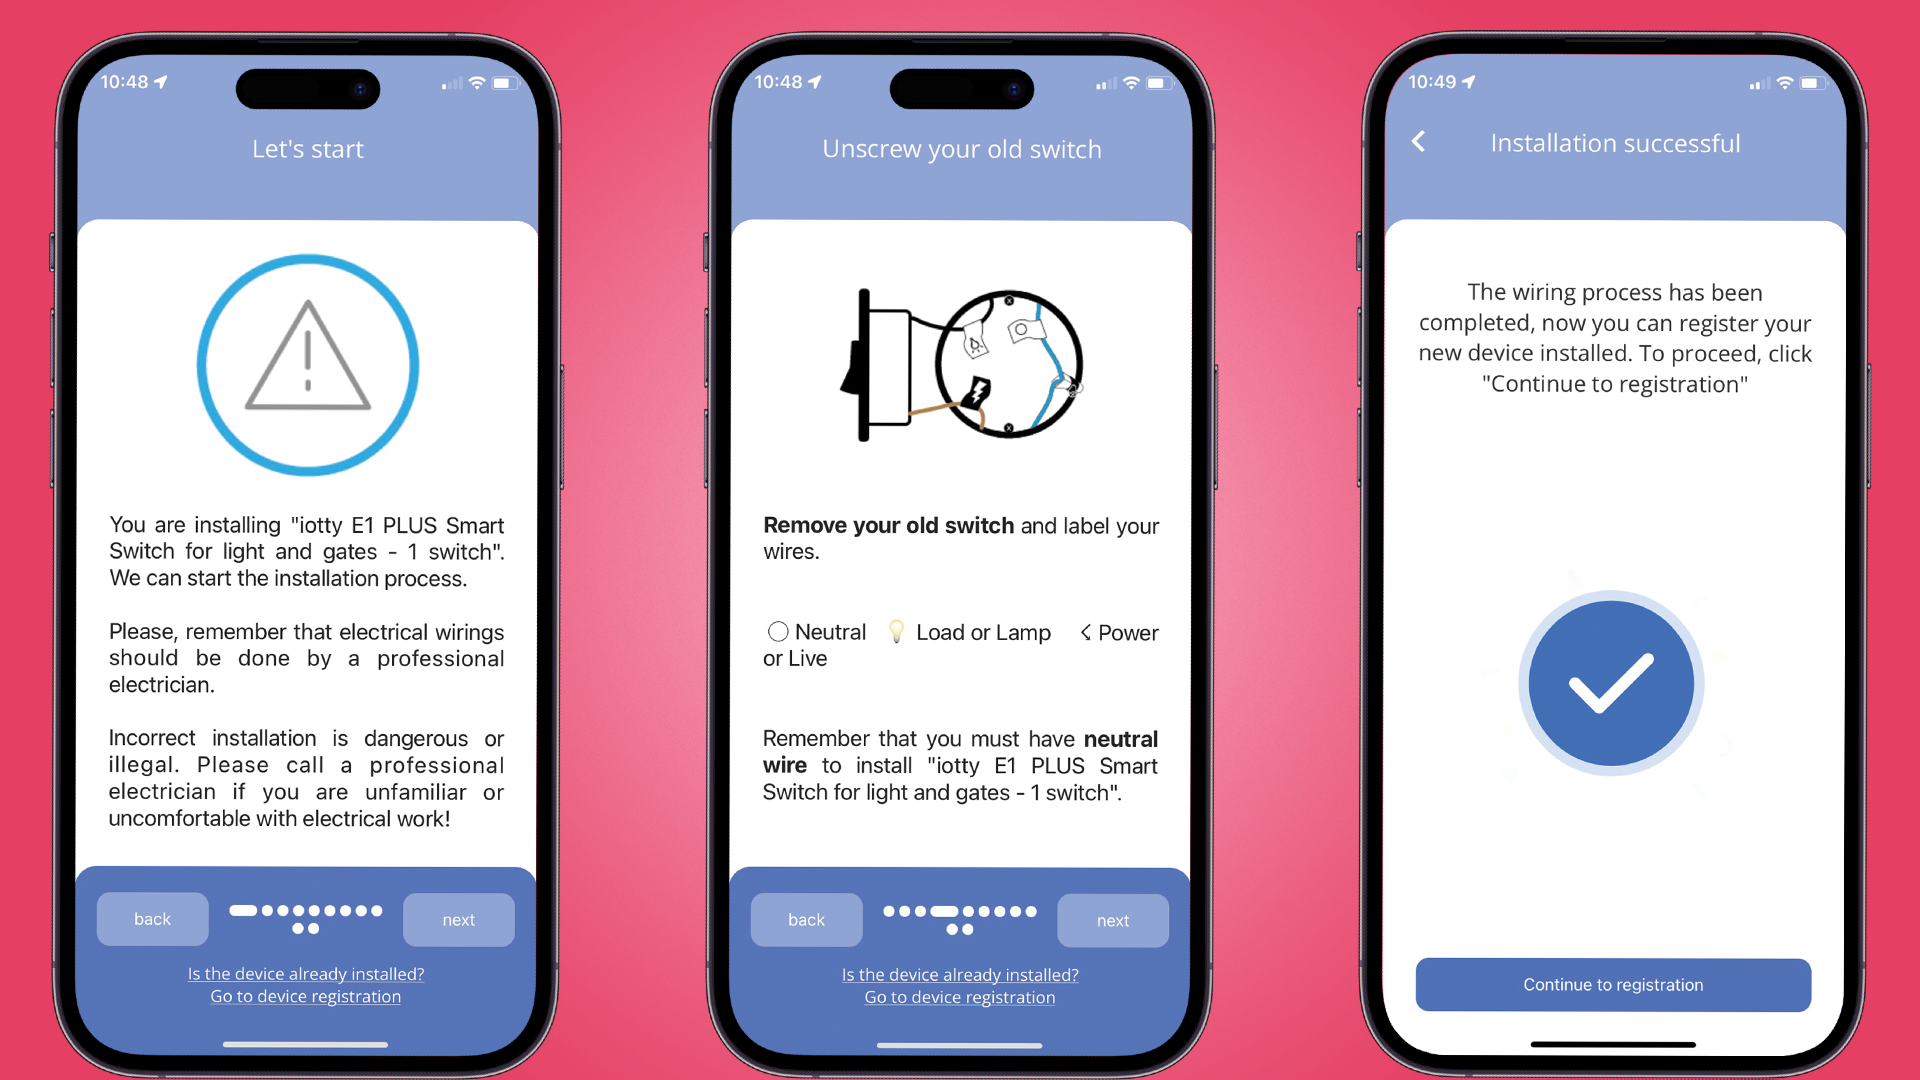
- Good step-by-step installation and Wi-Fi connection instructions
- 8 classes of automation
- 10 example scenes
The app performs well and is visually pleasing, bearing a strong resemblance to Samsung SmartThings, which is probably due to them both using the Tuya AI+IoT platform. I do find the drill down ‘>’ buttons are a little on the small side, meaning it’s easy to turn the light on or off by accident.
It can also be a little bewildering, especially if you’re new to smart home devices, as it uses quite a few technical terms, many of which feel superfluous.
Basic automations are very easy to create but are fairly singular; it would be nice, for example, to be able to switch a light on automatically both during the day and when a large storm passes over, to keep your home from plunging into darkness.
You could of course use the plate light sensor, but you might not want the automation to trigger after sunset, for example. Then there are annoying niggles, like when you ask Siri to turn off the bedroom light and the sensor immediately switches it back on.
The multiway feature is very useful, but it’s easy to lose track of what is connected and where, so make sure to rename your switches and plates as you go along, otherwise chaos will reign supreme.
My home automation setup is based around Apple Homekit, and I found the Siri shortcuts to be a real plus. Through this feature, I have created ‘switchglow’ and ‘switchdim’ shortcuts so the backlights won’t interfere with your sleep, but will provide sufficient illumination to prevent you from walking into doors, stubbing your toe on the bed, and other slapstick comedy moments.
Iotty E1/E2 Plus Smart Switch review: Should I buy?
Buy it if...
Don't buy it if...
iotty E1/E2 Plus smart switch review: also consider
Iotty E1/E2 Plus Smart Switch review: How I tested
- I added the switches to Samsung SmartThings
- I added the switches to Google Home
- I added SmartThings plugin to Homebridge
- I used Apple Siri to turn the lights on and off
My home automation setup is based around Apple Homekit, but I have various Google, Samsung, Sony, Denon, Ring, Tapo, and Nuki accessories. I use a Raspberry Pi running Homebridge to connect these devices to Apple Homekit and bring them all together.
I investigated the Homebridge Tuya plugin, but it involves creating a cloud development project and other convoluted steps. It was easier to add the devices to SmartThings and use the Homebridge SmartThings plugin.
I’ve been using the iotty smart switches as the main light controls in my home for six weeks. I did find that one had to be reset after a power cut, but generally they worked swimmingly for the course of my testing.
0 comments:
Post a Comment