Nikkor Z DX 24mm f/1.7 review – the perfect pocket partner
Nikkor Z DX 24mm f/1.7: Two minute review
Nikon has taken some time to release the Nikkor Z DX 24mm f/1.7 Lens. It is the company’s first for its mirrorless Z-mount cameras with APS-C size sensor (Nikon calls this lens format 'DX'), the first of which, the Nikon Z50, was unveiled in 2019, a year after the first full frame Z mount cameras (which Nikon calls 'FX'). As I write this in 2023, there are now a total of three APS-C cameras in the system, with the retro-inspired Z fc and Nikon Z30 joining the ranks.
With the 'DX' cameras being some of the best beginner mirrorless cameras and appealing more to the entry-level market, it is logical that to date, all four of the Z-mount DX lenses are zooms, with focal length coverage from 12mm all the way to 250mm, plus fairly modest aperture settings. There is an obvious gap for prime lenses with large apertures, but up to now, this has been covered by using a full-frame Z-mount lens on DX-format cameras.
Now, Nikon has introduced the Nikkor Z DX 24mm f/1.7 - a compact prime lens that provides roughly the equivalent field of view to a 36mm lens on a full-frame sensor camera, such as Nikon’s popular Z6 II or the Nikon Z8. However, it’s really best to think of this as a 35mm equivalent focal length lens, for all intent and purposes.
The 35mm equivalent focal length is always a good place to start when you introduce prime lenses. The field of view offers a natural feeling, close to that of human vision, but allows some periphery so that images and video created don’t feel too close and tight. The f/1.7 aperture setting offers an equivalent depth of field to an f/2.5 full-frame lens, so it is a nice combination for creating shallow natural-looking images and depth of field.
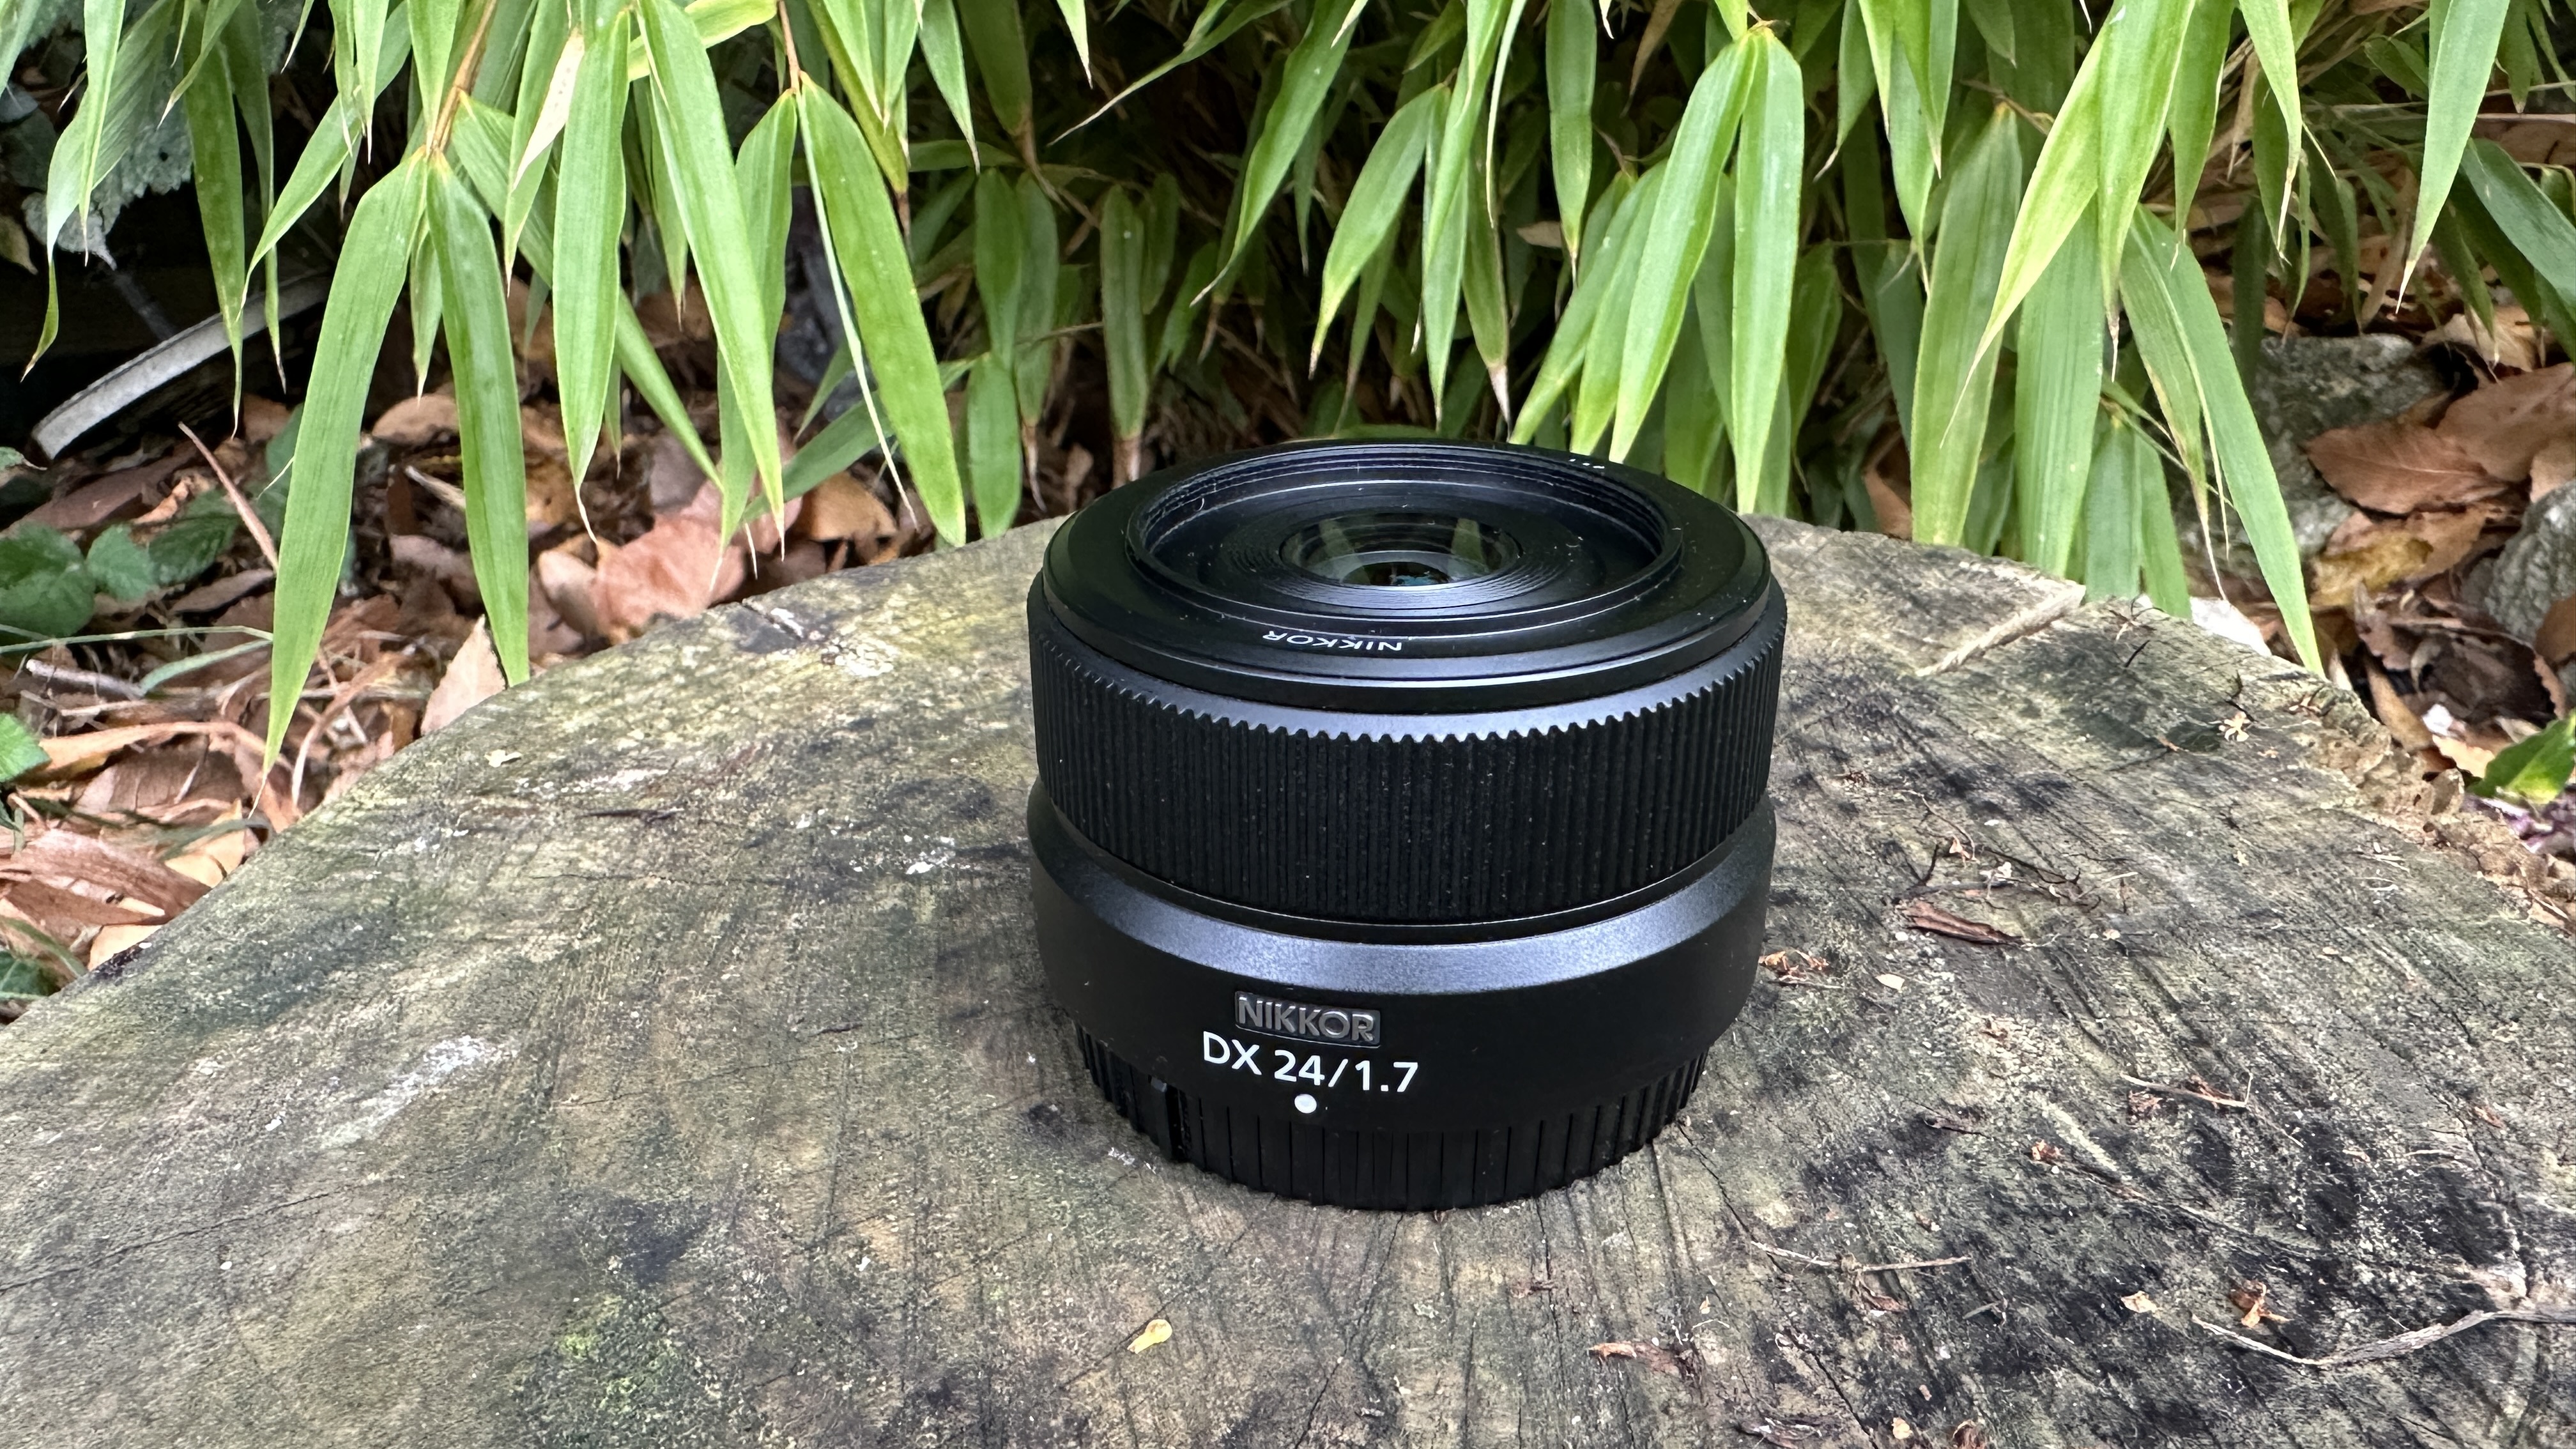
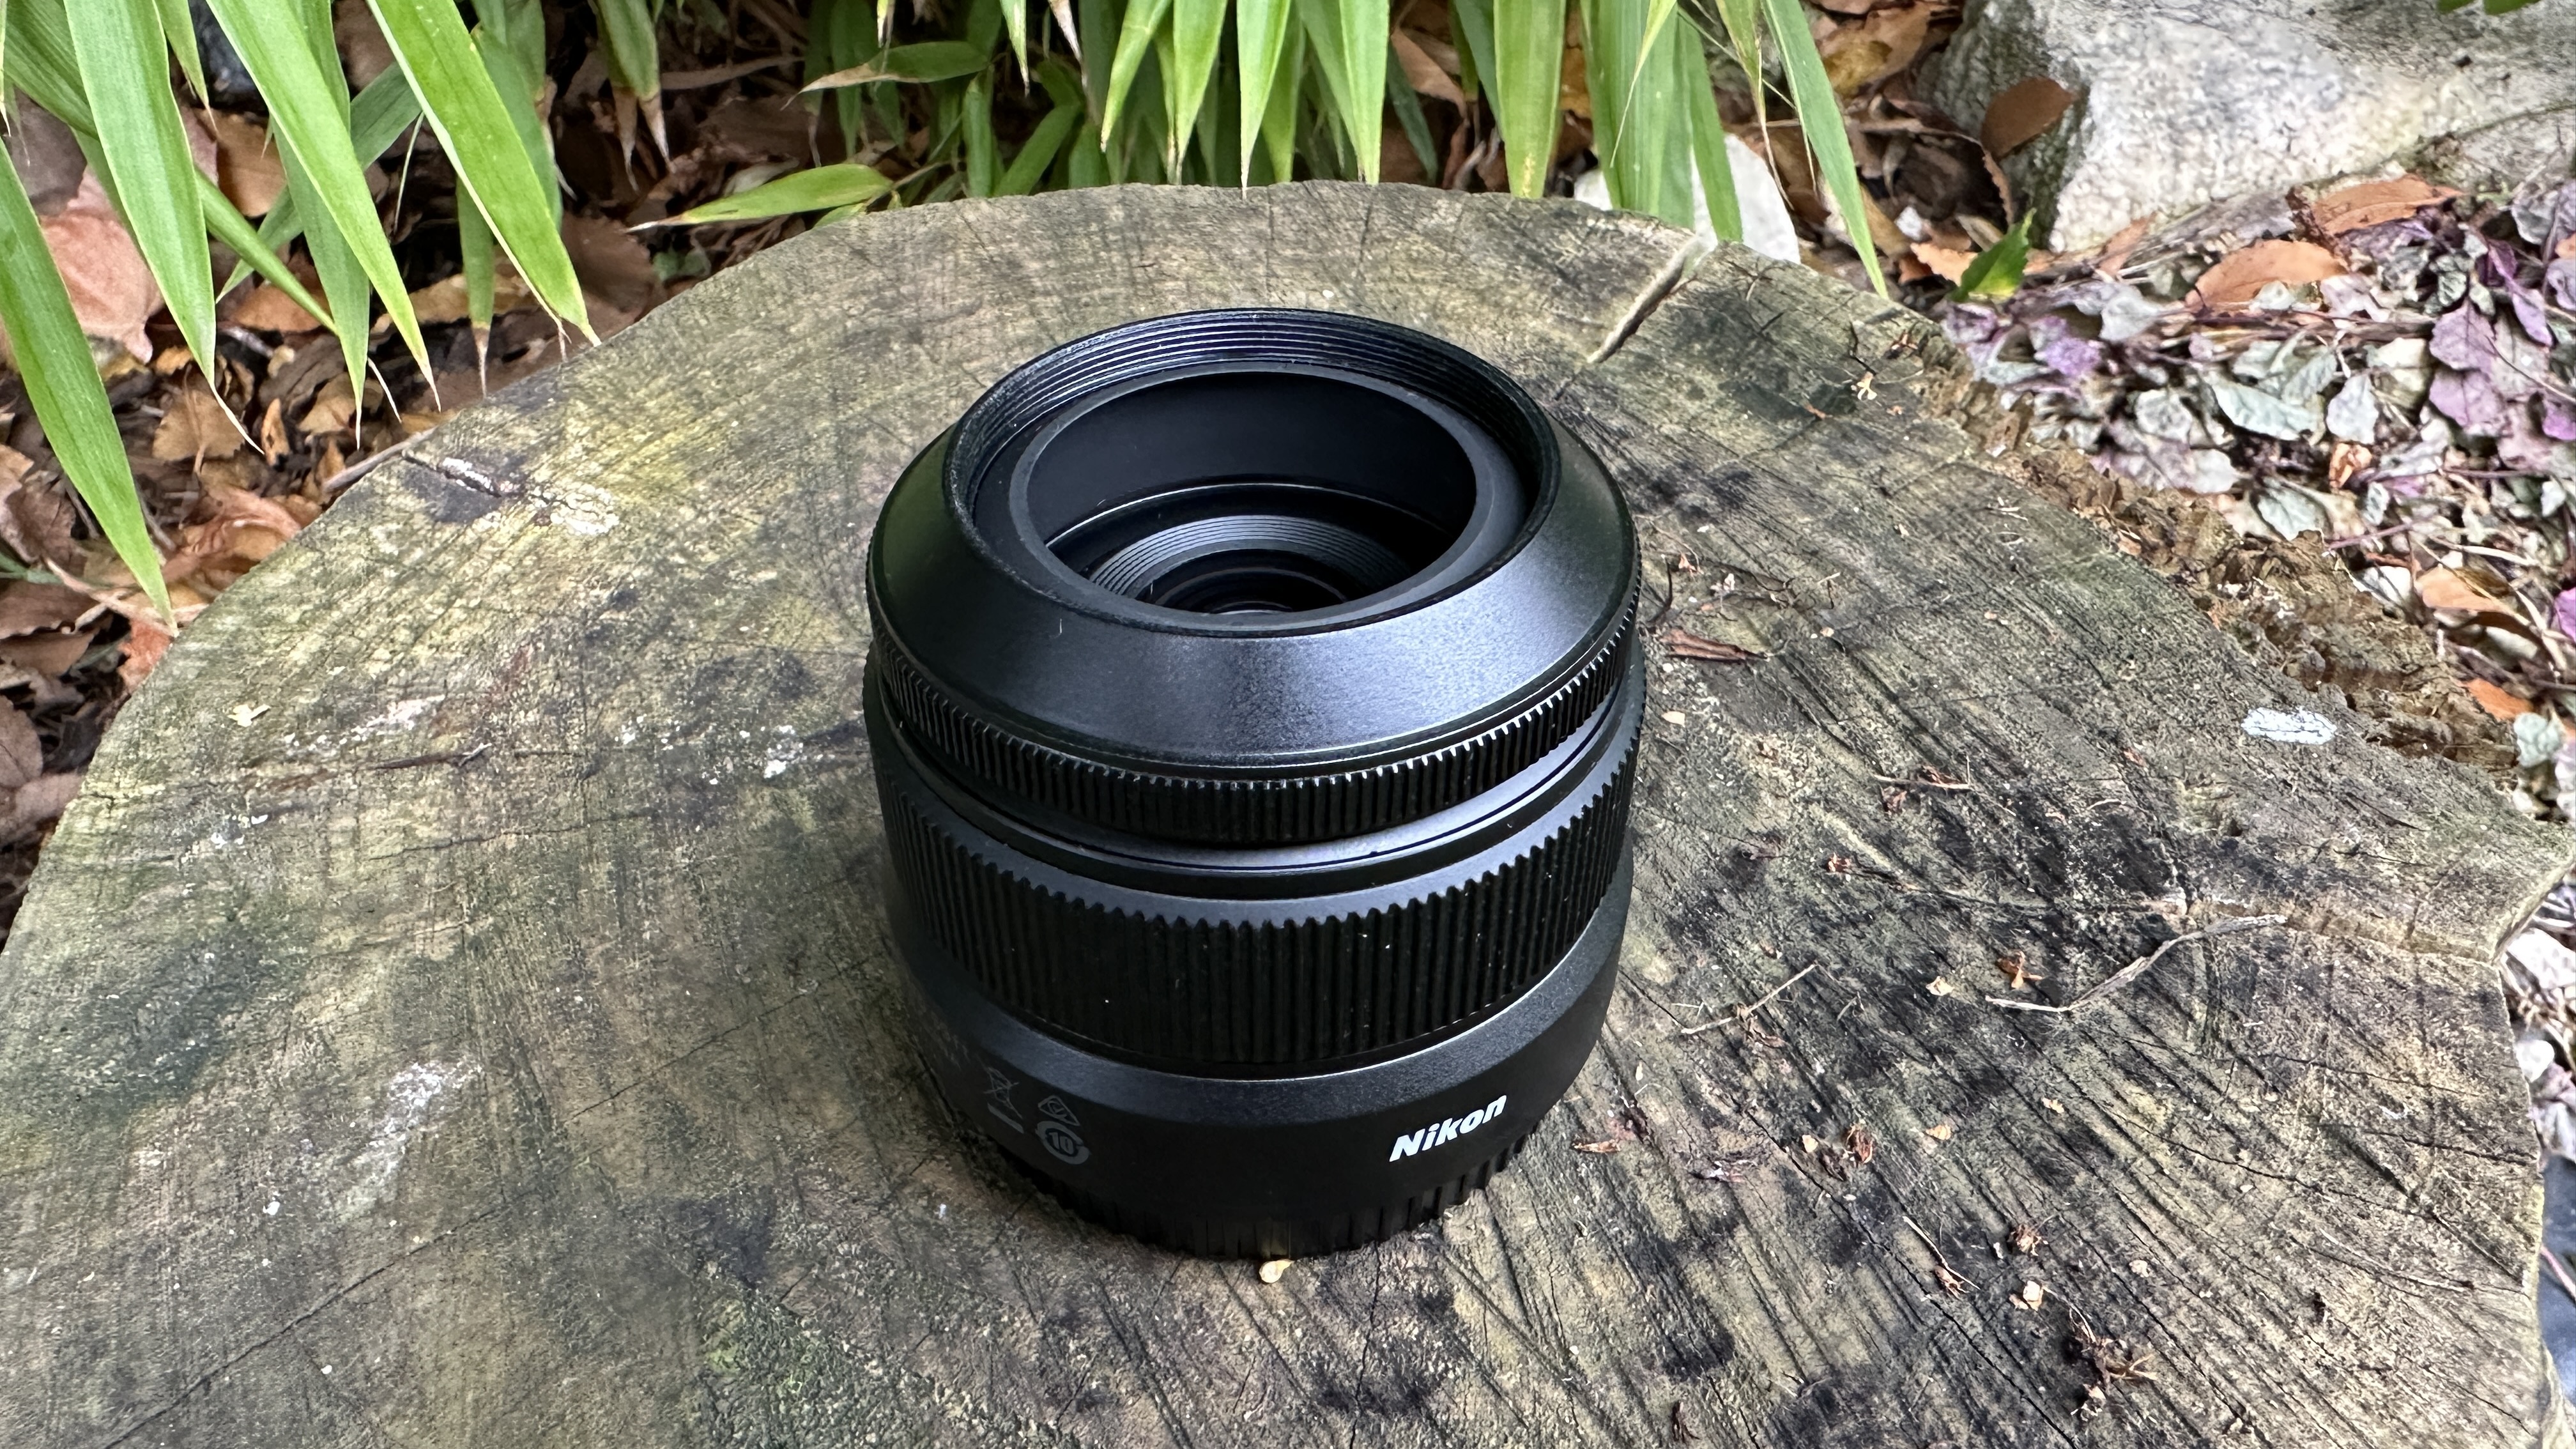
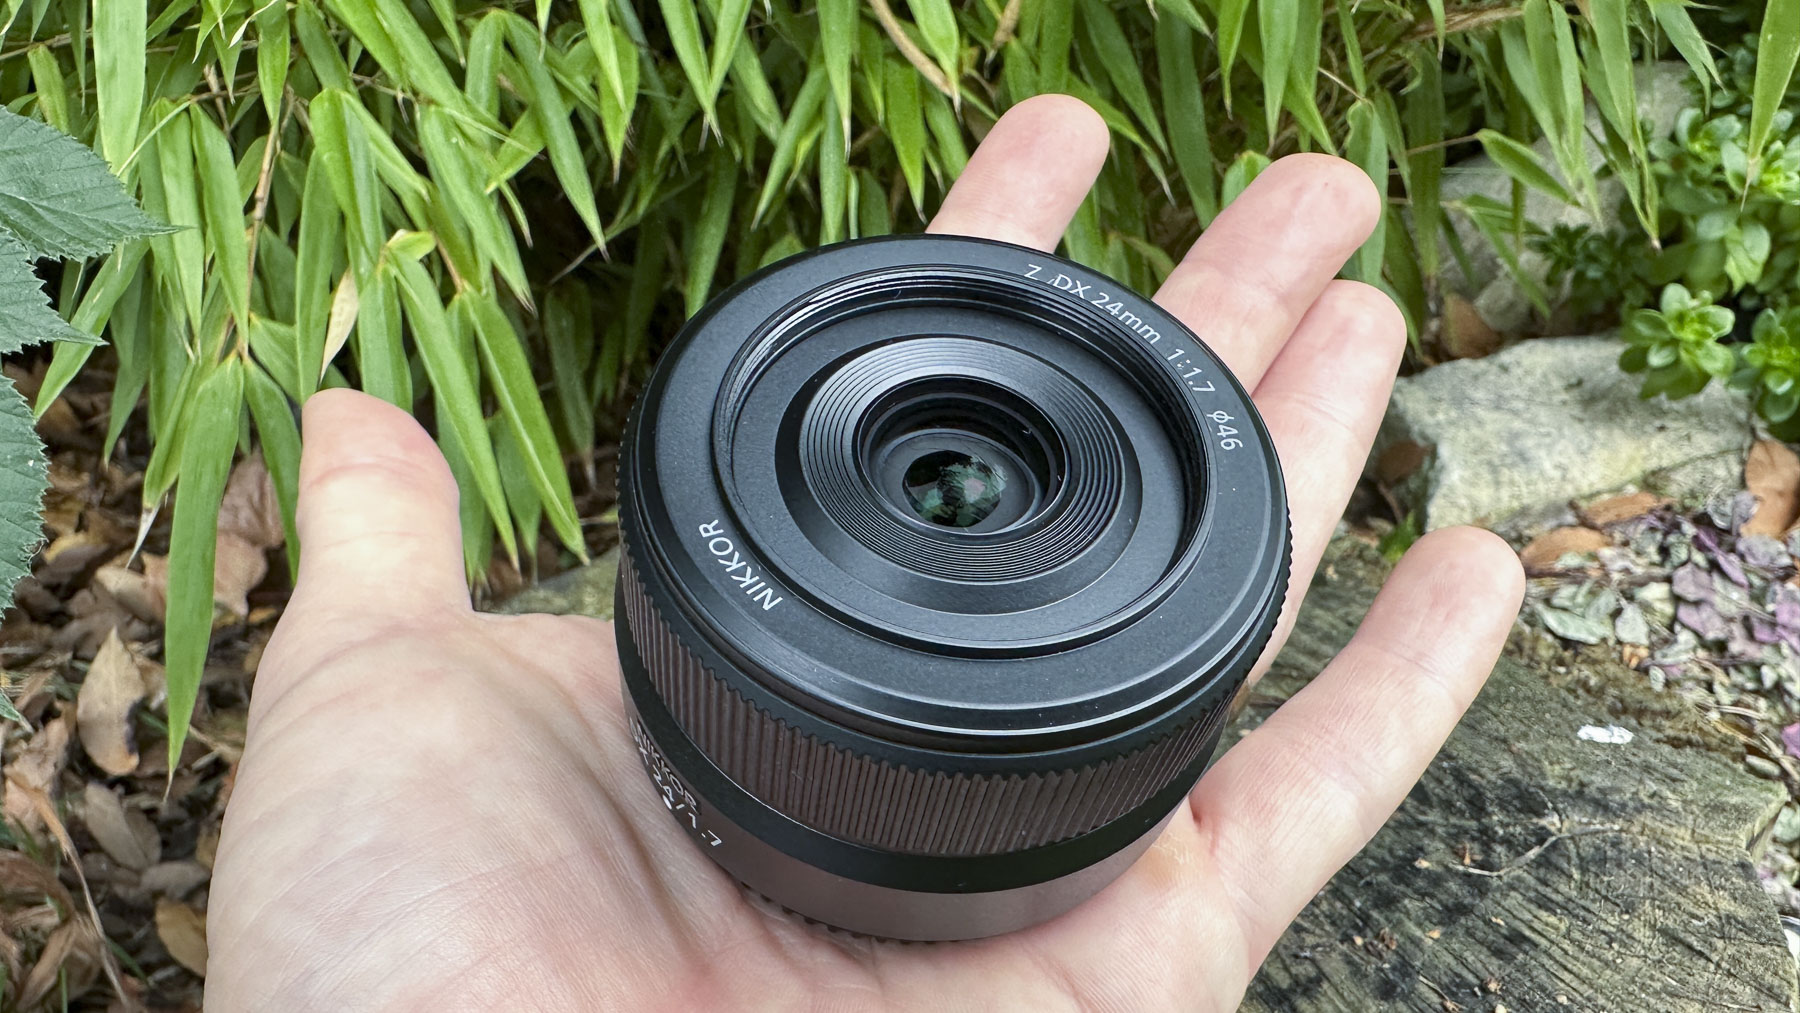
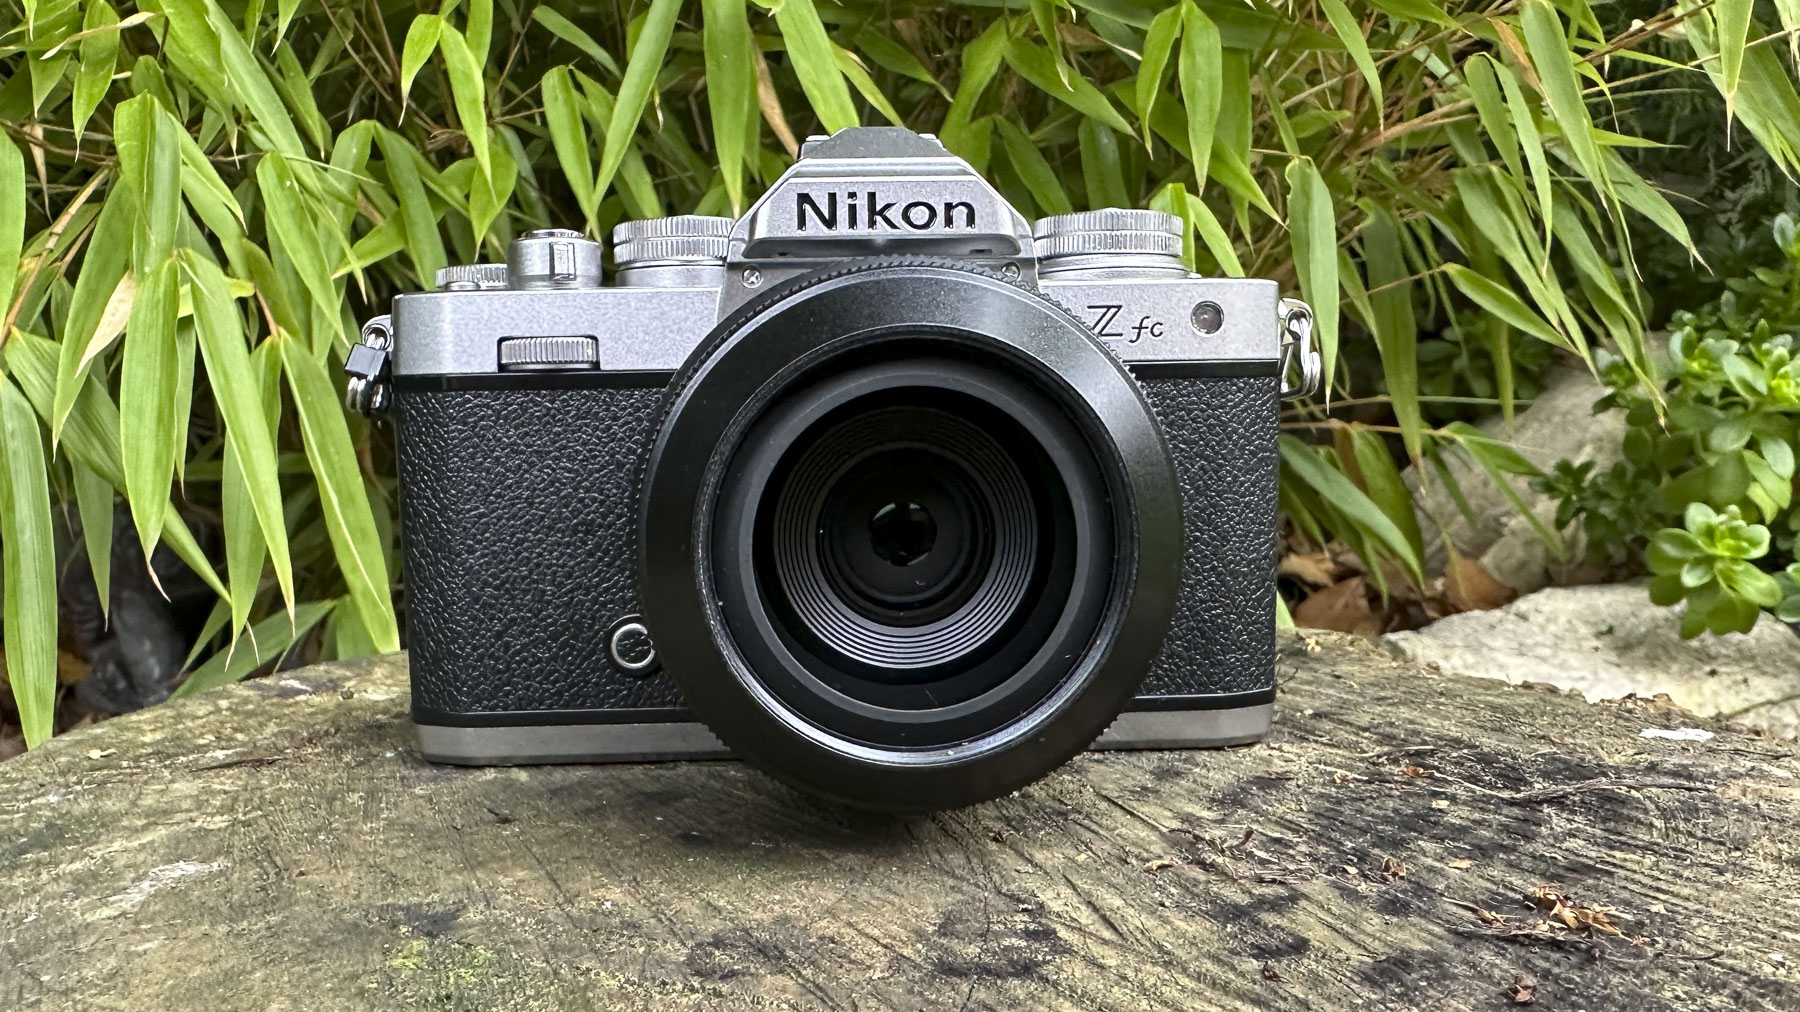
Externally, there is little to talk about on the lens. It has a very basic design with a small section of barrel, with most of the circumference being taken up by a ribbed manual focus ring. Besides the lens designation and branding, there is little else to note.
It is as small and light as you would expect, weighing just 135g and measuring 70mm x 40mm. It has a small 46mm filter thread, and with the front lens element being much smaller than the barrel, the included HN-42 lens hood cones slightly inward to prevent light from hitting the lens element at acute angles. Overall, the build is best described as being ‘neat’.
Internally, the construction comprises 9 elements in 8 groups, with two aspherical elements, and the aperture features seven rounded blades. The only real item of note looking at the specifications is that the minimum focus distance is a reasonably close 18cm, which makes the lens an interesting choice for close-up work, particularly for those who are shooting video.
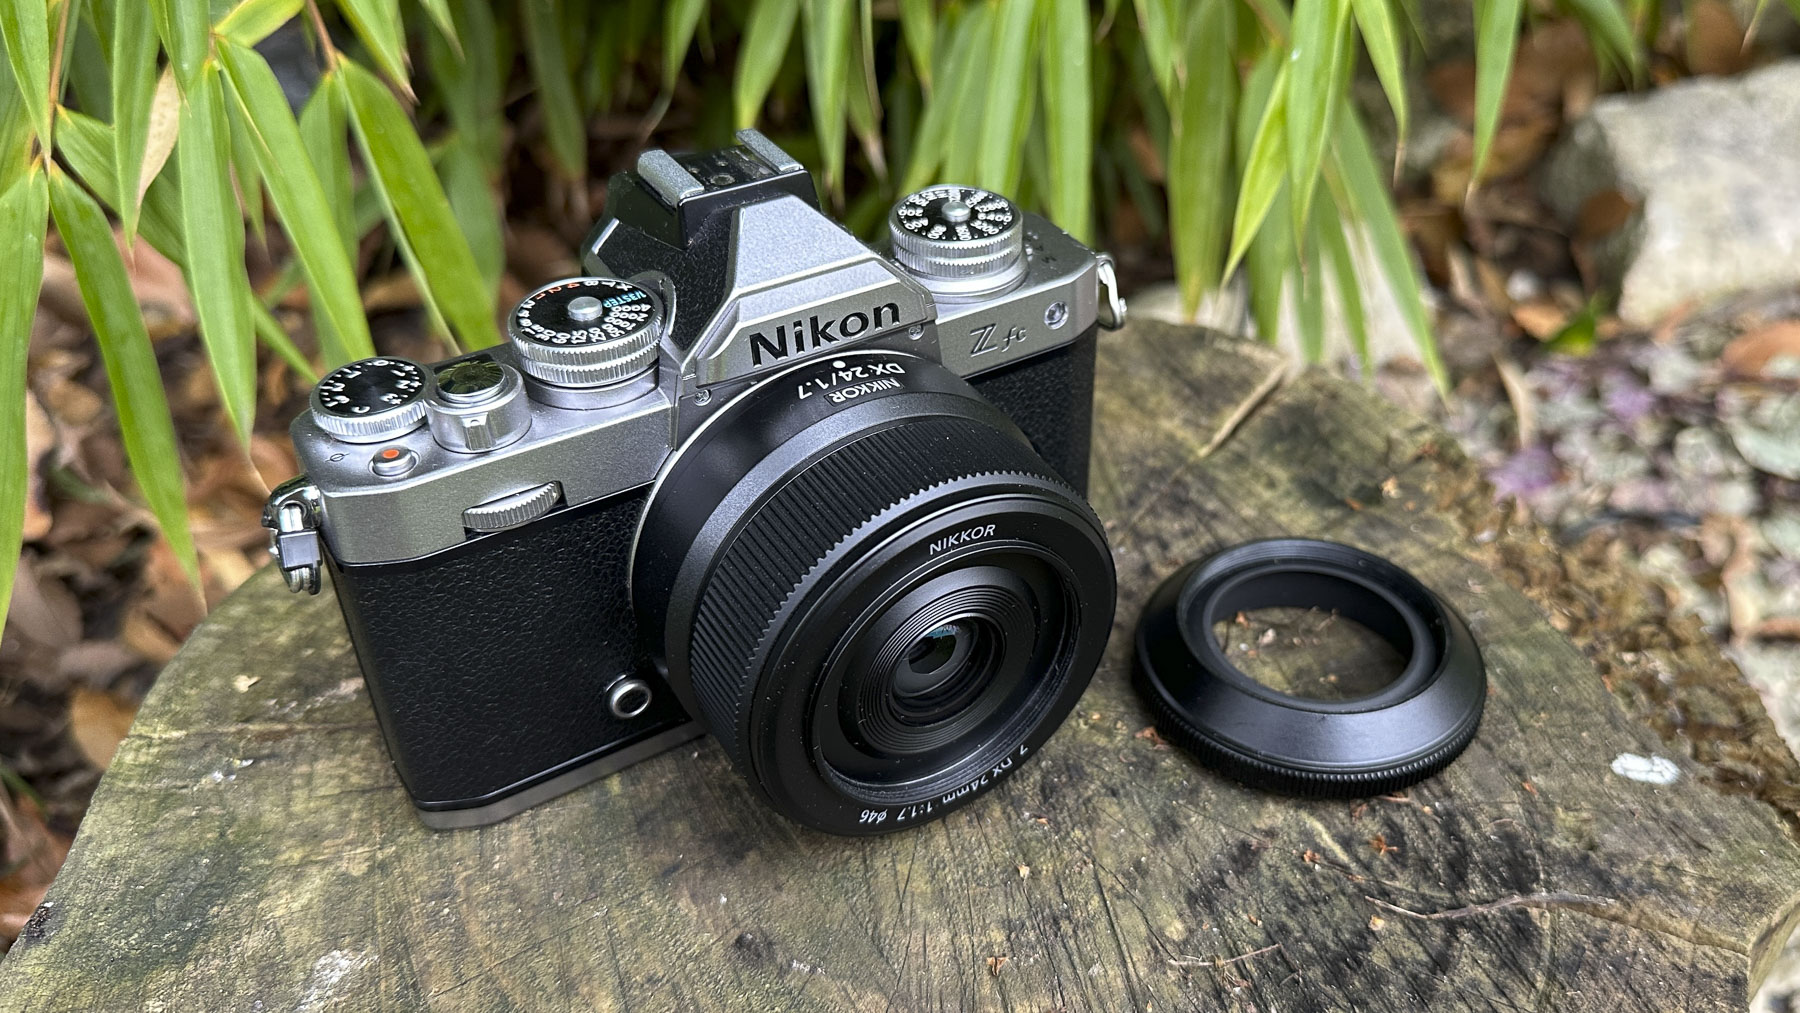

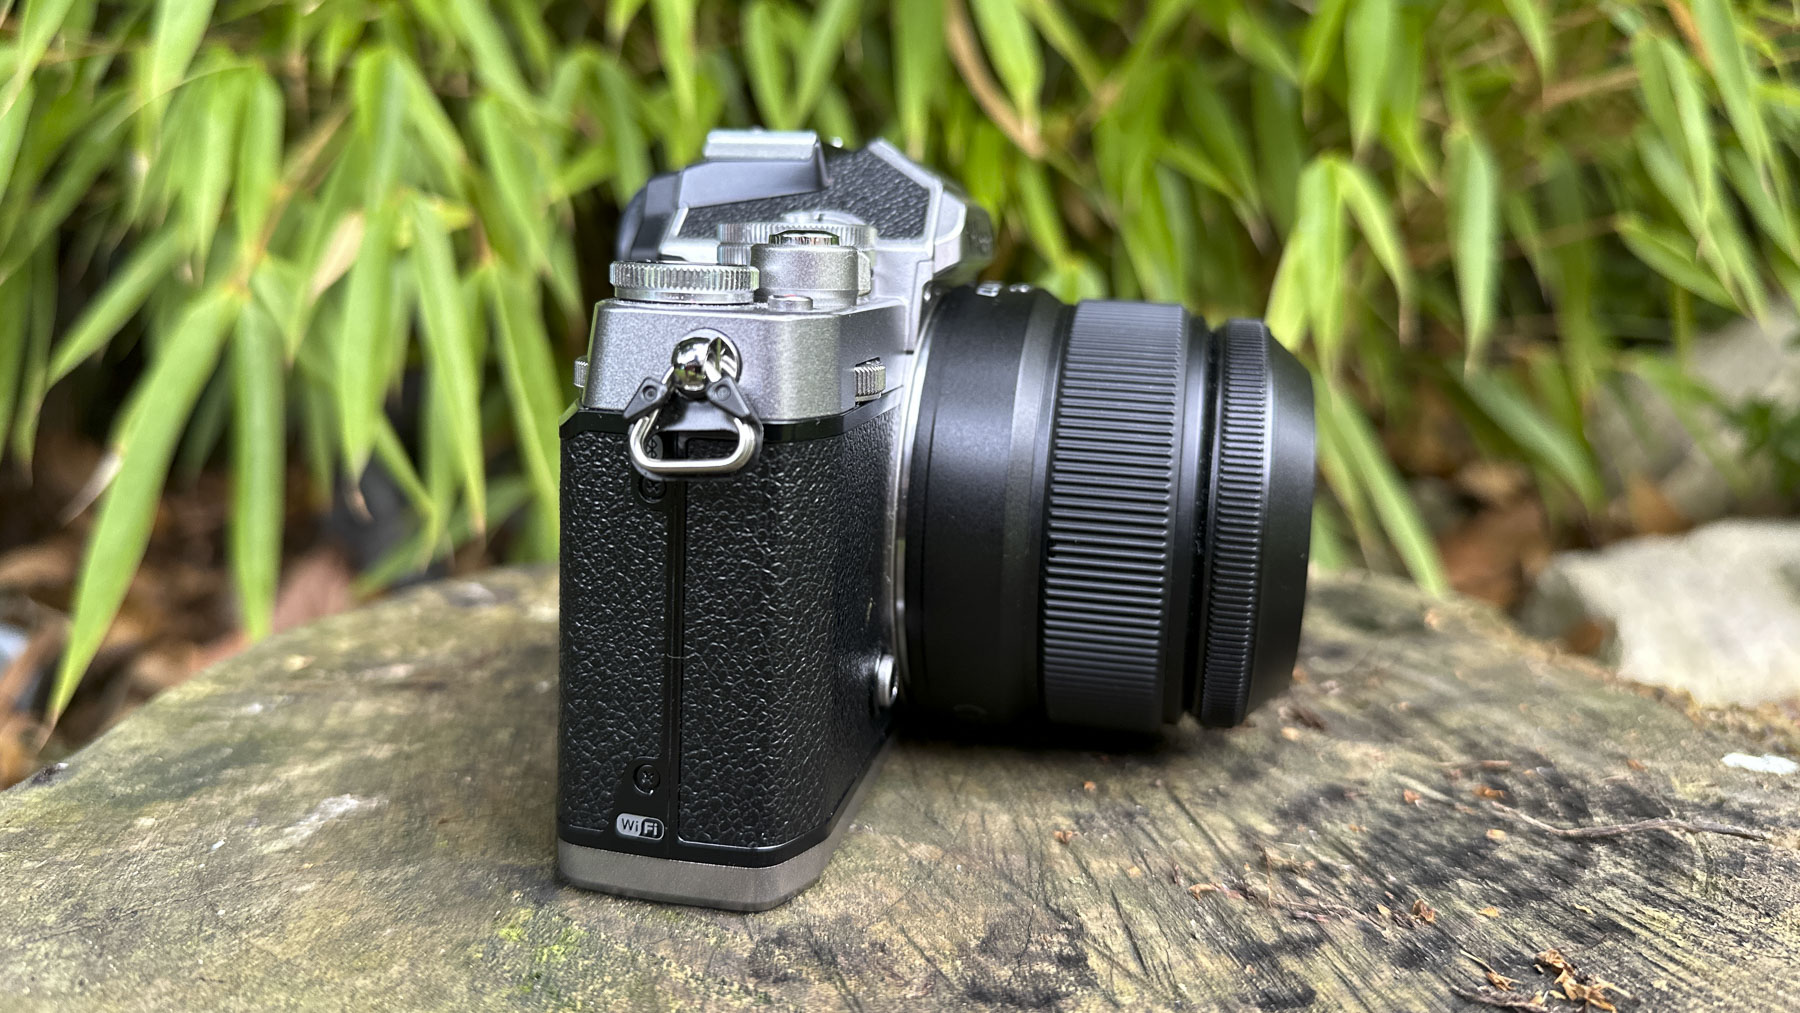
I had the Nikon Z fc for my test of the 24mm f/1.7 lens, and they made a perfect pair, being pocketable if you happened to be wearing a parka jacket with huge pockets. Still, for the rest of us, it would slip very easily into small sling bag, making the combination ideal for a weekend away.
While away for a few days and also shooting a little bit closer to home. I found the Z fc and 24mm f/1.7 combination snuck into a small sling bag that was actually designed to hold a tablet and a few accessories, so it was a nice size to carry around. Photographing my kids playing, as well as general snaps of animals at a petting zoo and some landscape shots in less-than-ideal lighting, the lens performed well. The autofocus of the lens and camera kept up – although it wasn’t lightning-quick, I also wouldn’t expect it to be.
What it did do is live up to my expectations; it was a great carry-around lens that, with a 35mm equivalent lens, gave a similar field of view that I am used to having on a smartphone, but offering much better image quality and sharpness that I would ever get from even the latest phone.
Nikkor Z DX 24mm f/1.7: Price and release date
The Nikkor Z DX 24mm f/1.7 Lens costs £289.99/US$279.95/AU$499 and is on sale now. As it it is the first Nikon DX prime lens, there is little to compare it to within the range. The most obvious alternative lens from within the range is the NIKKOR Z DX 16-50mm f/3.5-6.3 VR lens, which should prove to be a great all-purpose lens, although it lacks the larger f/1.7 aperture for low light shooting. It costs £329/US$309.95/AU$449.
Sigma produces a series of 3 lenses DX lenses for the Nikon Z, the same lenses available for most other APS-C and Micro Four Thirds mounts. Of these, the Sigma 30mm F1.4 DC DN is the closest match to the Nikkor 24mm f/1.7. The Sigma lens has a narrower field of view at 45mm equivalent lens, which, along with the f/1.4 aperture, makes it more suited to portrait shots but less useful as an everyday walk-around lens. It costs US$399 / £349/ AU$699.
Nikkor Z DX 24mm f/1.7: Image quality
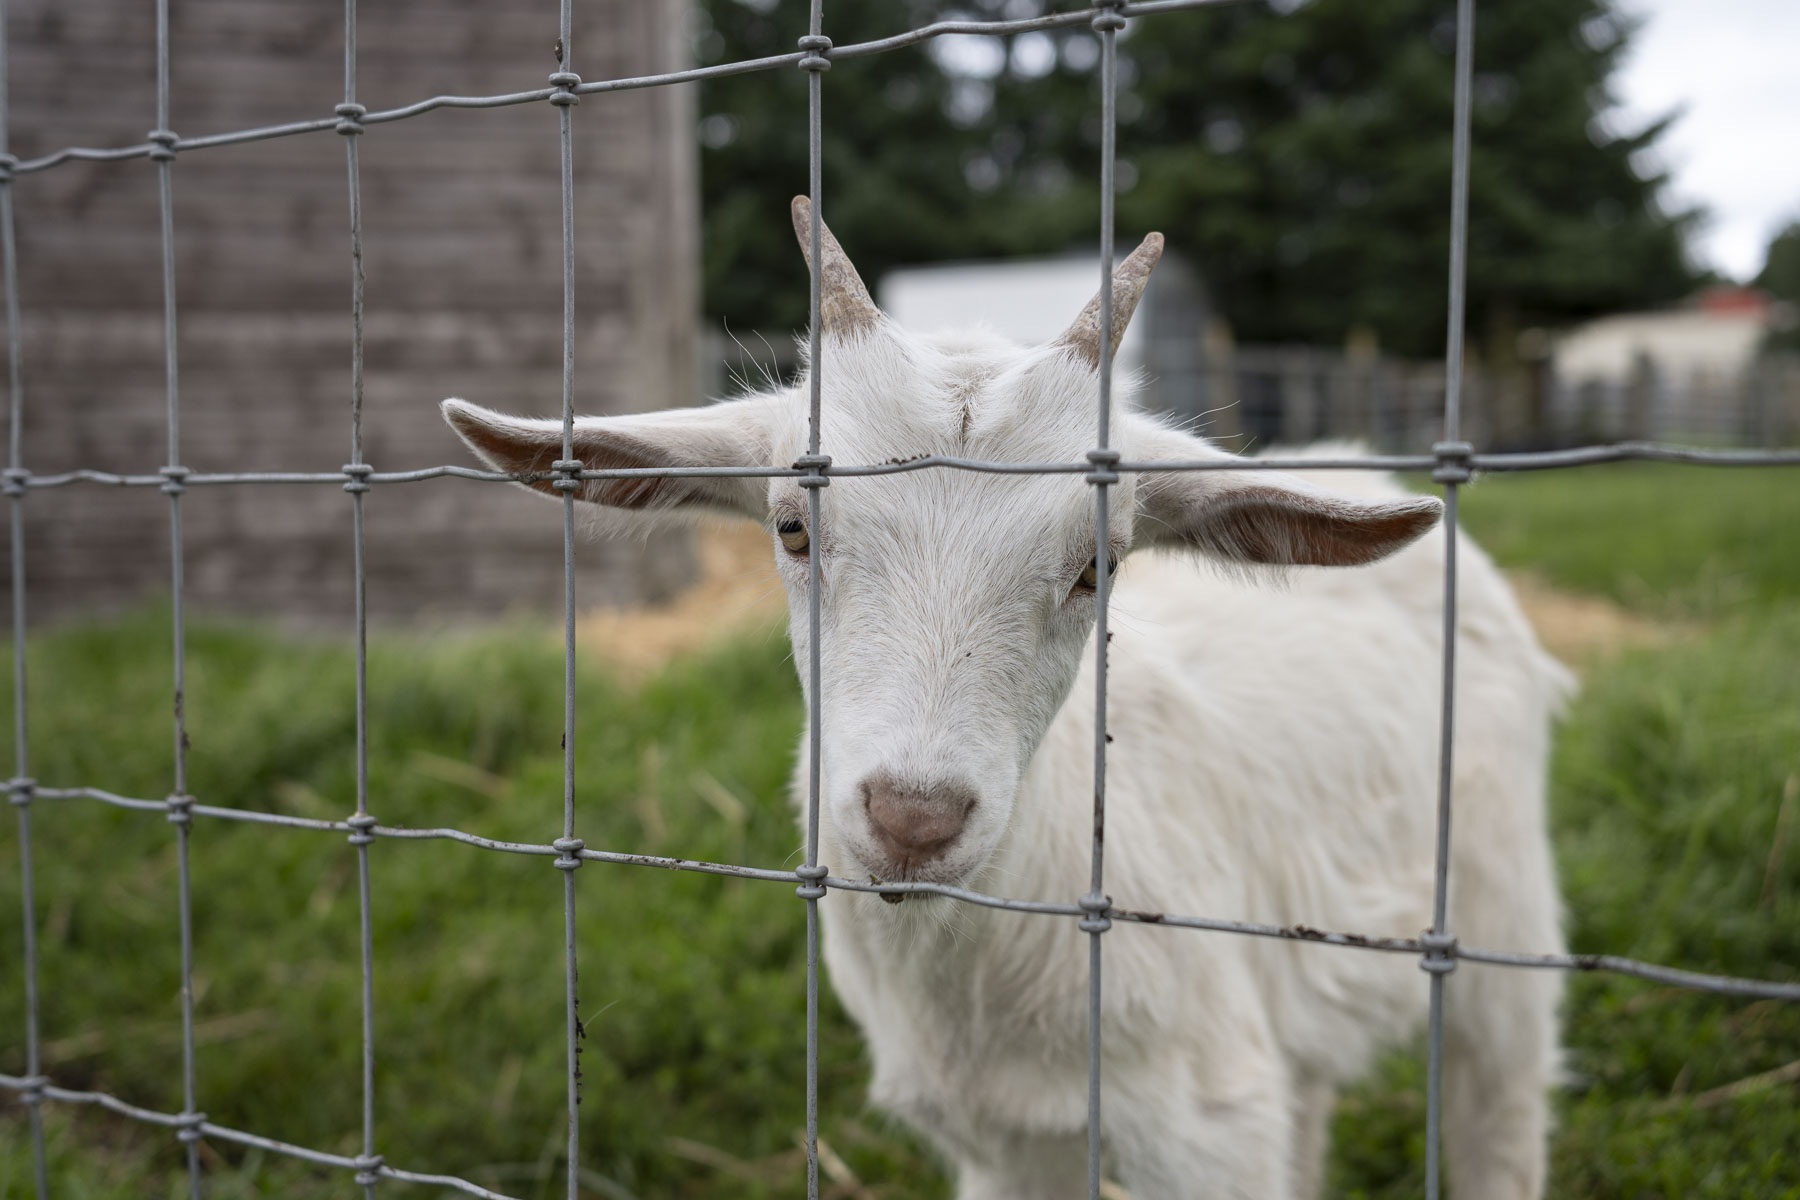
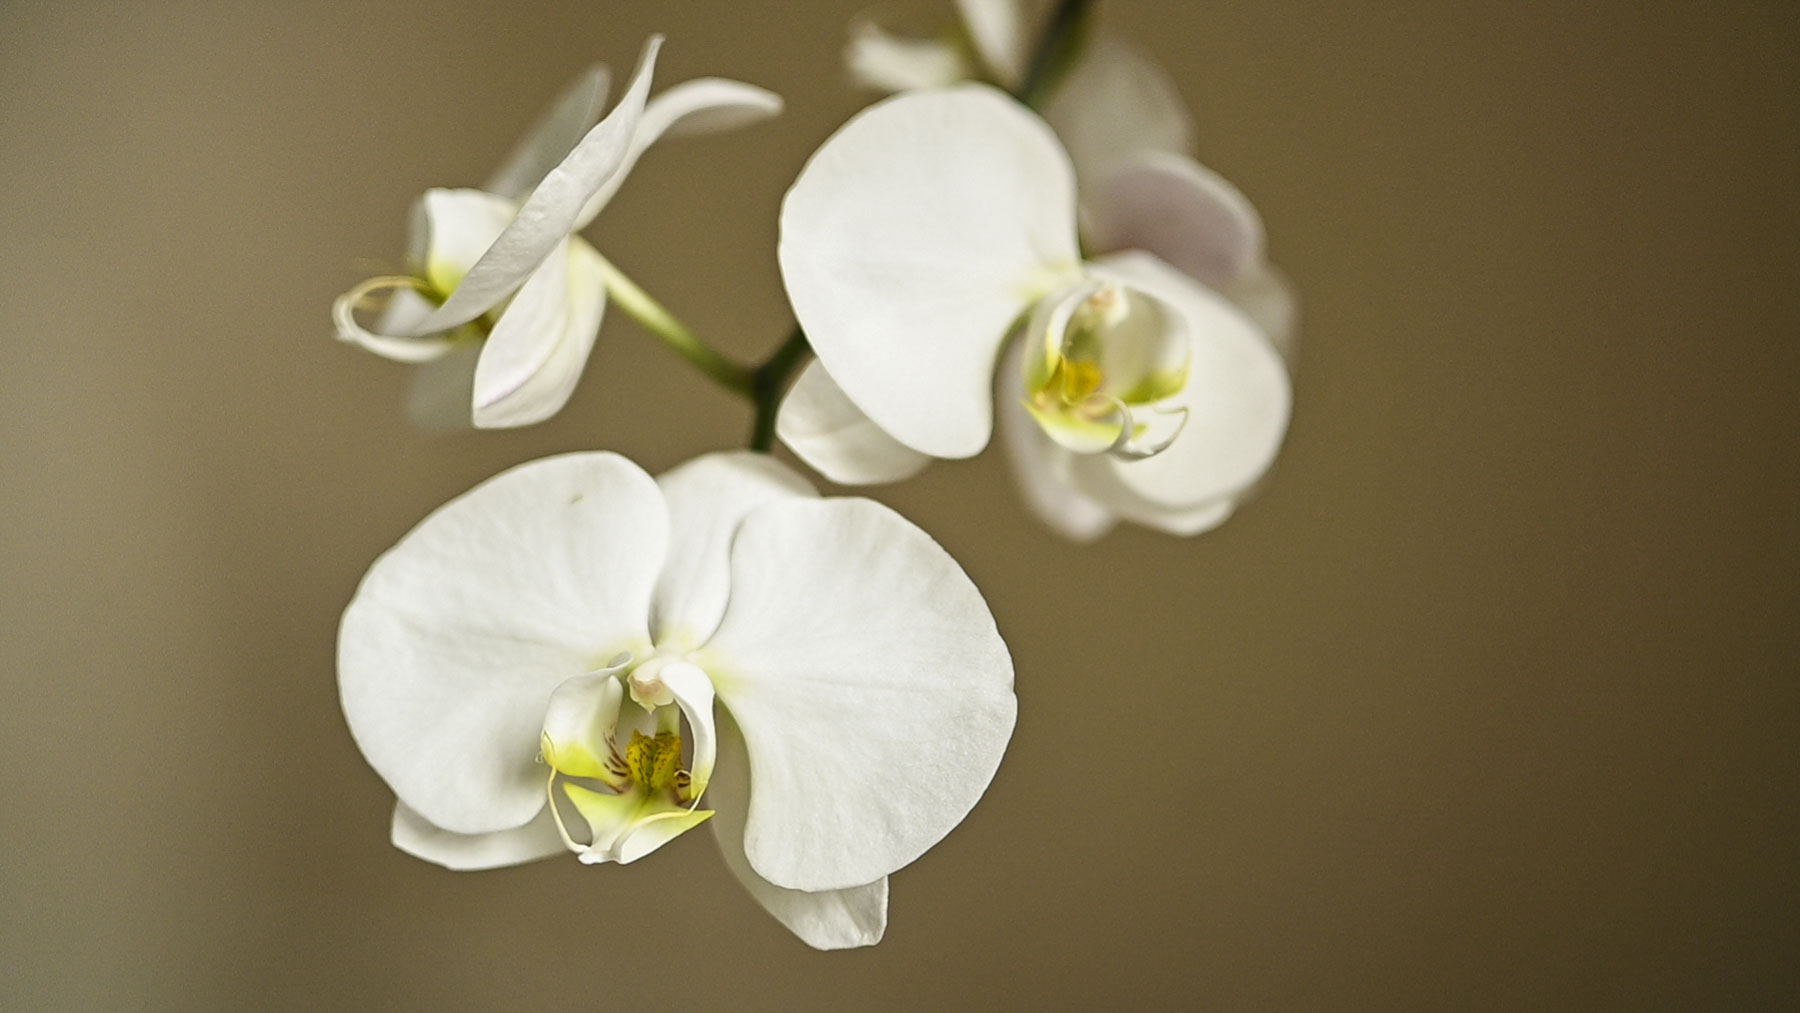
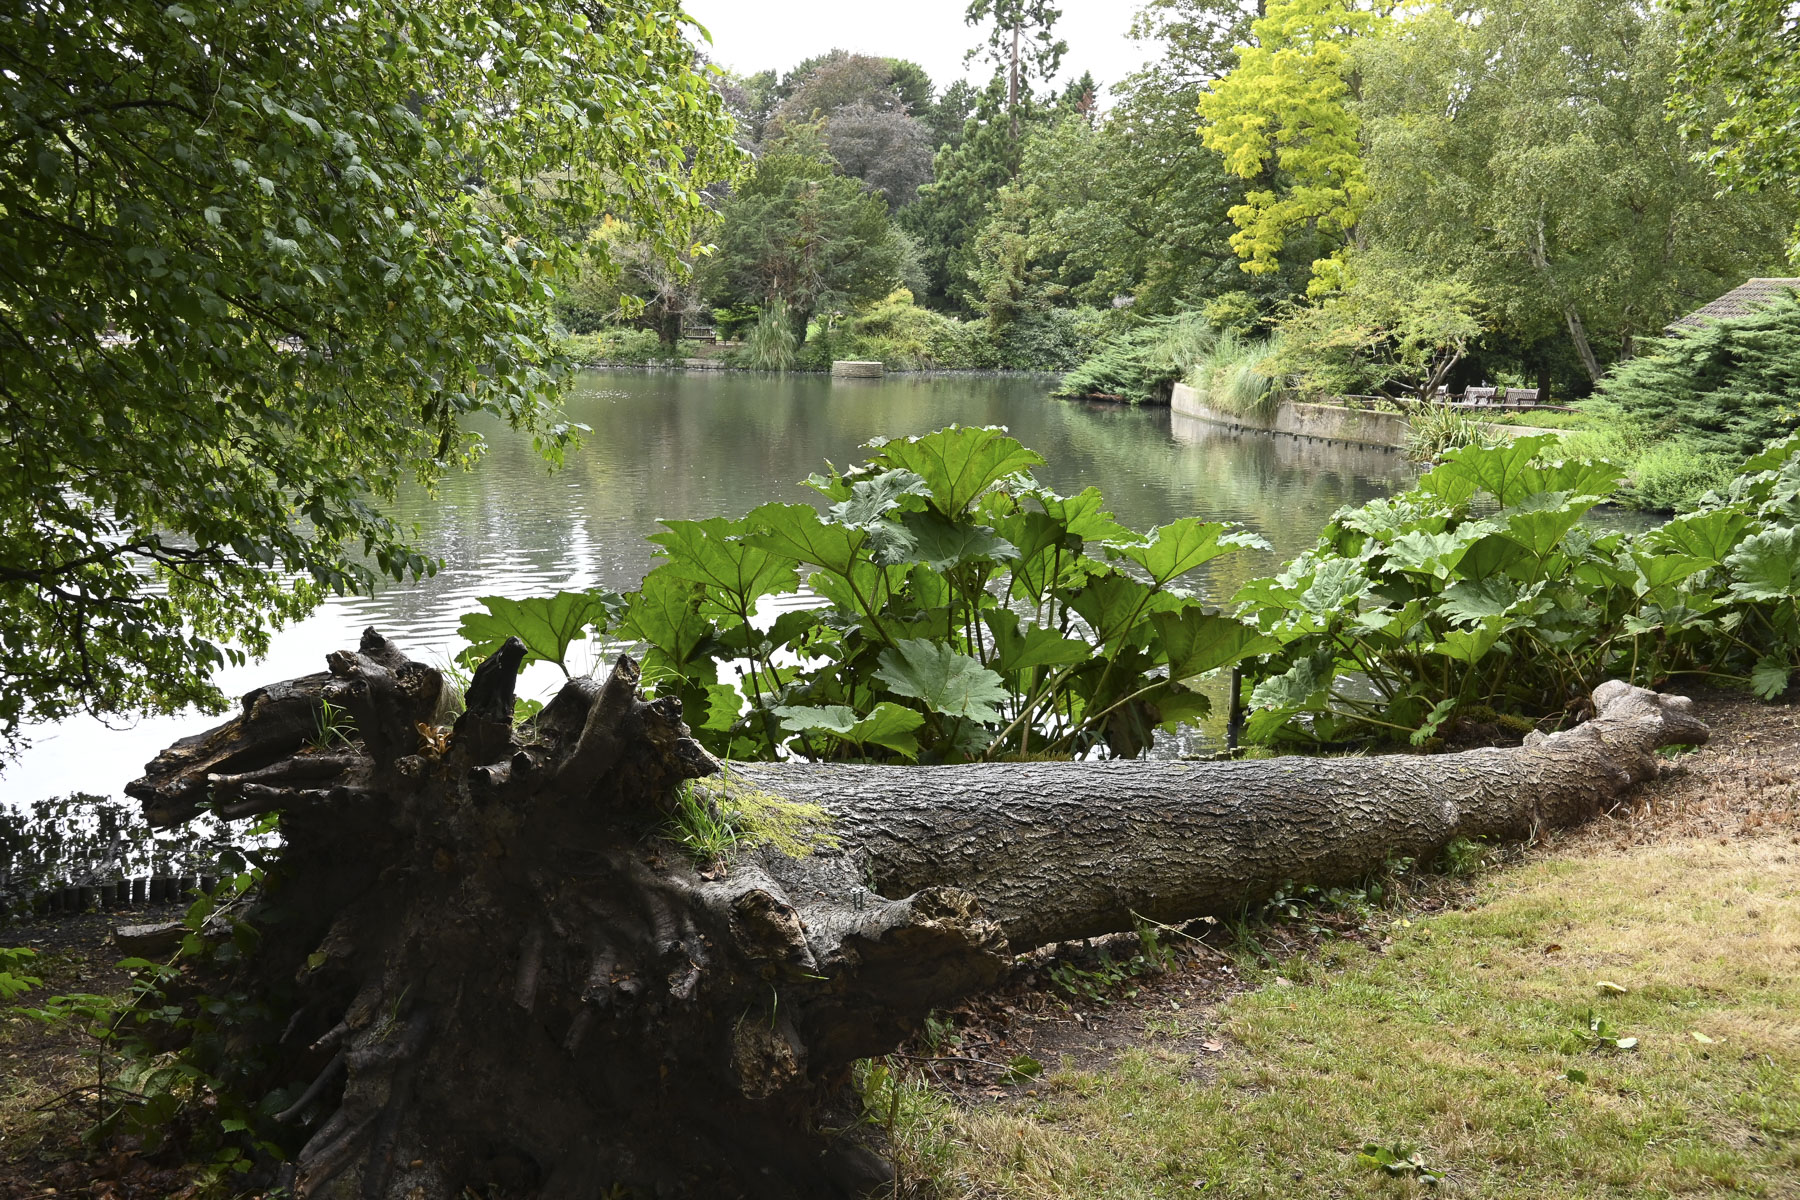
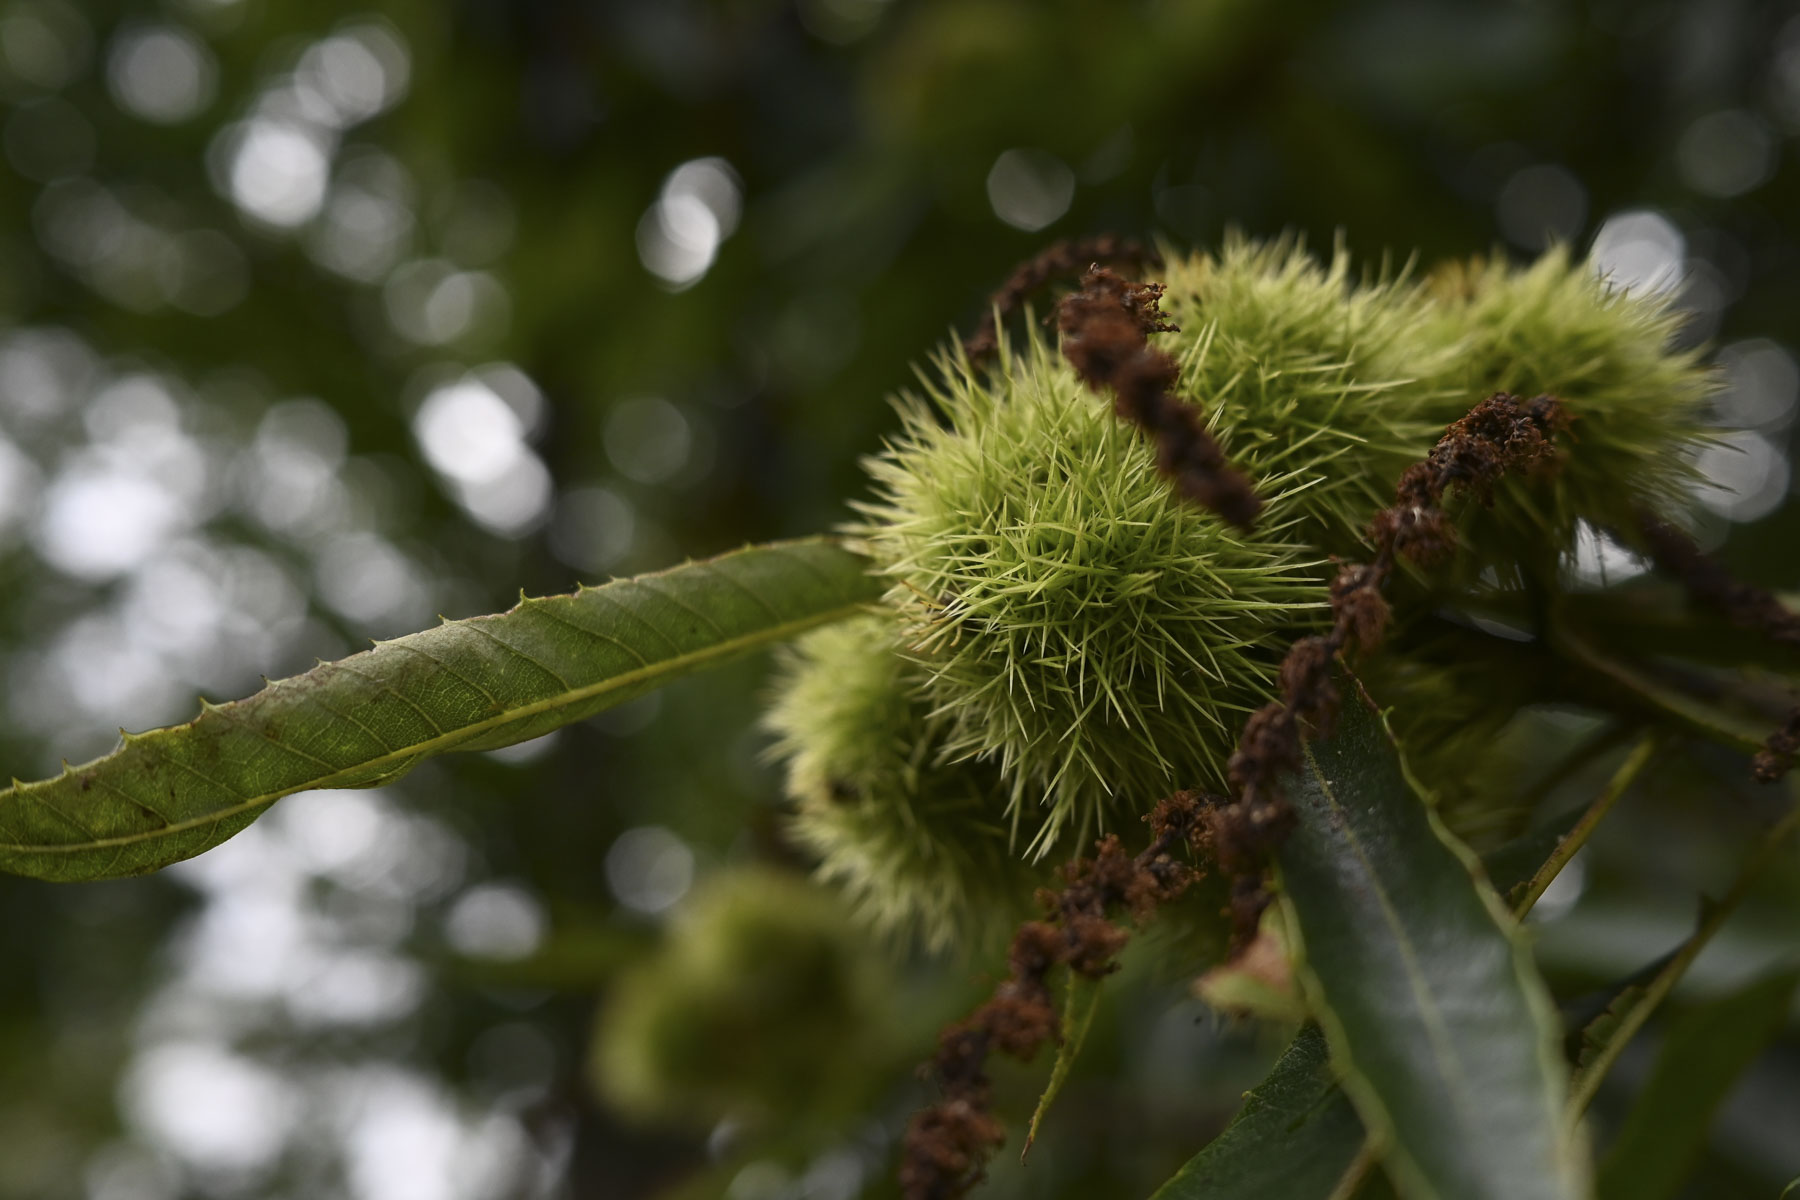
The beauty of a fixed focal length in this standard range is that detail is usually pin-sharp, and the 24mm f/1.7 is no exception. In the very center, details such as hairs on animals – in the case below, a goat – are perfectly defined.
There is impressive detail resolution, even when shooting wide open. However, it is at f/2.8 to f/4 that I found the sharpest of the aperture settings. There is some drop in quality towards the edges of the frame, but the quality is impressive, especially when the lens's size and price are considered.

I didn’t notice any chromatic abberation in my real-world images, but by shooting through trees into a bright, overcast sky, I could force the issue by overexposing slightly and then viewing the image at 400%. Then, I could see some magenta along the edges. No one in their right mind would do this, so rest assured chromatic aberration isn’t an issue, and again, there is in-camera correction.
There is some vignetting with the correction turned off. Shooting a brick wall as part of my testing (brick wall construction is not a hobby of mine), shots taken at f/1.7 had heavy vignetting in the corners that took a +100 adjustment in Adobe Camera Raw to correct. Stopping down to f/4, and the shading in the corners had gone. All that said, vignetting correction is just a few button presses away, and it gets rid of vignetting entirely, even at f/1.7, so unless you are an absolute lens purist, you don’t ever have to worry about it.
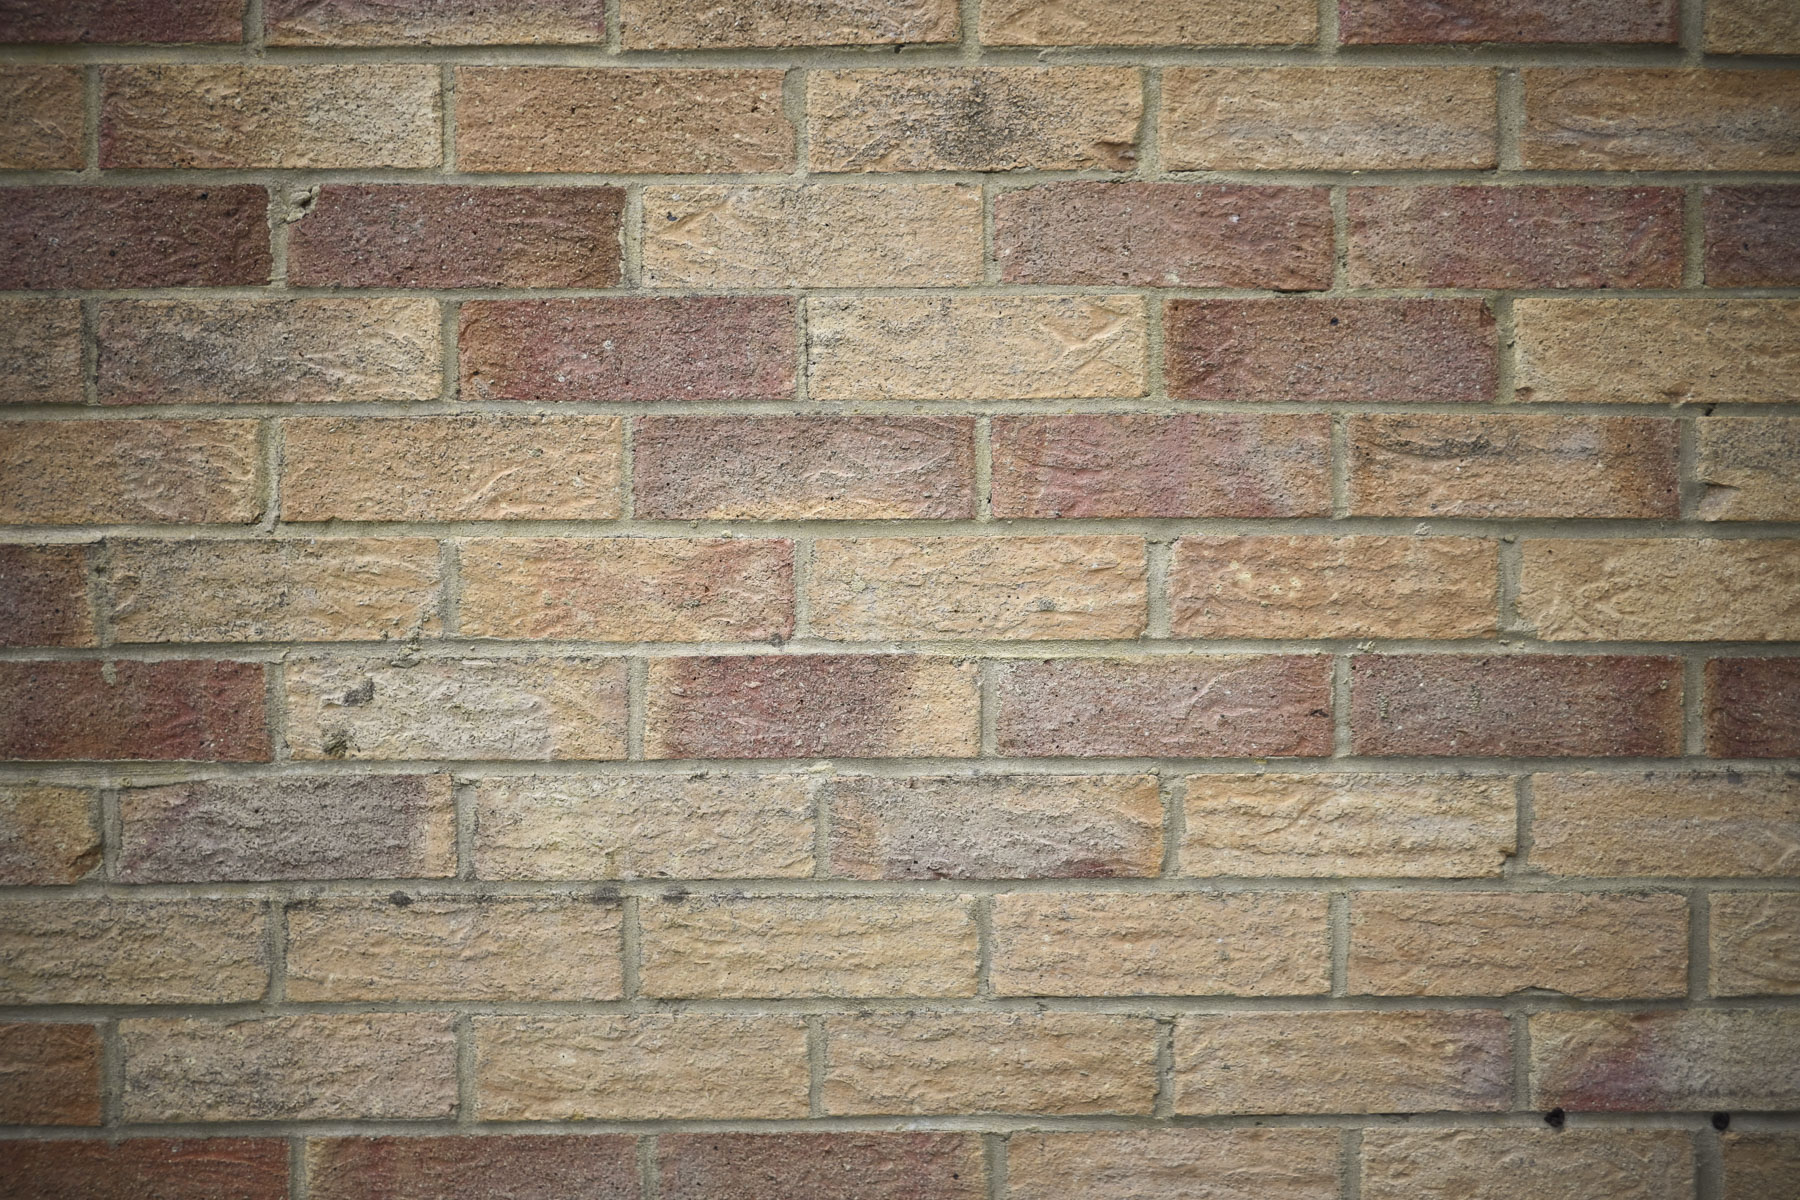

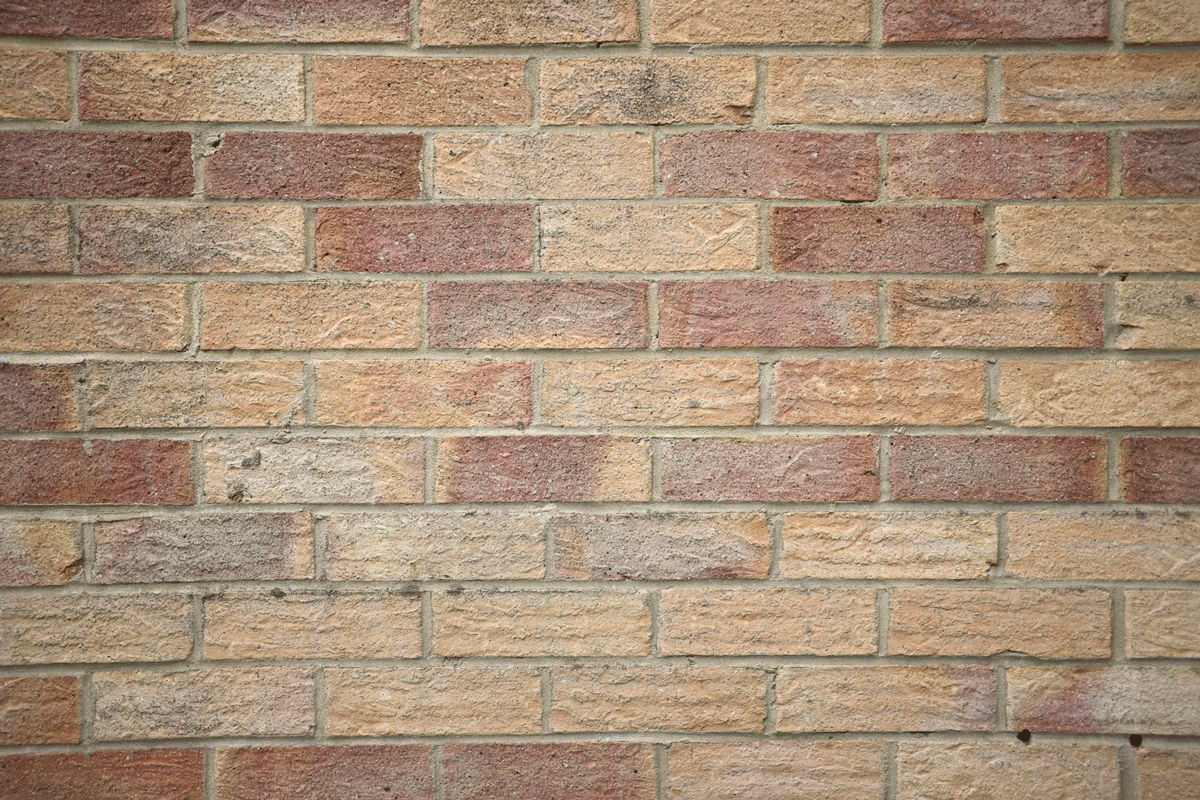
Again, with curvilinear distortion correction turned off in the camera, some pincushion distortion is present. A quick shift of the distortion correction in Adobe Camera Raw to -6 straightened everything up, and the image looks virtually identical to the image straight out of the camera with the in-camera correction switched on.
The overall conclusion is to leave the in-camera corrections all switched on and shoot away quite happily, knowing the images will be virtually perfect.
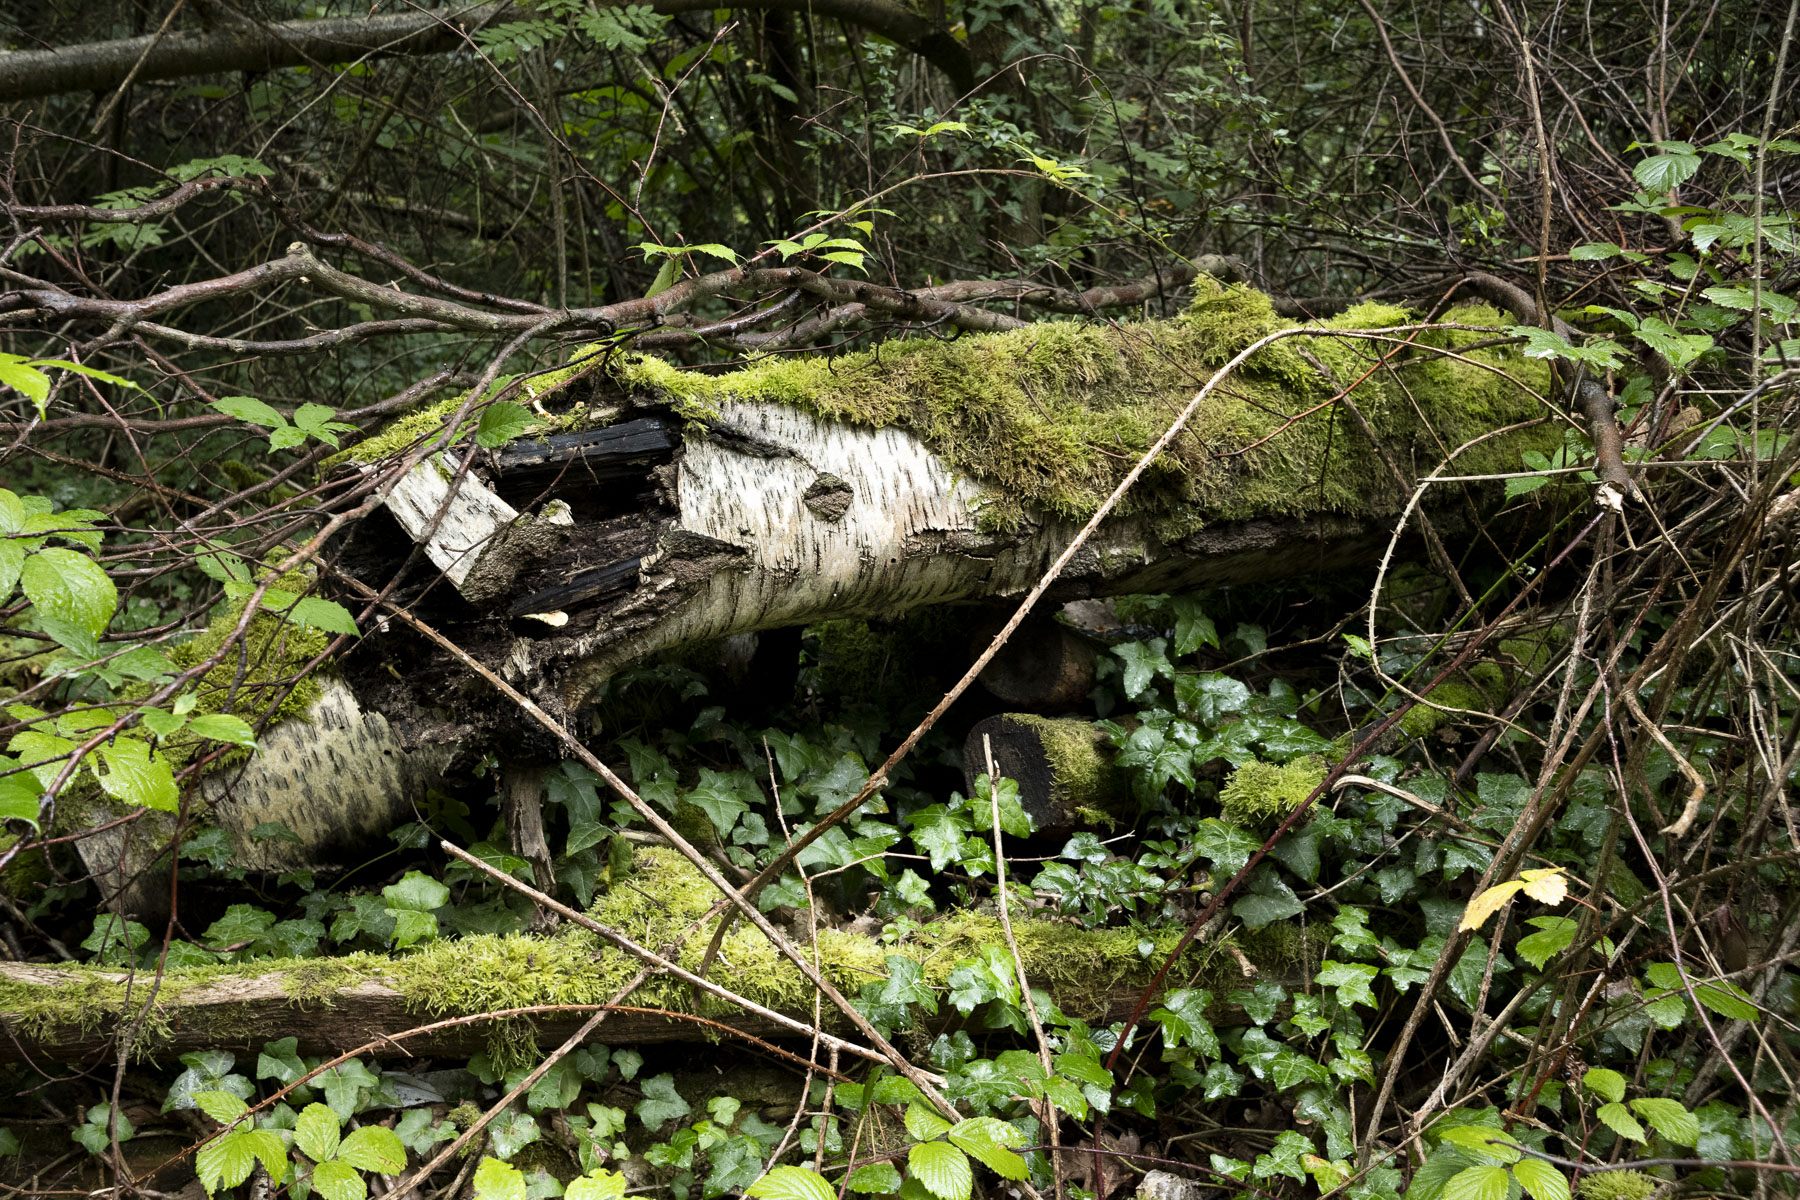
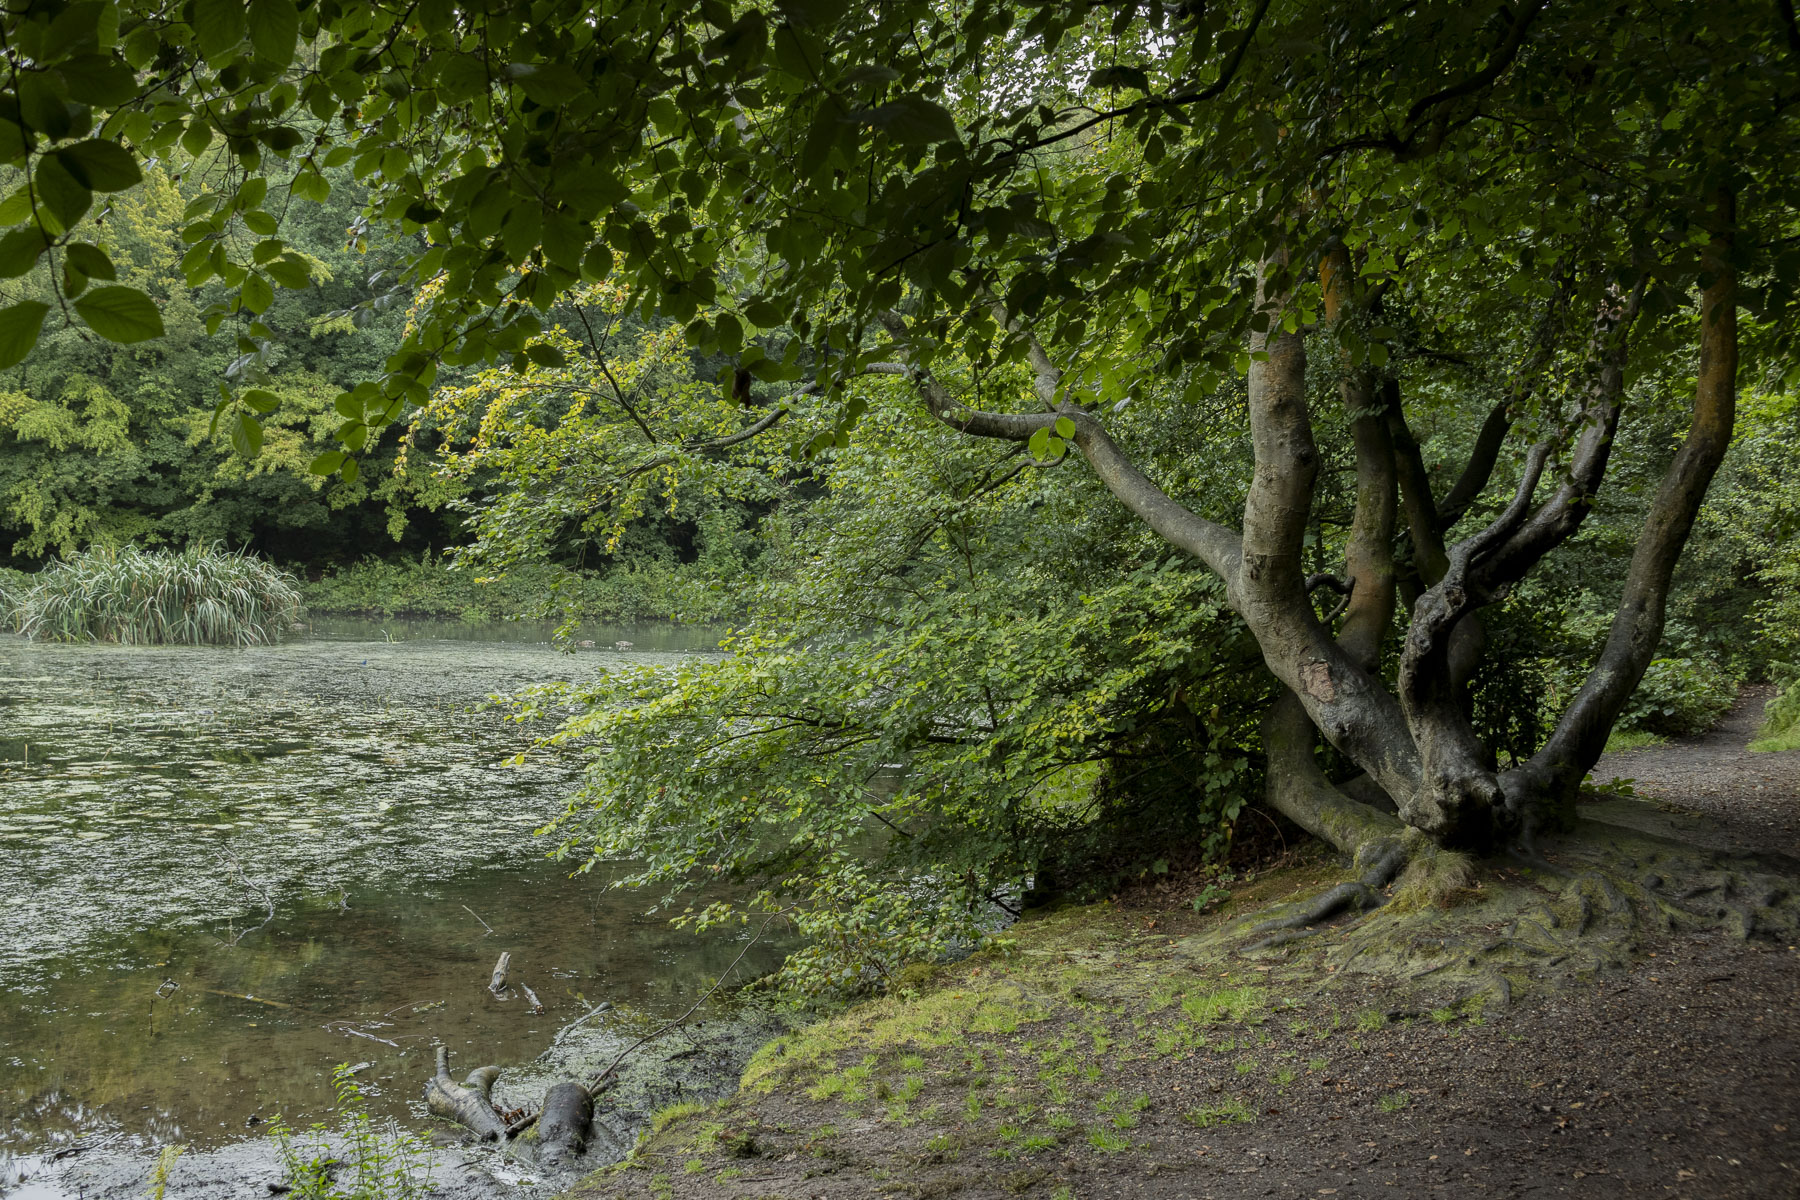
Nikkor Z DX 24mm f/1.7 sample images

Should I buy the Nikkor Z DX 24mm f/1.7 lens?
Buy it if...
Don't buy it if...
How I tested the Nikor 24mm f/1.7 lens
I tested the Nikor 24mm f/1.7 lens by taking it away with me for a few days away. I used it on a Nikon Z fc and took various images, just as someone would take it with them on their travels. This included scenic images, shots of my children, shots of animals at a petting zoo, as well as some detail shots to test the close-up ability and to see what the background bokeh looked like.
During the real-world testing of the lens, I used a variety of different aperture settings and focusing methods to see how the lens performed.
I accompanied these images with some test shots of a brick wall to test vignetting and curvilinear distortion, as well as the tried and tested method of looking for chromatic aberration by shooting an overcast sky through tree branches.
First reviewed October 2023

0 comments:
Post a Comment