Original Prusa SL1S 3D printer
The Original PRUSA SL1 was PRUSA's first commercial venture into SLA printing, and for the price, it was an incredibly impressive 3D printer.
First of all, it had a relatively small footprint which meant that it would sit on a work surface rather than dominate it. Then you had the option to buy the CW1 wash and cure machine, essentially brilliant, enabling you to wash and cure, cutting out a lot of hassle.
Now the SL1s has arrived, and it looks almost identical to the SL1, with a few slight tweaks to the design, such as the blacktop panel.
Under the hood, there are a few technological advances that enable faster print times. Those advances are mainly due to the new LCD screen with increased resolution and brightness.
The resin tank also sees a change, but overall the build seems much the same.
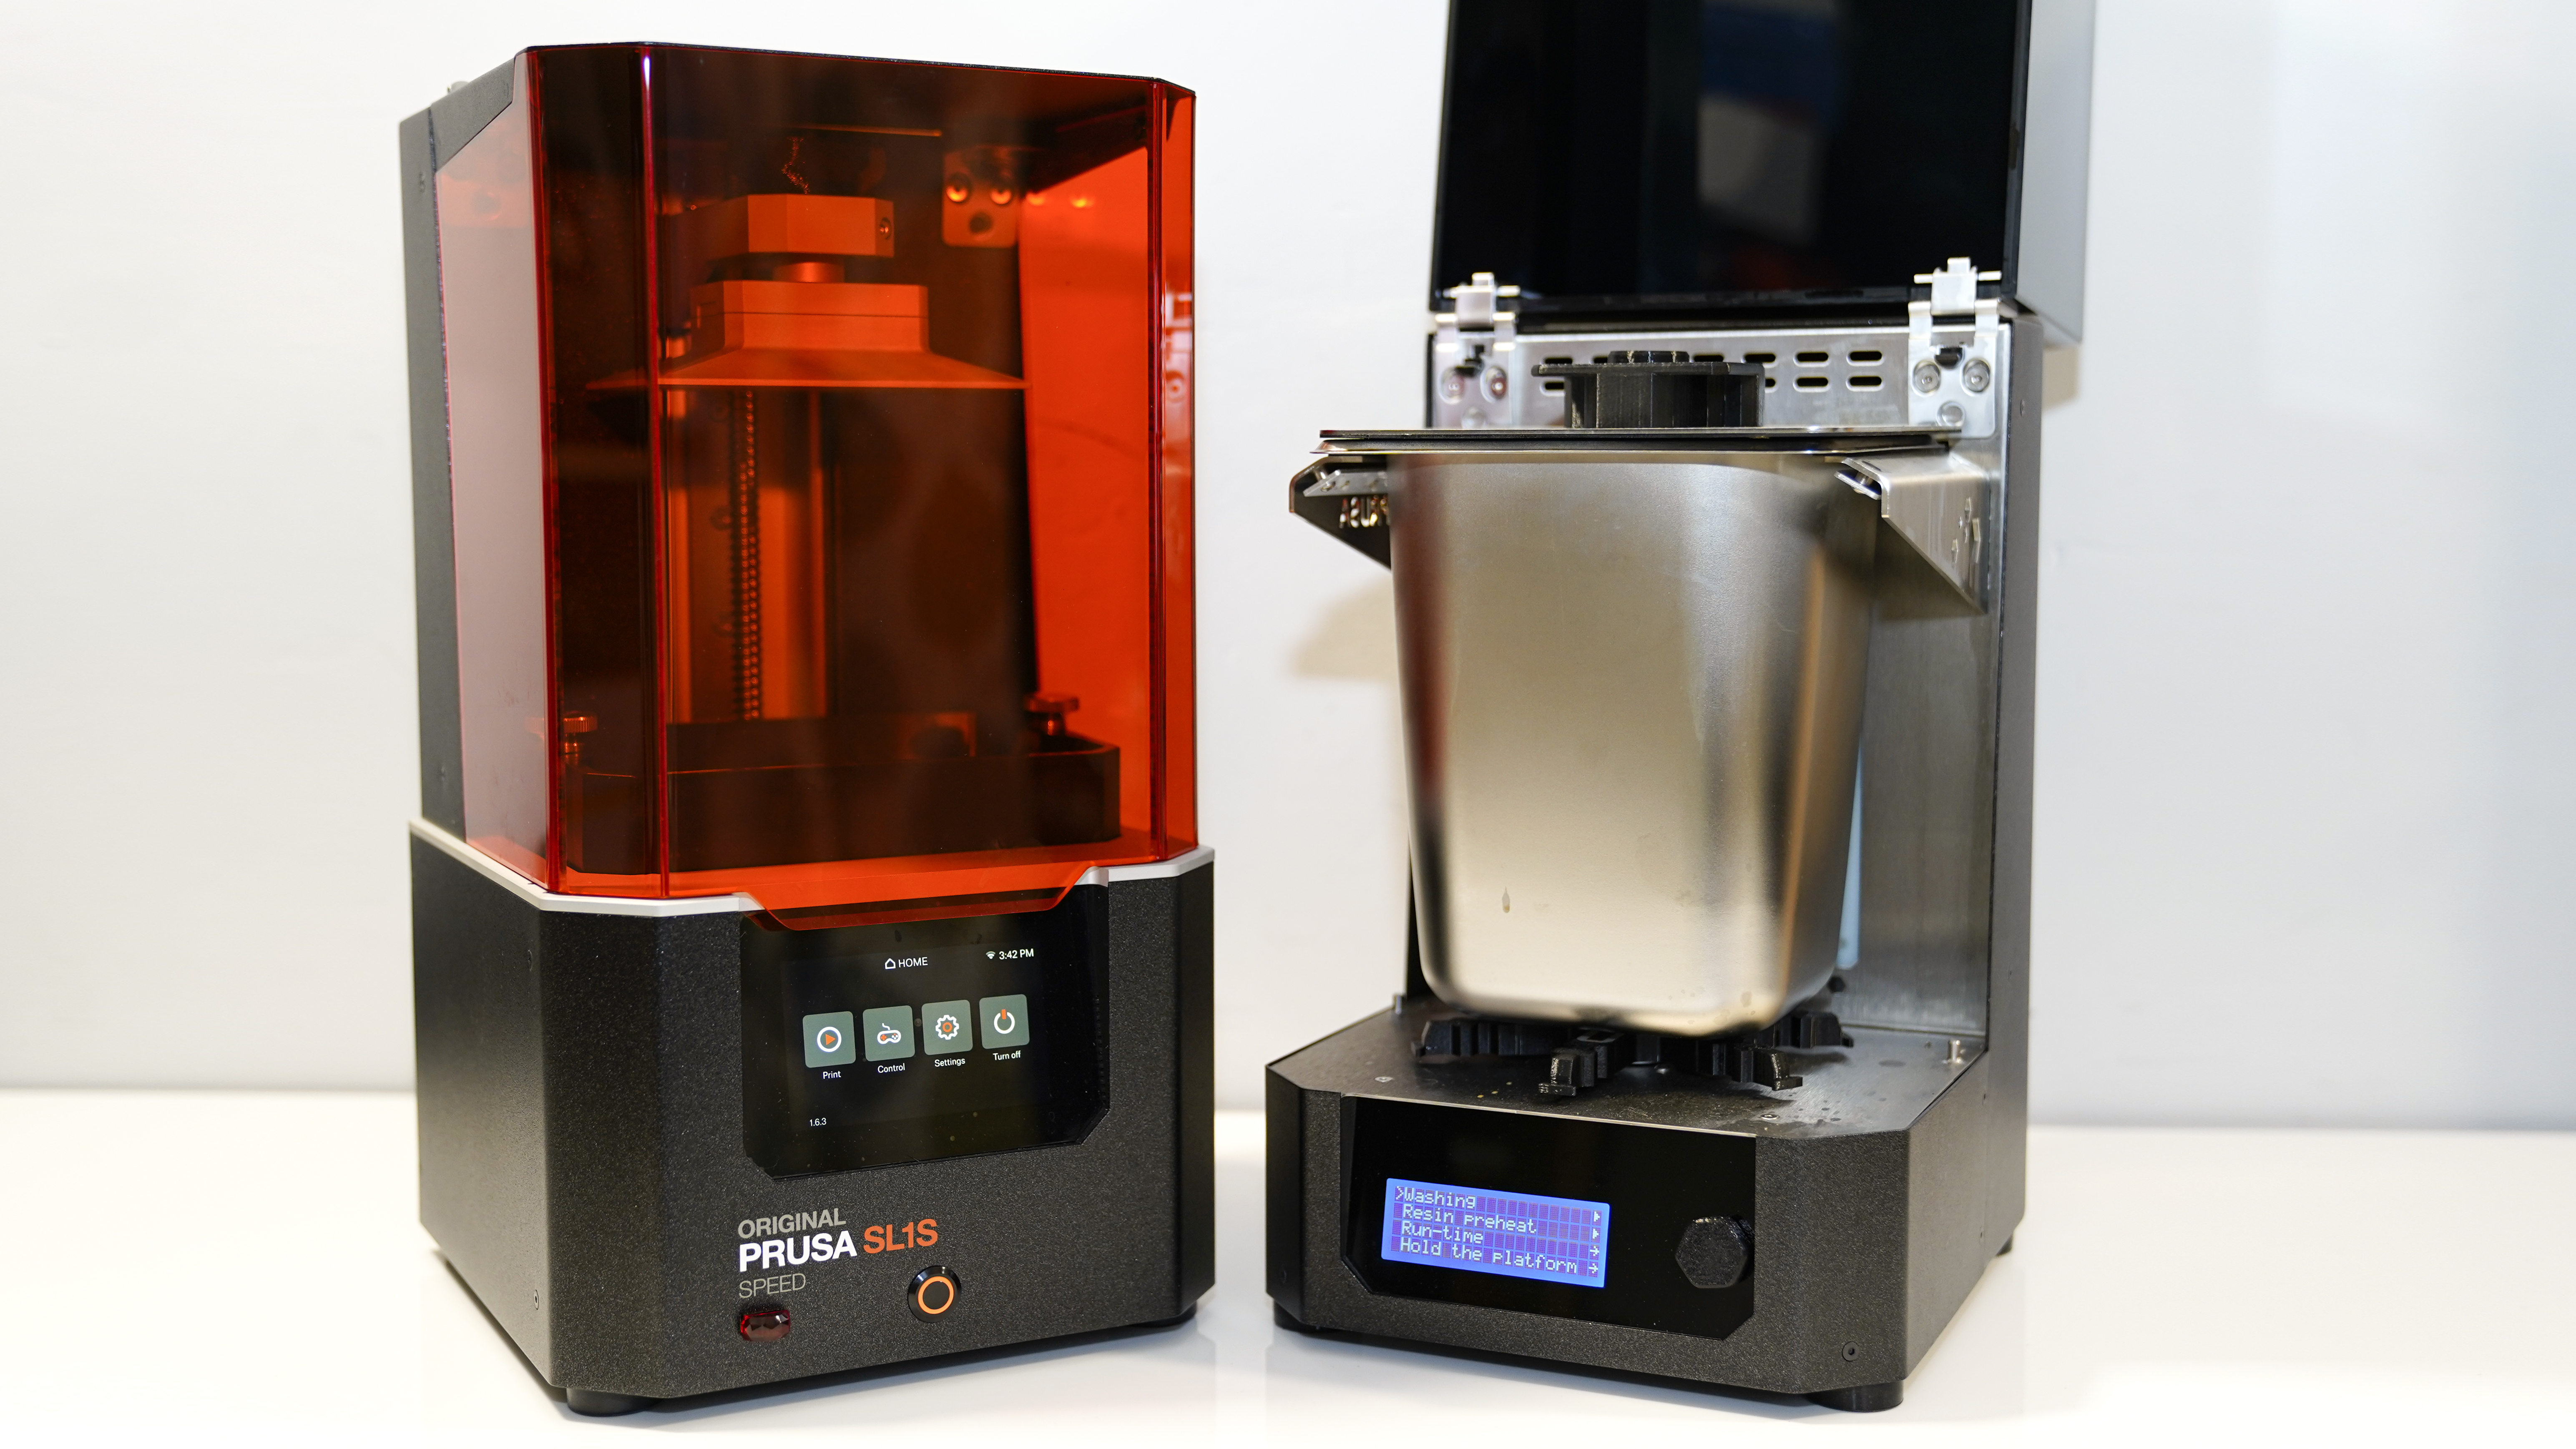
Likewise, the new CW1S is almost identical to the CW1; the real change is that the base can now be lifted out, making things more efficient as you switch from washing to curing your prints.
The SL1S is the SL1 refined; it looks much the same and gives you a little more flexibility when printing.
Design
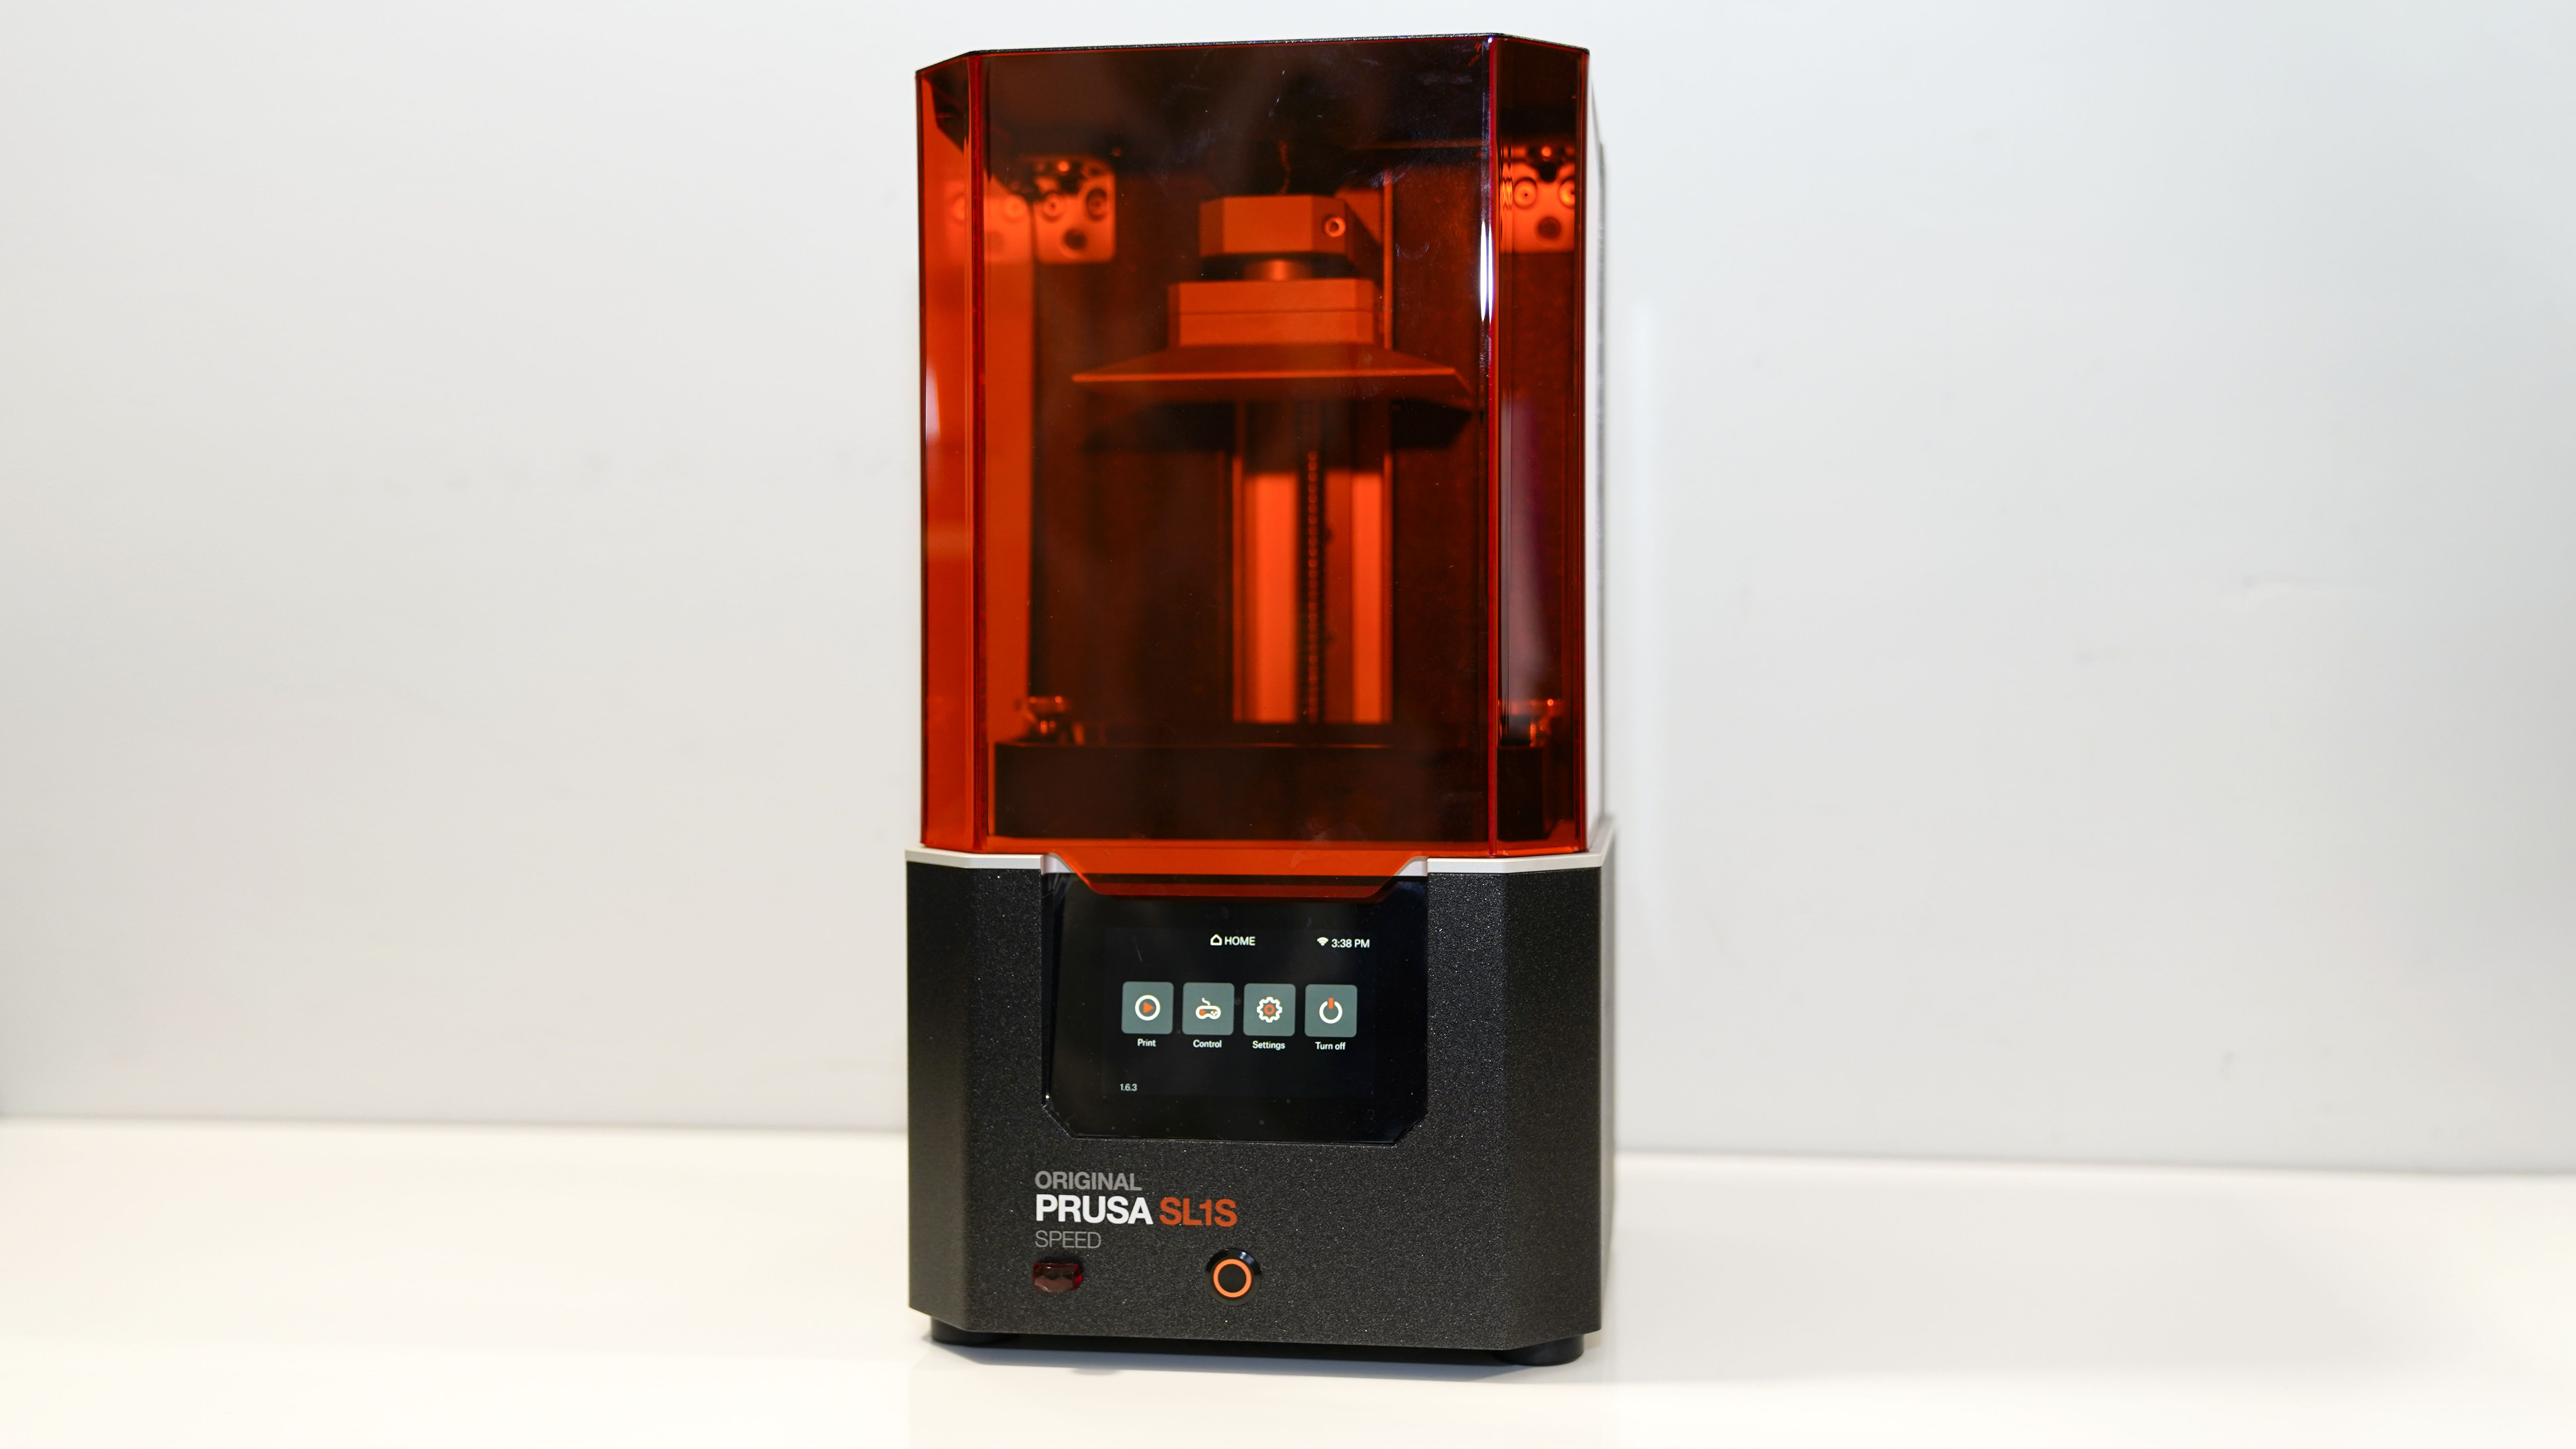
The design of SL1S physically doesn't change a great deal over the SL1. It features the same touch screen LCD on the front, which is again good and responsive.

Lift the lid, and it reveals the bolted down resin tank that covers the LCD, sturdy lead screw, the print platform suspended above the tank, and that's about it. All the other mechanics are hidden away inside the base; it's neat and well thought out.
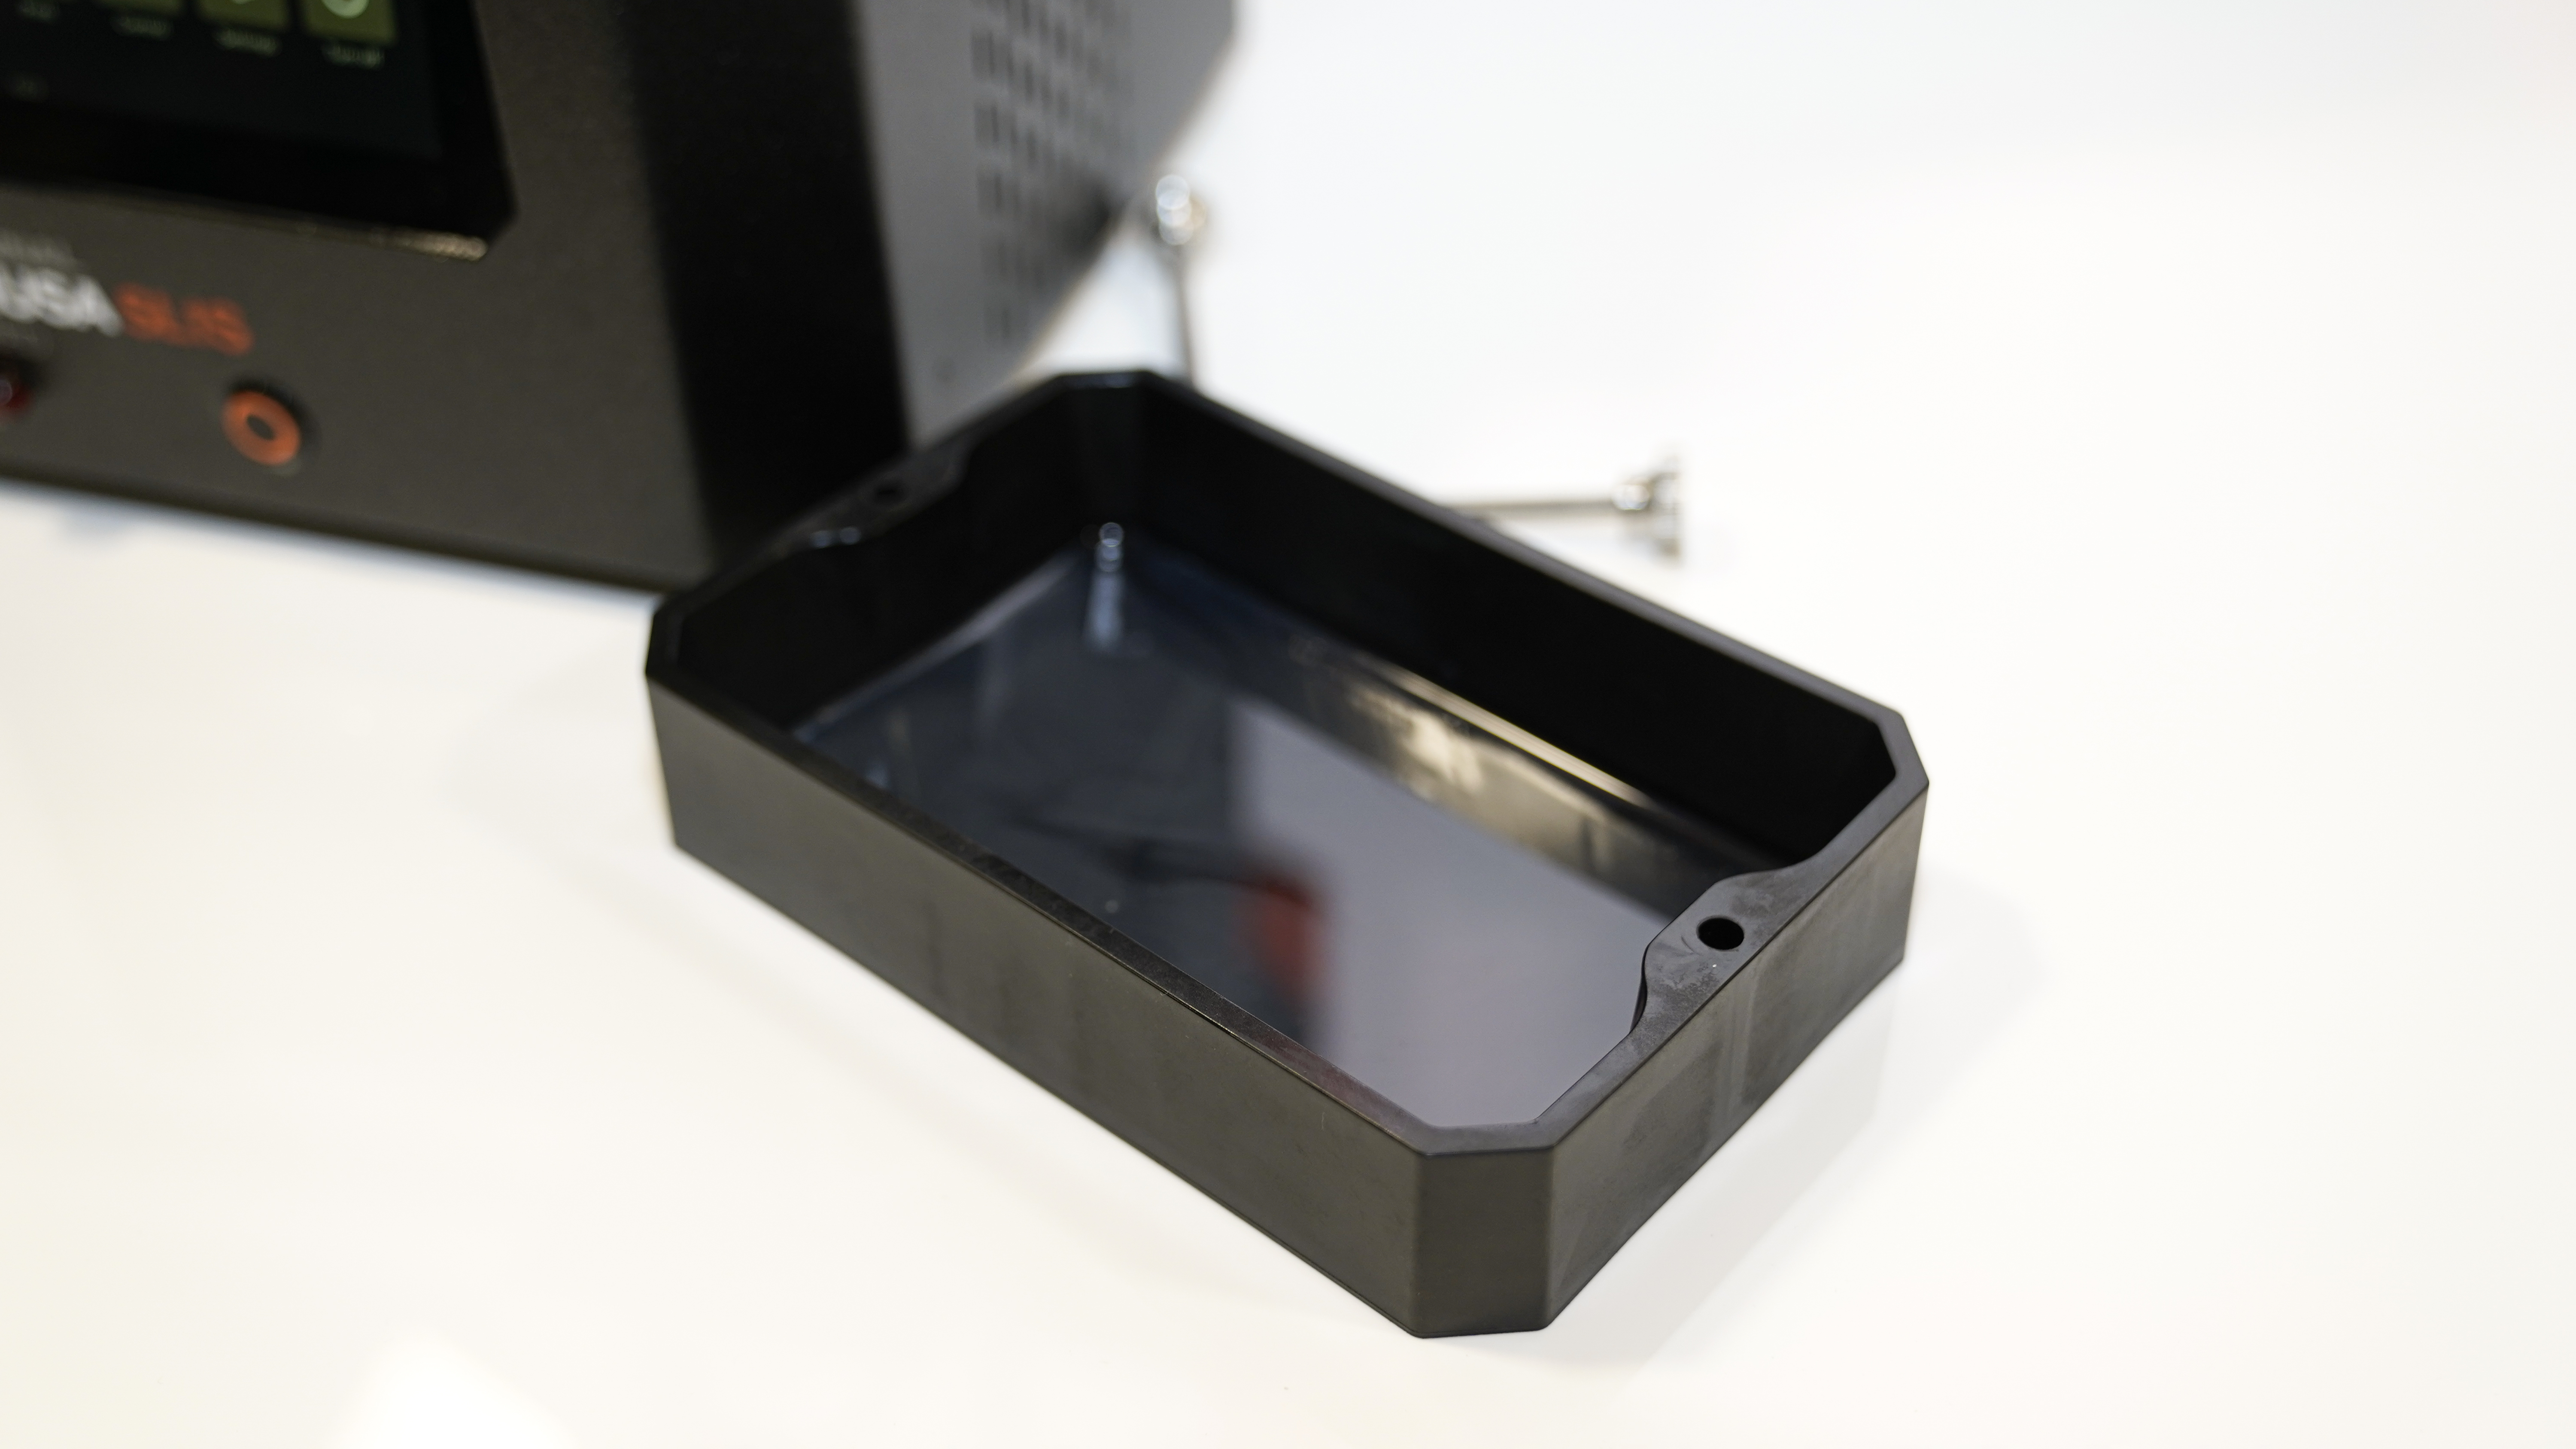
There are a few small changes, the main one being the resin tank which is now plastic rather than metal. While this feels like a cheaper option, it's a better choice as you're far less likely to cause any damage or scratches with a plastic tank against the screen than you are metal.
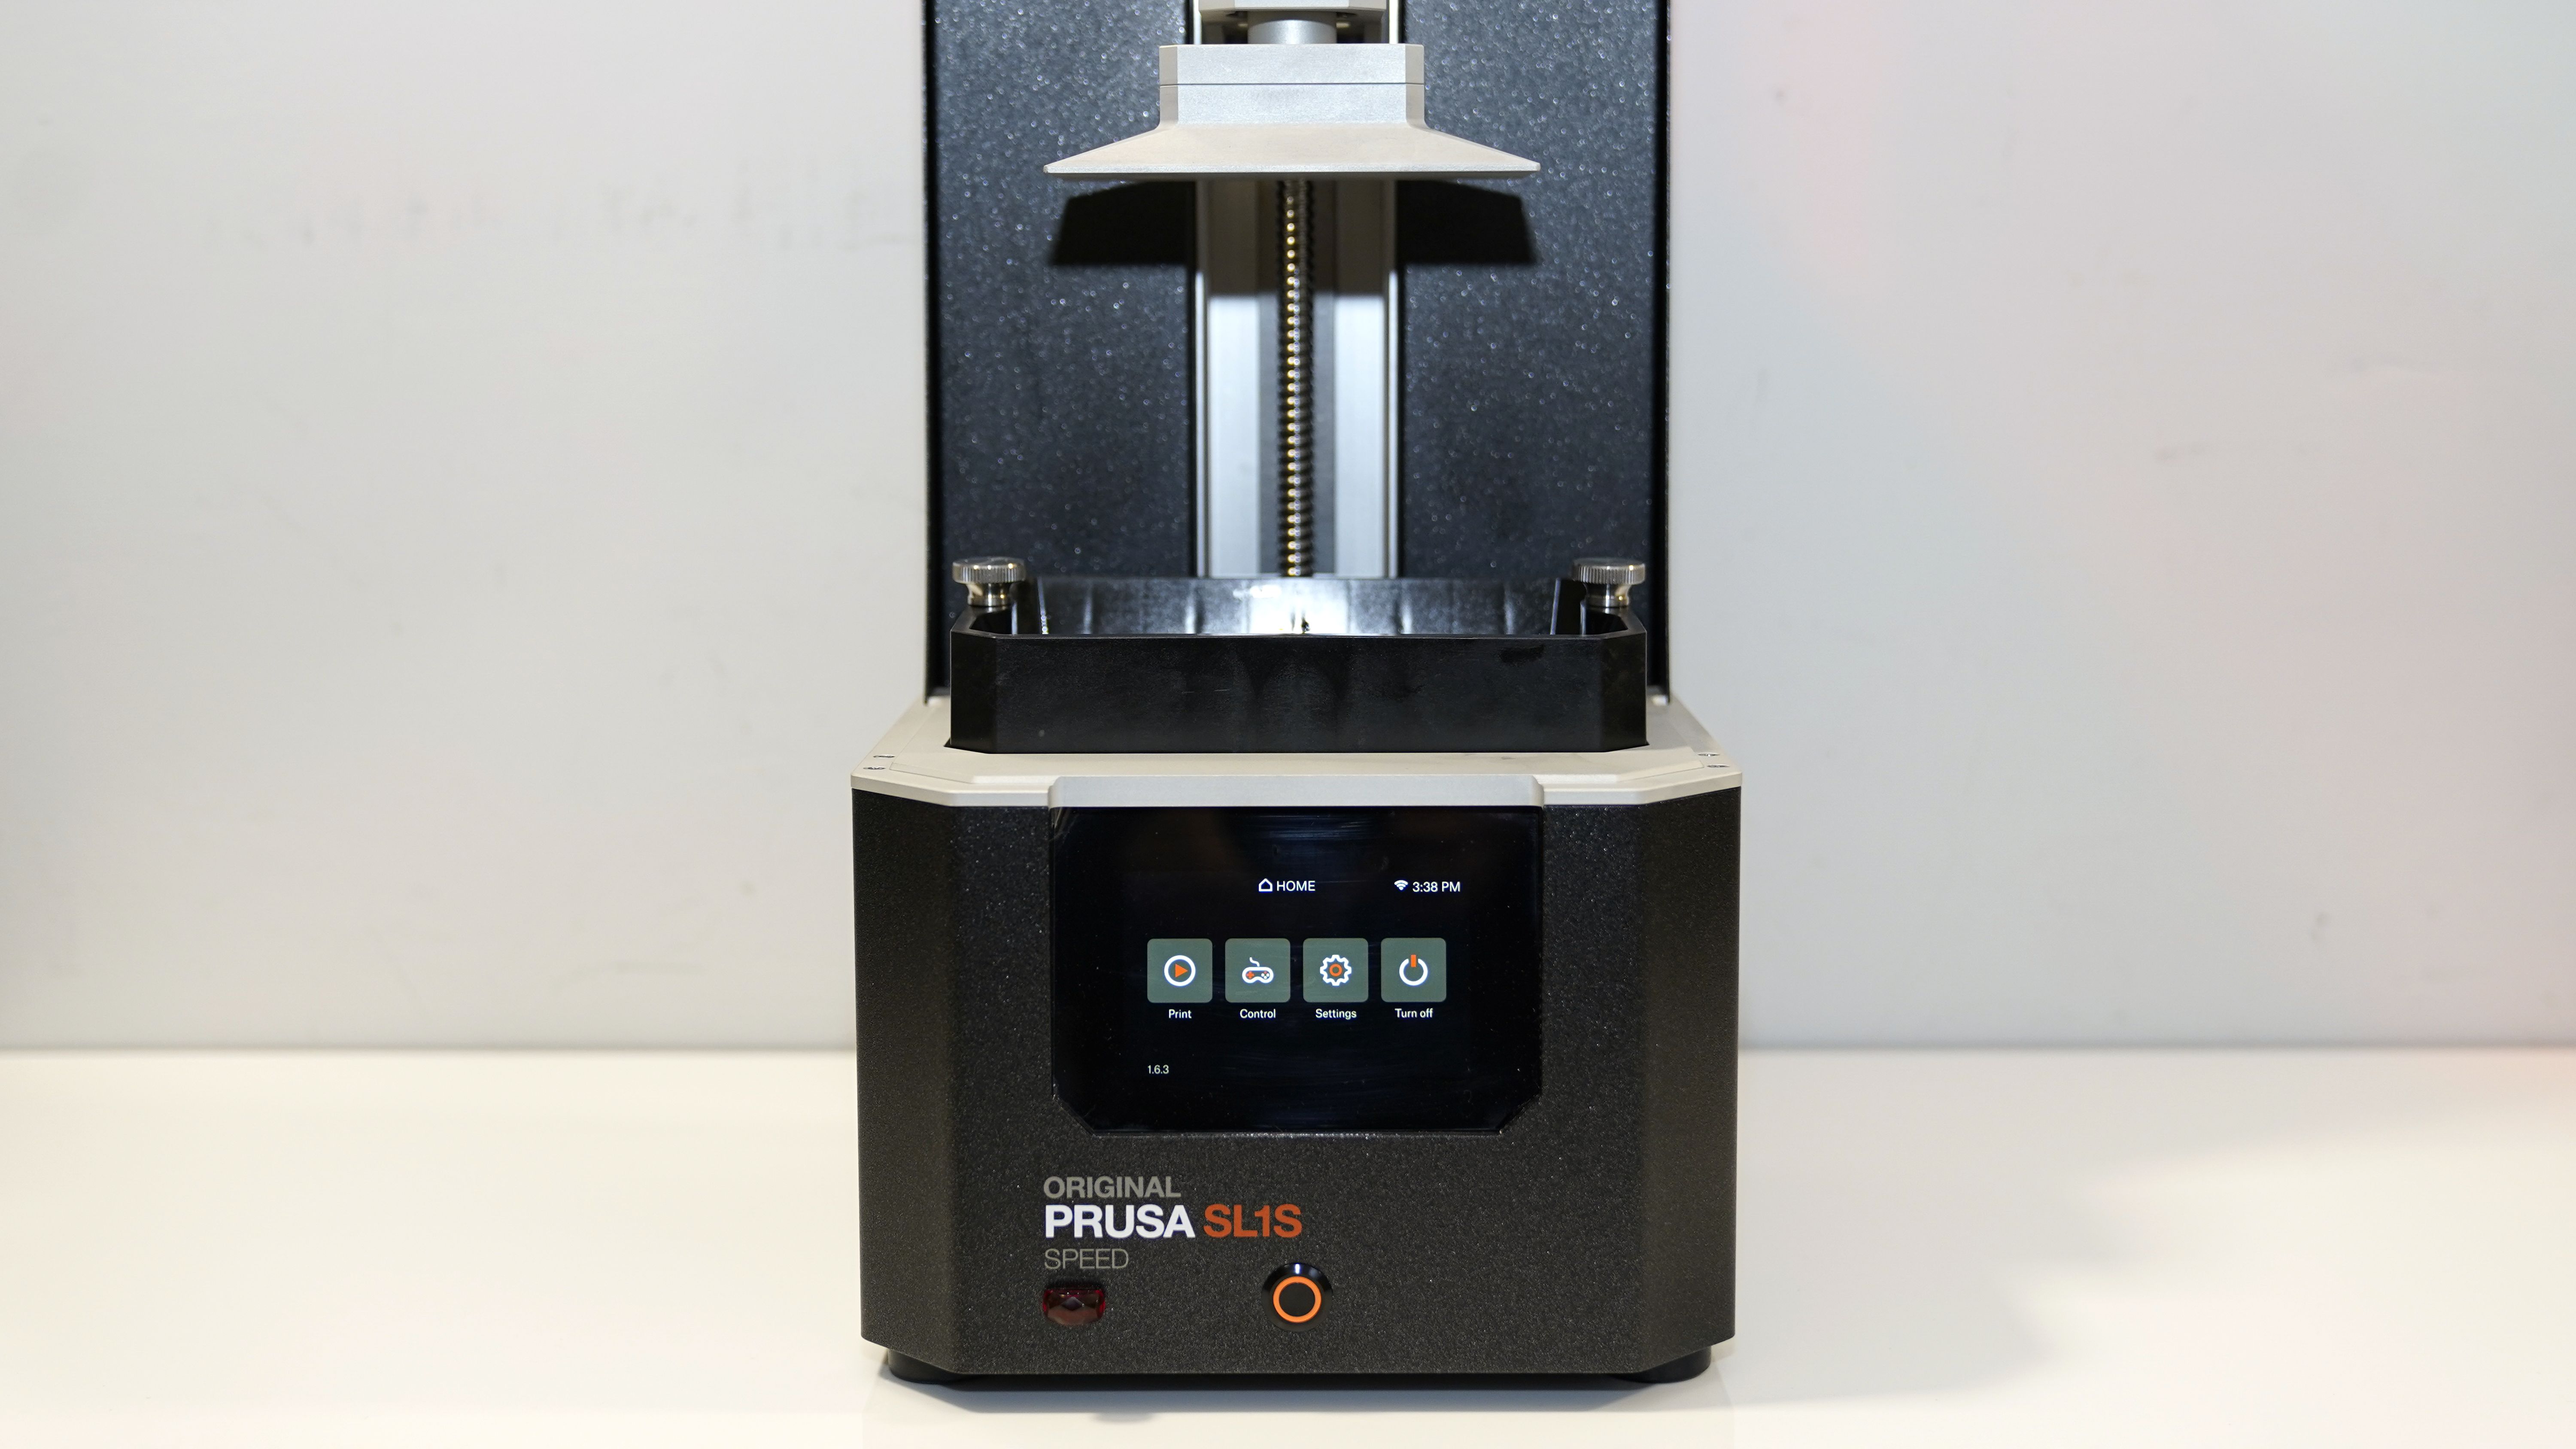
As with the old tank, it's held to the printer with two large screws on either side; once tightened, the tank is held firm.
The screen and tank are firmly held together on a tilting platform; this has two functions. The first is to enable some addition of the resin before and during printing; the other is that as the platform tilts, it peels the print from the tank's base. It's simple and effective.
Other than that, there is little to the printer, just a relatively small box that very neatly sits on your work surface, ready for action.
Features
Most of the new PRUSA SL1S features hinge around the new LCD, custom optics system, and UV LED panel. These components come together to offer faster and more accurate prints than the predecessor.

The new monochrome LCD panel measures 5.96-inches across the diagonal with a 2560 x 1620p resolution. The resolution, along with the custom optics, boost the print quality.
The custom-made optics and the reworked UV LED now mean that the SL1S can reach a 1.4 second exposure time per layer when printing with standard 405nm resins.
Long exposure materials are also supported, and more details on compatibility can be found on the PRUSA RESEARCH website.
Layer heights remain at 0.1mm, with support layer heights being between 0.025-0.1mm.
Due to the new LCD and LED, the power needs of the machine have also changed, and a new boost board has been fitted.

These new component additions also boost the printer's actual print area, which increases by 25% to 127×80×150 mm. That's quite considerable, seeing as how the actual size of the machine remains the same.
As most of the other features remain the same, and the actual housing for the printer is essentially identical, PRUSA RESEARCH is selling a complete upgrade kit from the SL1 to the SL1S. The cost of this at present is around $480 (£350).
The remaining features, such as a quick-release platform, remain much the same while slightly larger than the one on the SL1, tilting bed, colour touch screen LCD, carbon filters, networking, and Wi-Fi.

Setup overview
SLA printers might be a little messier at the end of the print process, but they're generally far neater when it comes to the design of the machine.
When the Original Prusa SL1S Speed arrives, it takes less than five minutes to set up. In itself, it's all quite self-explanatory, but to make things even easier, Prusa has created a guided setup that walks you through the steps bit by bit. This is the ultimate hand-holding exercise, and it works brilliantly.
There is little if anything to go wrong; follow the instructions, and in less than five minutes, you've plugged in power, removed the packaging, affixed the print platform, tank and filled it with resin.
All calibration is tackled through the setup process, so before you know it, you're ready to start printing.
Performance
If you're used to filament printing, switching over to a resin solution can be challenging. You quickly realise that small issues with models that you could get away with due to the nature of a single core of molten filament aren't possible in a tank of light reactive liquid.
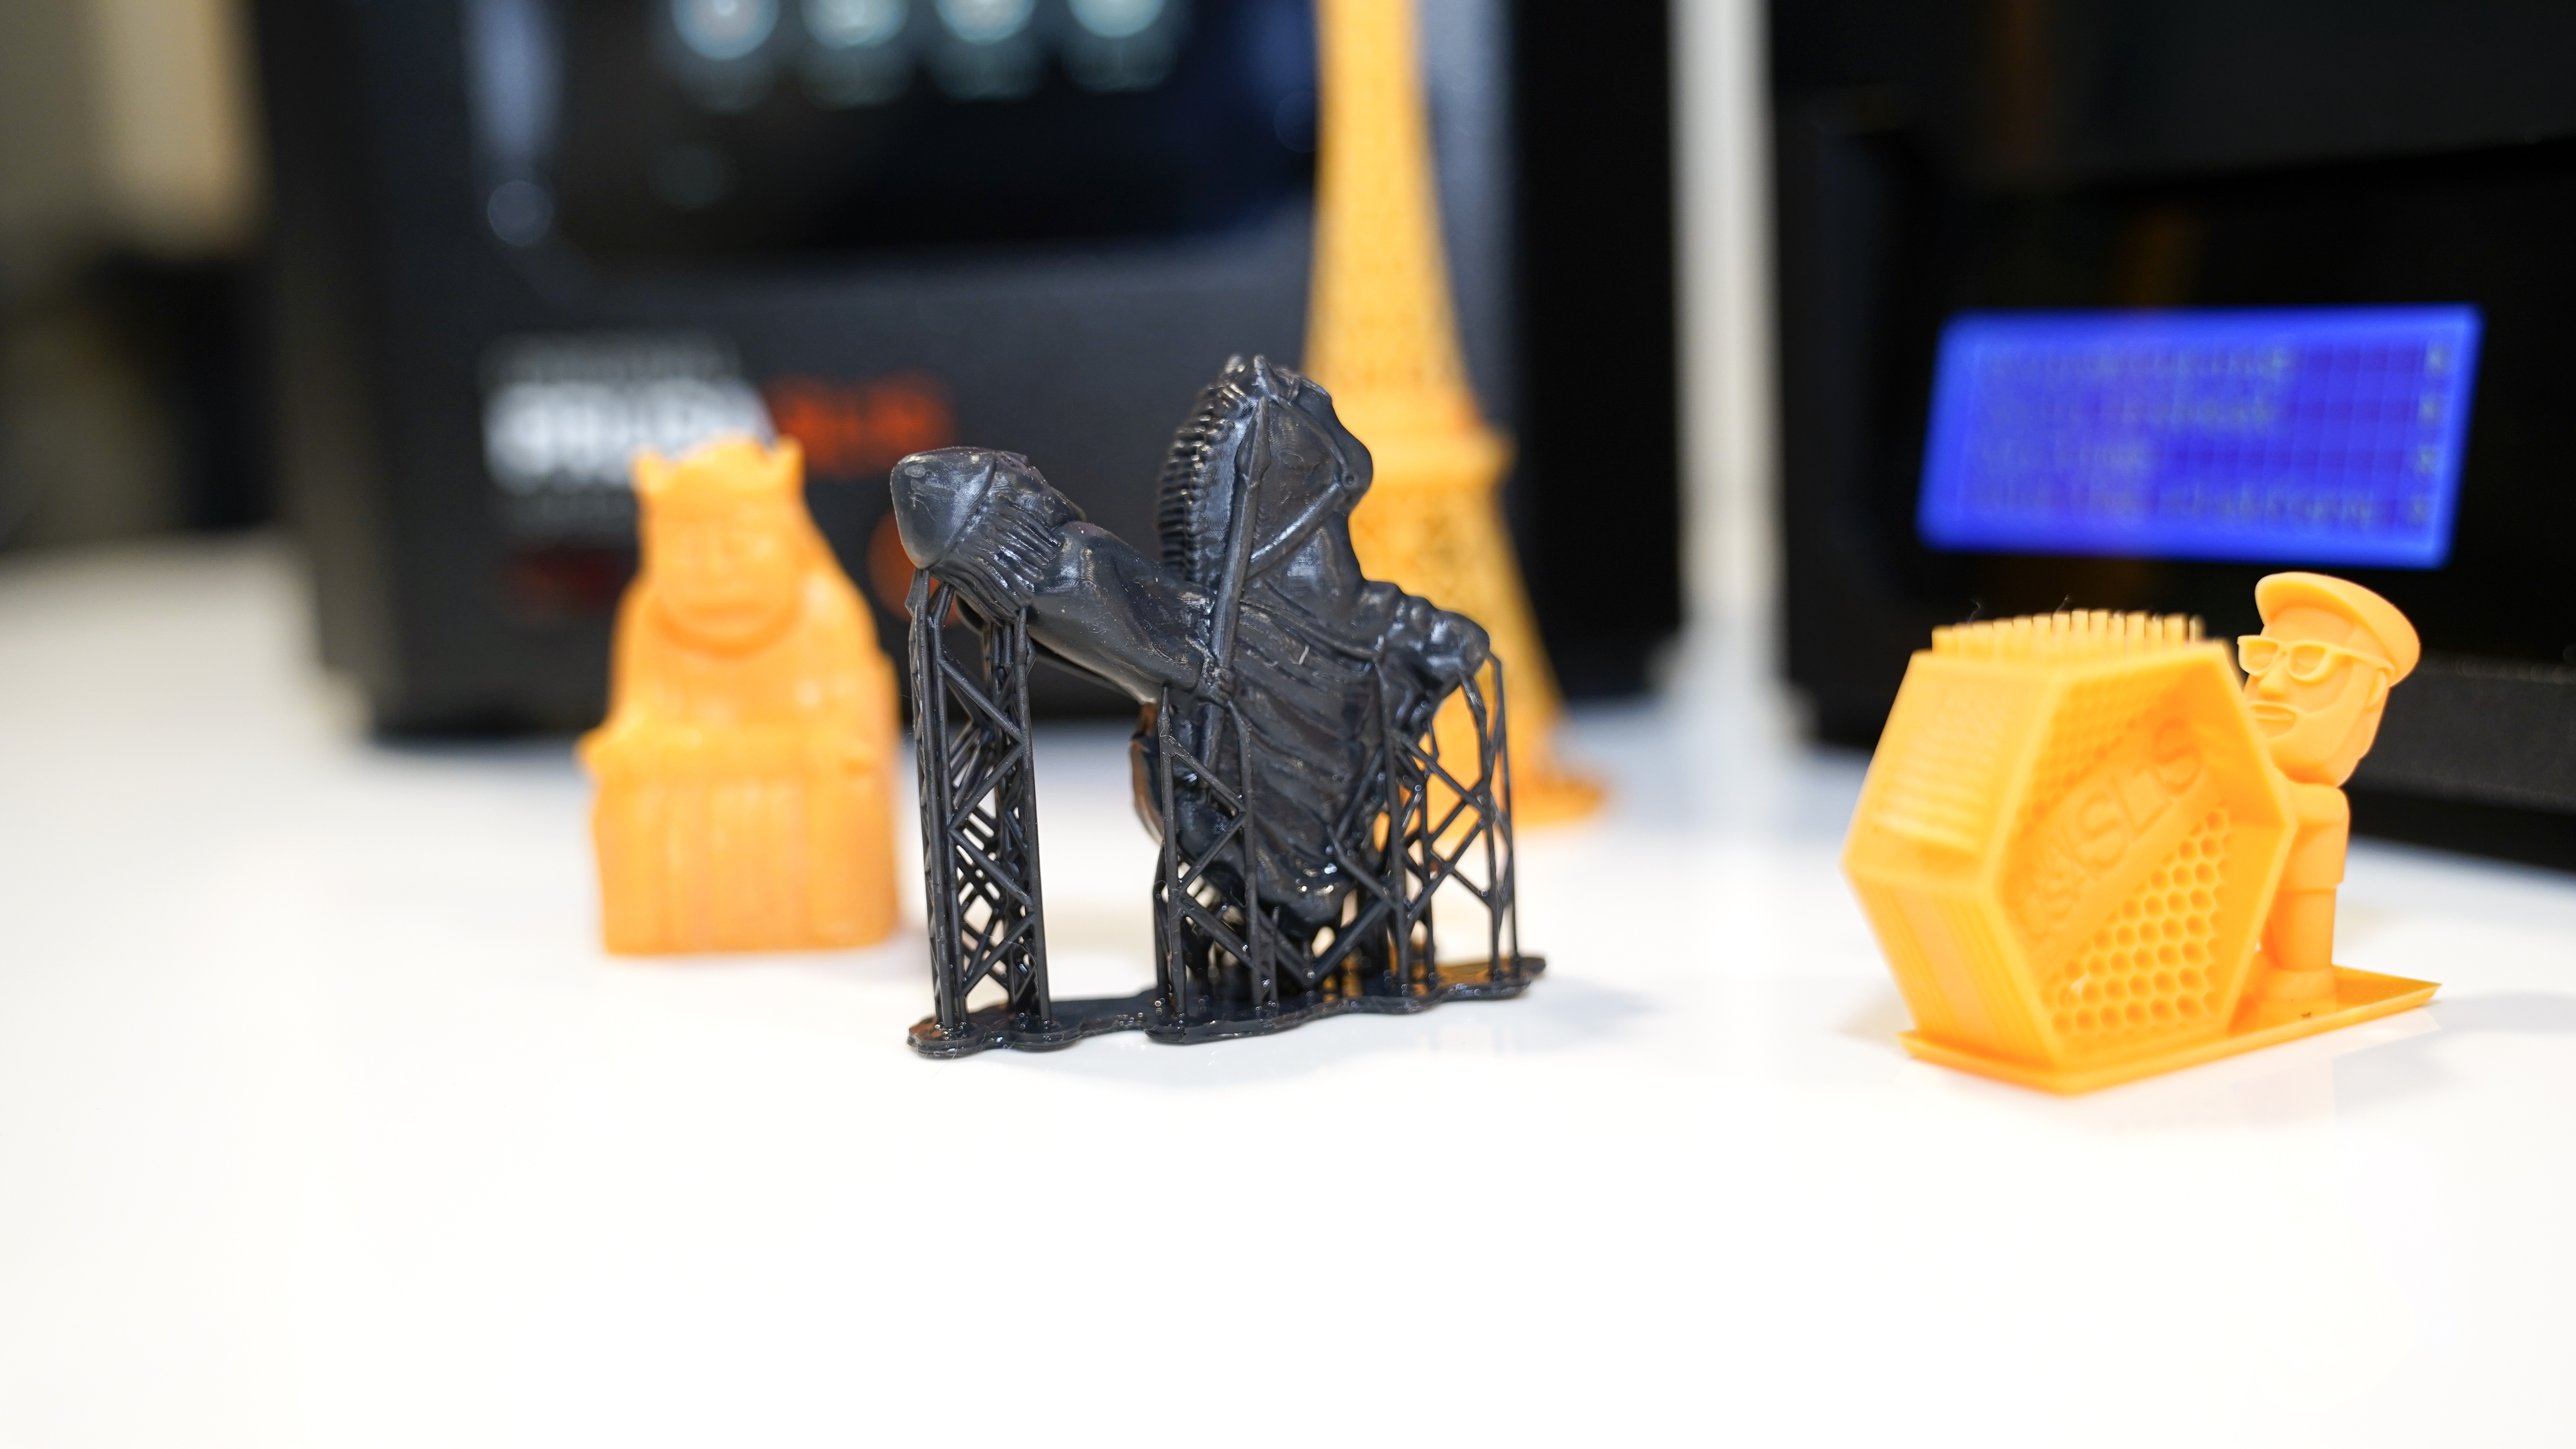
This was very apparent when using the original SL1; you needed to make sure that support structures were added along with a decent base etc.
I also found that small changes were often needed when switching models designed for filament printers to resin. Those finer details that you've become used to removing, such as small spikes or structures within structures, can be left.
When reviewing the SL1, I found that checking the model's integrity before printing was essential. The slightest manifold edge within the model could cause absolute and catastrophic failure.
The same is true for the SL1S; although it may be due to luck or the higher resolution, the machine did seem to be a little more forgiving.
I found that running each model through the PrusaSlicers repair feature before importing for print overcame the majority of print issues.
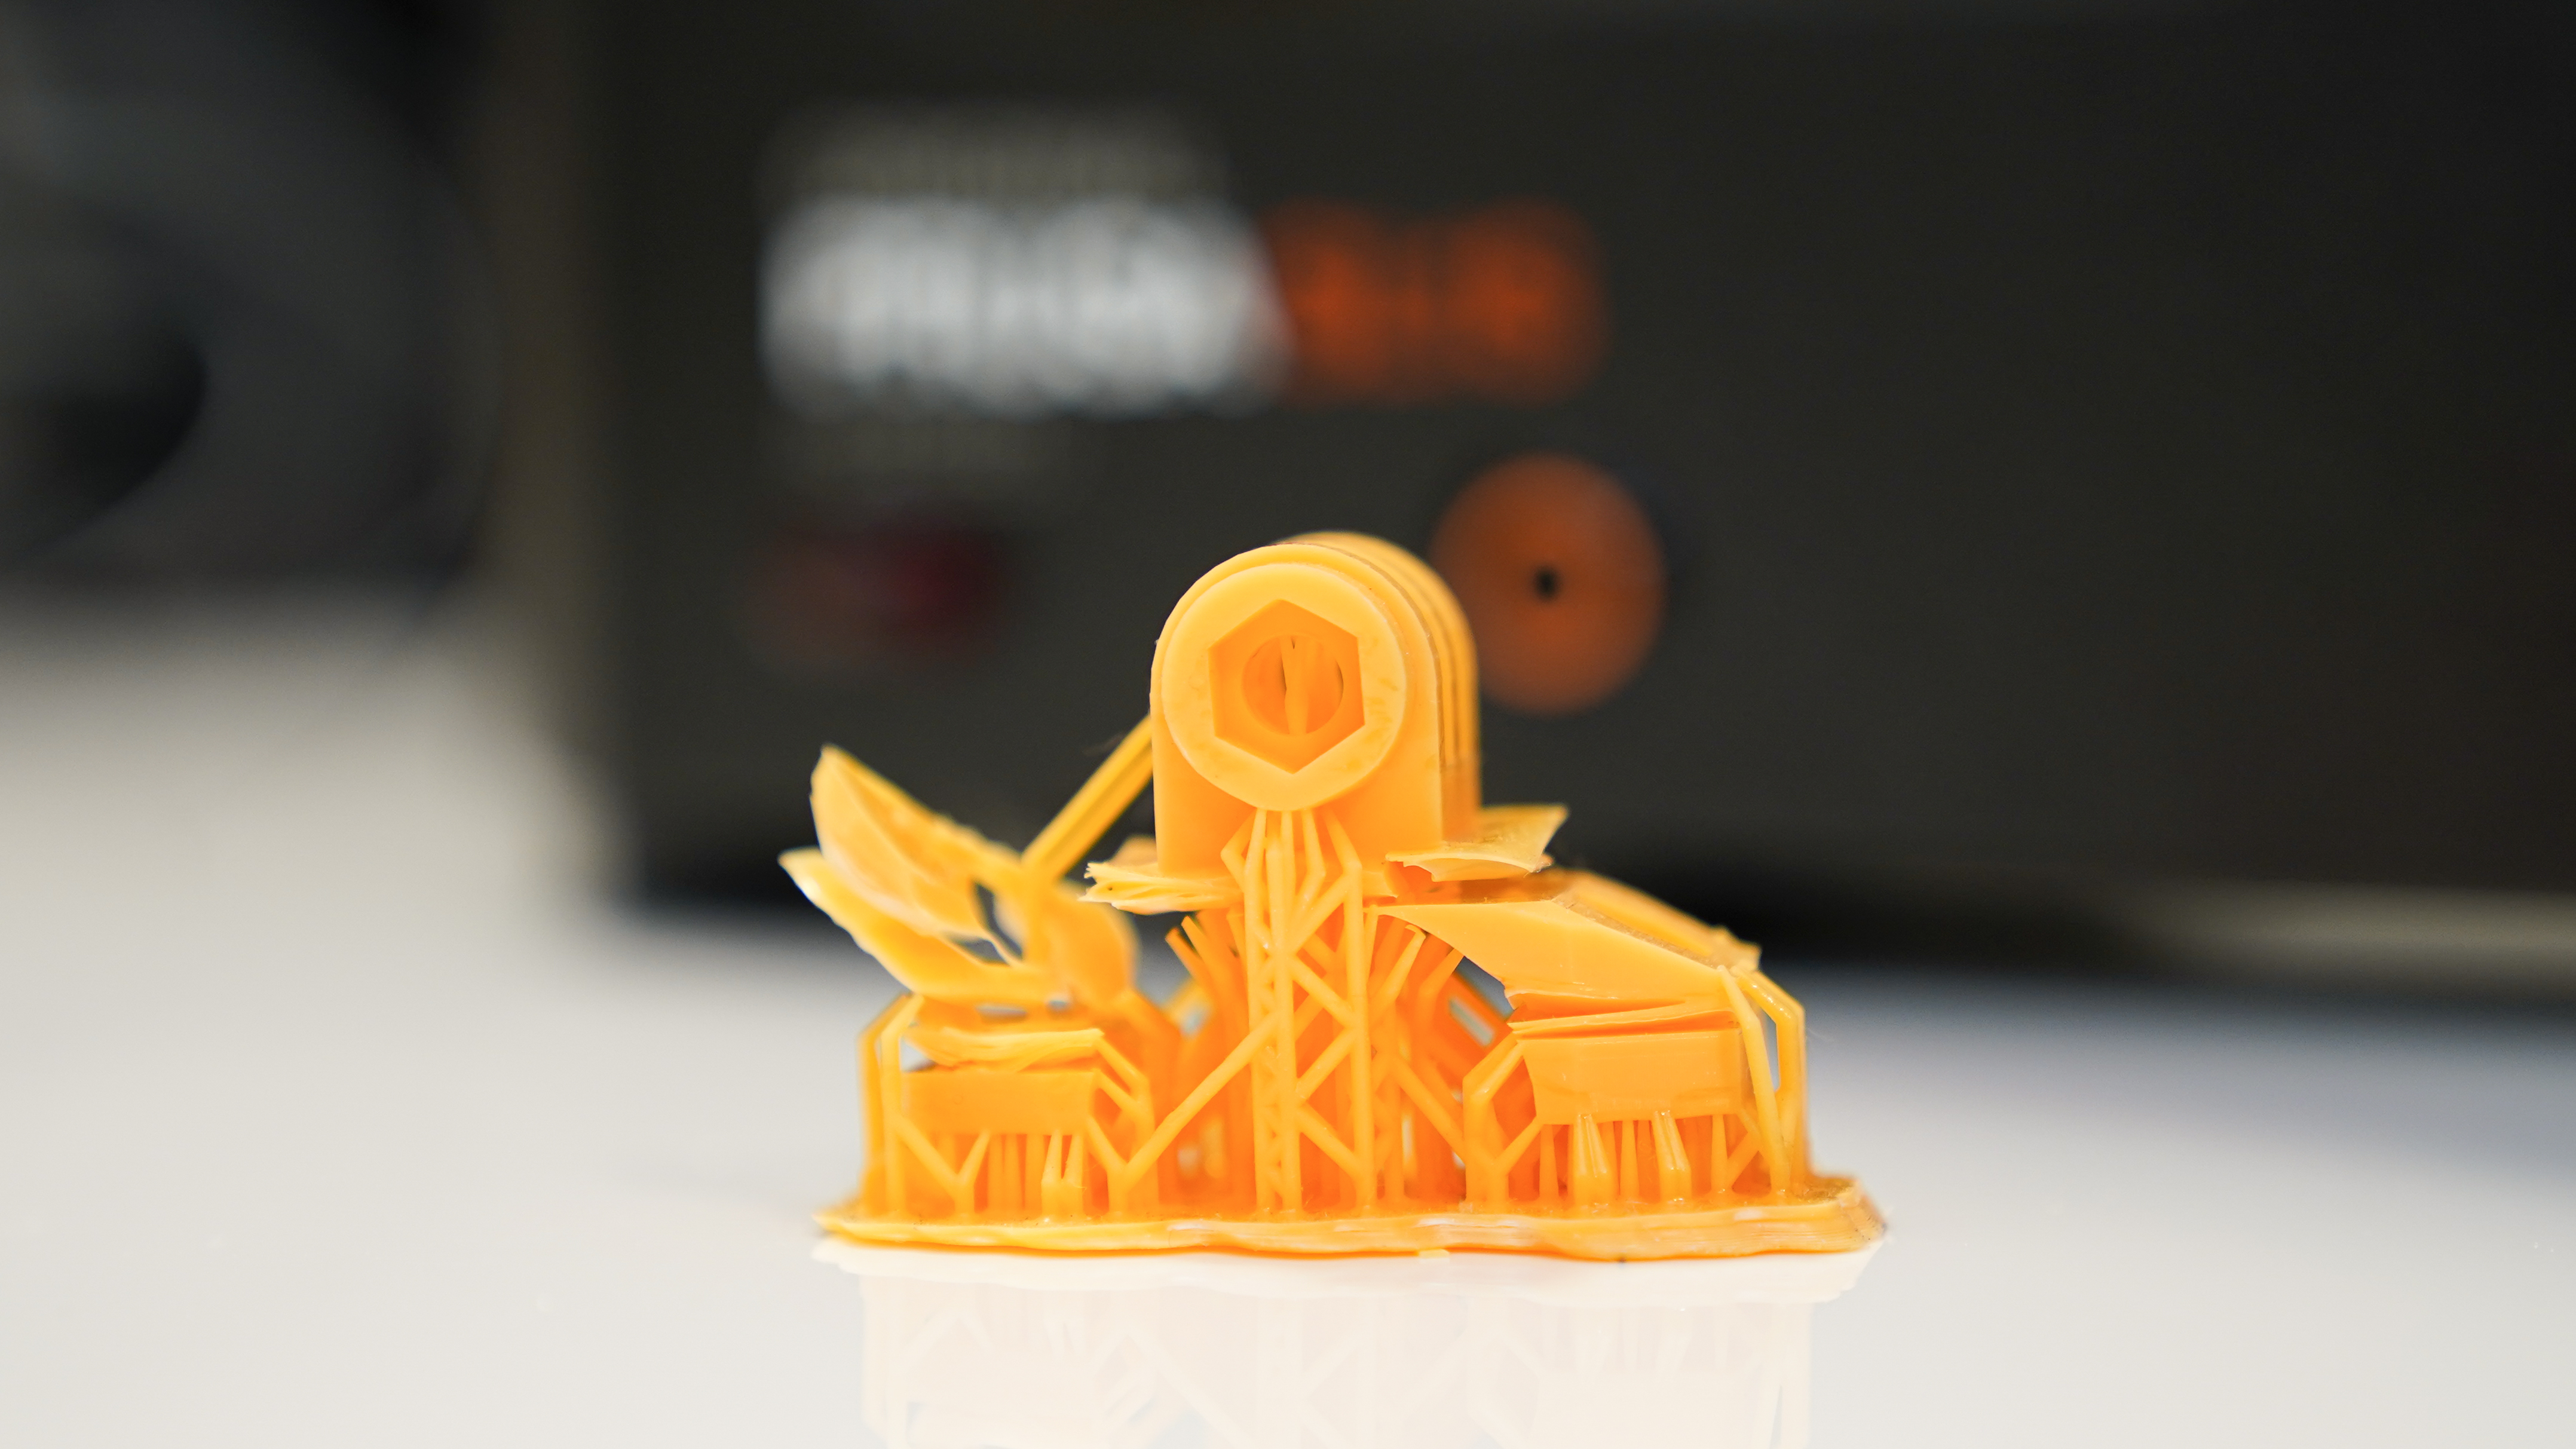
My GoPro bike mount, for instance, has had some issues with SLA printers in the past, and the results initially from the SL1S were a disaster.
A quick run-through PrusaSlicer and reangling of the model on the plate, and it printed without issue.
Over the month of testing the printer, I've been impressed by its reliability and simplicity. This is not a complex machine to use by any means. The key to the SL1 is the procedure.
Making sure you start with a model repair, then load the model into PrusaSlicer and add a base and supports seemed to ensure an almost 100% success rate.
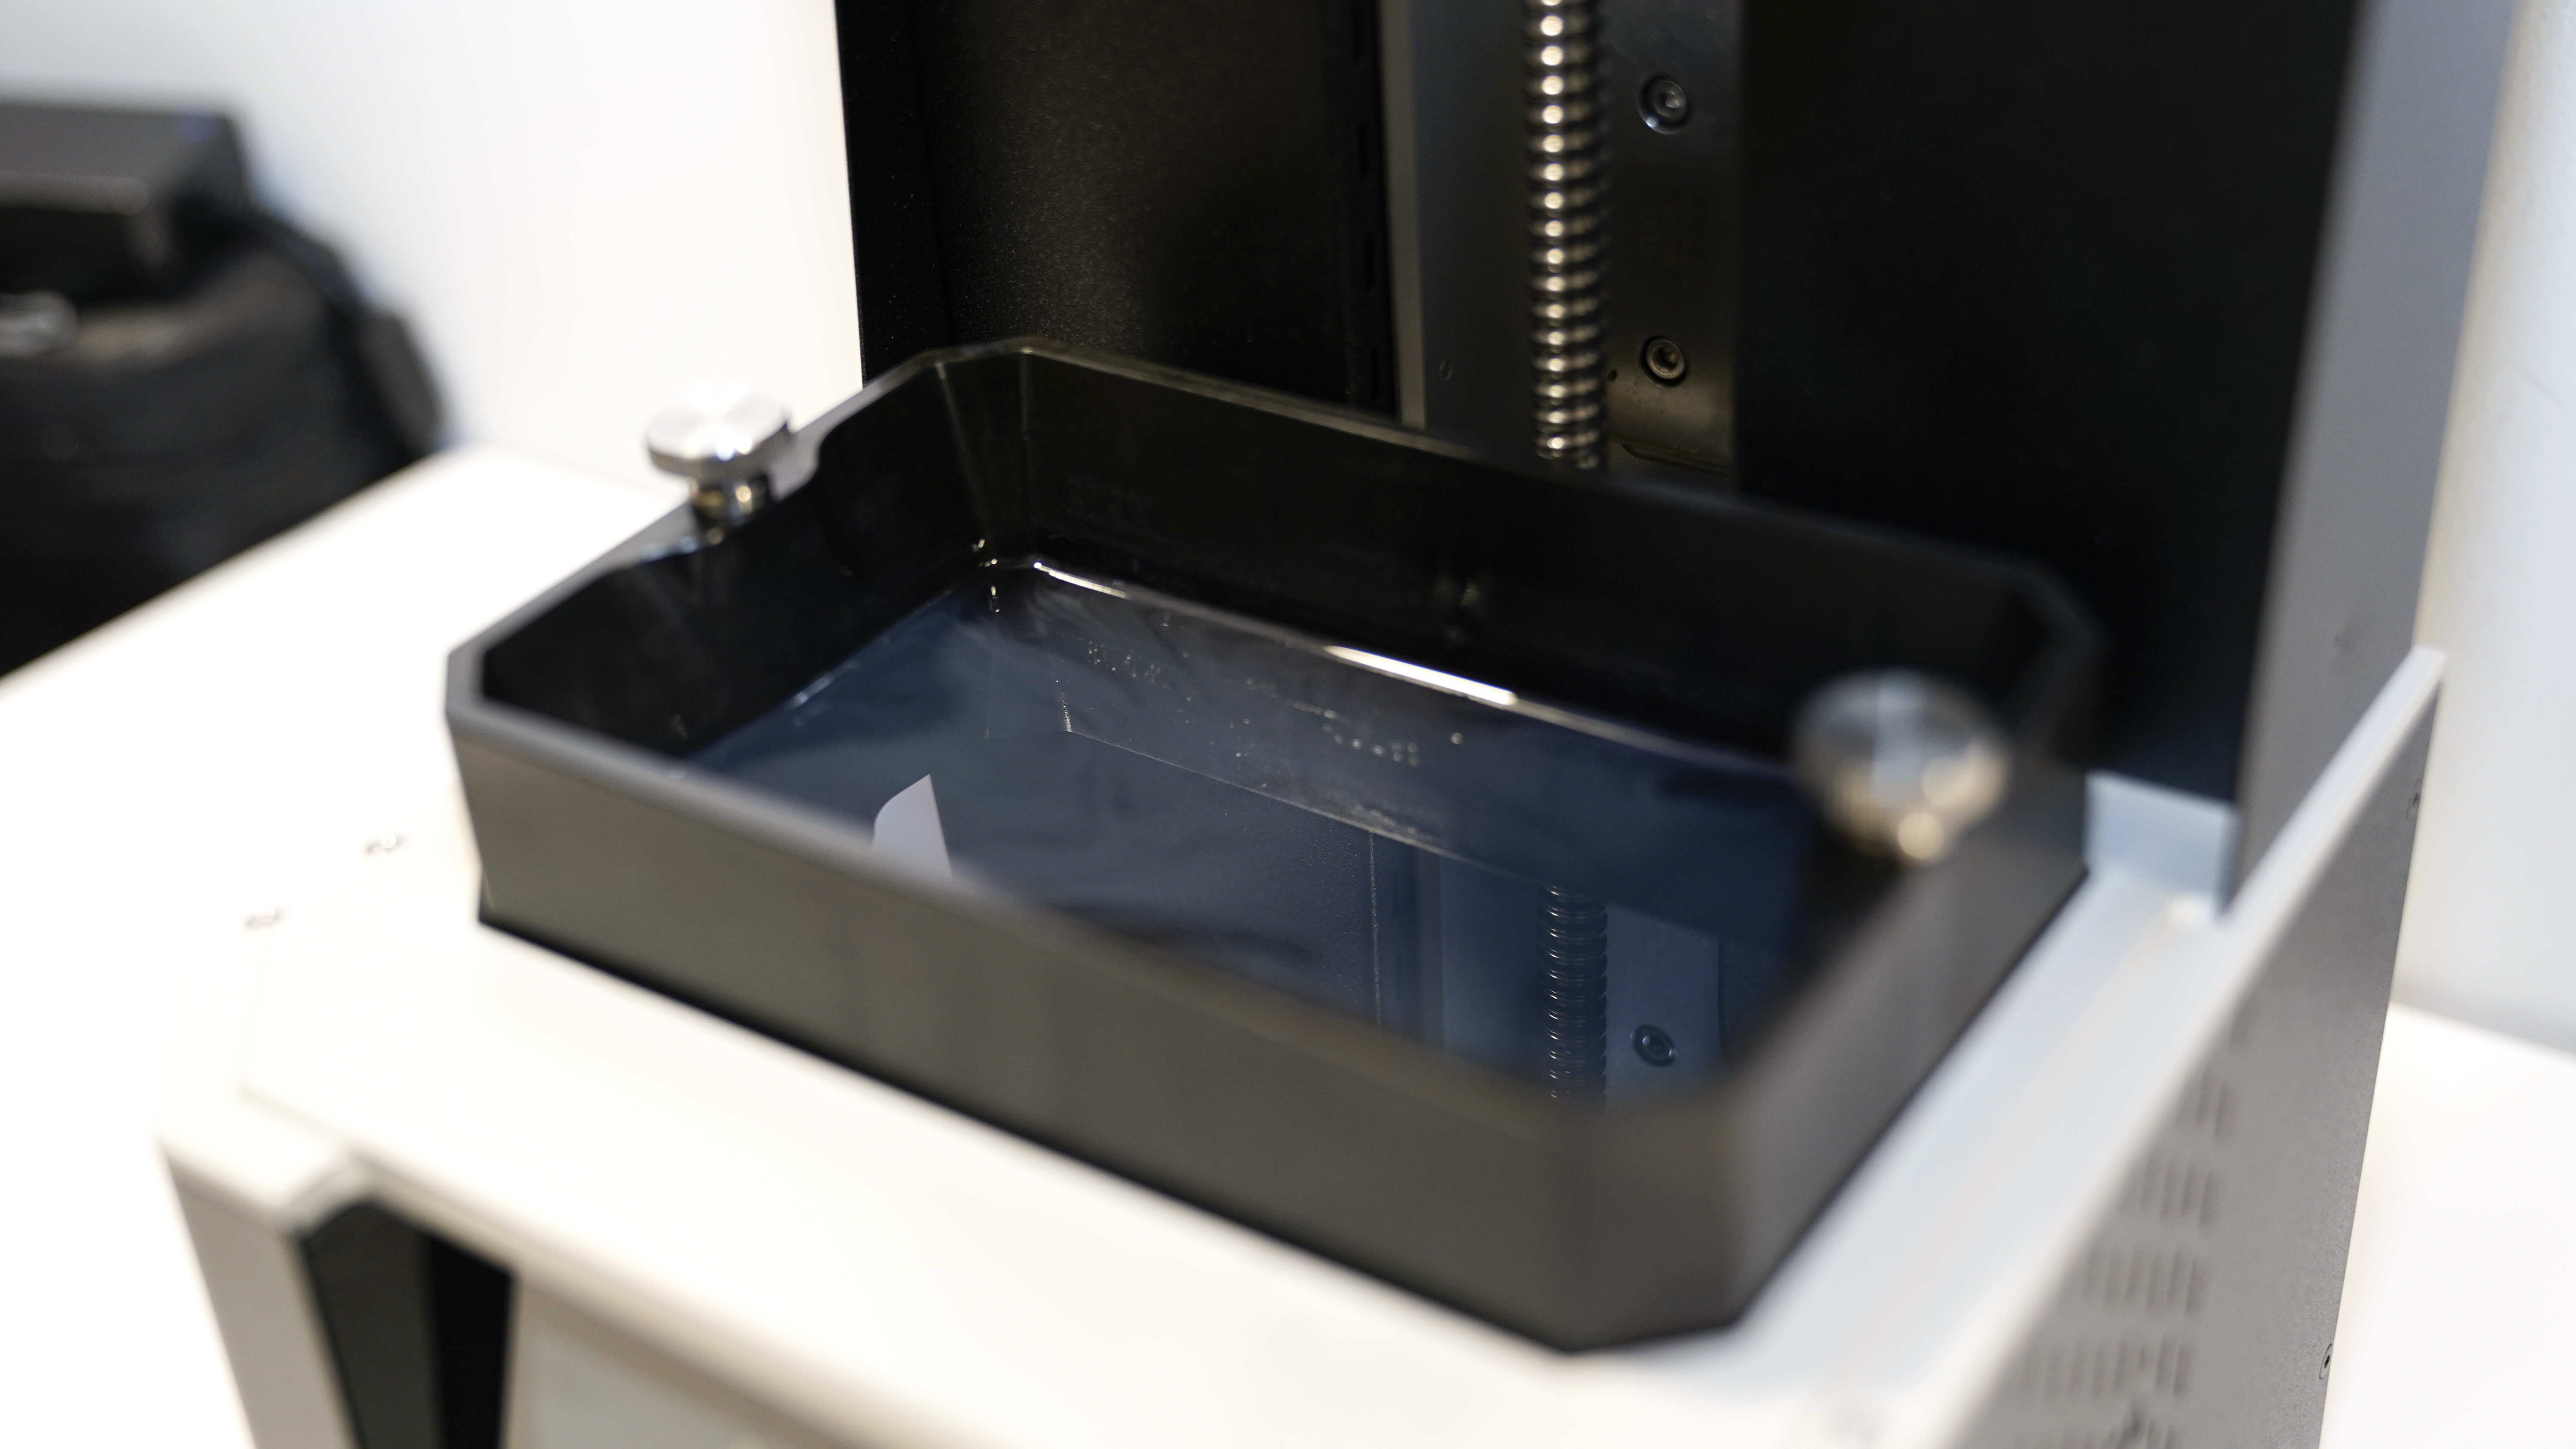
Other elements to check were ensuring the room temperature was sufficient for the resin and that the platform and tank screws had been fully tightened.
Essentially the reliability of the machine has proven to be a leap forward.
When it comes to speed, the SL1S easily halves the print times of the SL1 when printing at the highest quality, UltraDetail. A print such as the GoPro bike mount takes 6 hours on the SL1 compared to 2 hours 30 minutes on the SL1S.
Another test was with 3D Benchy; again, the time difference was huge; 8 hours on the SL1 and 3 hours on the SL1S.
Running the same two tests at Fast (Print Quality) and the results for the bike mount were: 2 hours 30 minutes for the SL1 and 40 minutes for the SL1S. 3D Benchy printed in 3 hours on the SL1 and 53 minutes on the SL1S.
There's a bit more to it with the SL1S; you can fit on a little more with the larger print area. The small 7mm x 12mm platform size increase makes quite a difference in the models you can print.
This can come into play when you print multiple pieces, such as a chess set. Print one piece, and it takes an hour to print; on the SL1S, I can fit eight pieces on the SL1 six, so I can complete half the pawns for my chess set in one hour on the new printer, whereas it would take two hours on the old, not taking into consideration plate cleaning and preparation.
Checking the pieces over and the other big feature, quality, is apparent. The old printer quality was exceptional, but you can see the quality boost; edges are sharper and better defined.
The SL1 was good. The SL1S takes another step up.
Print quality
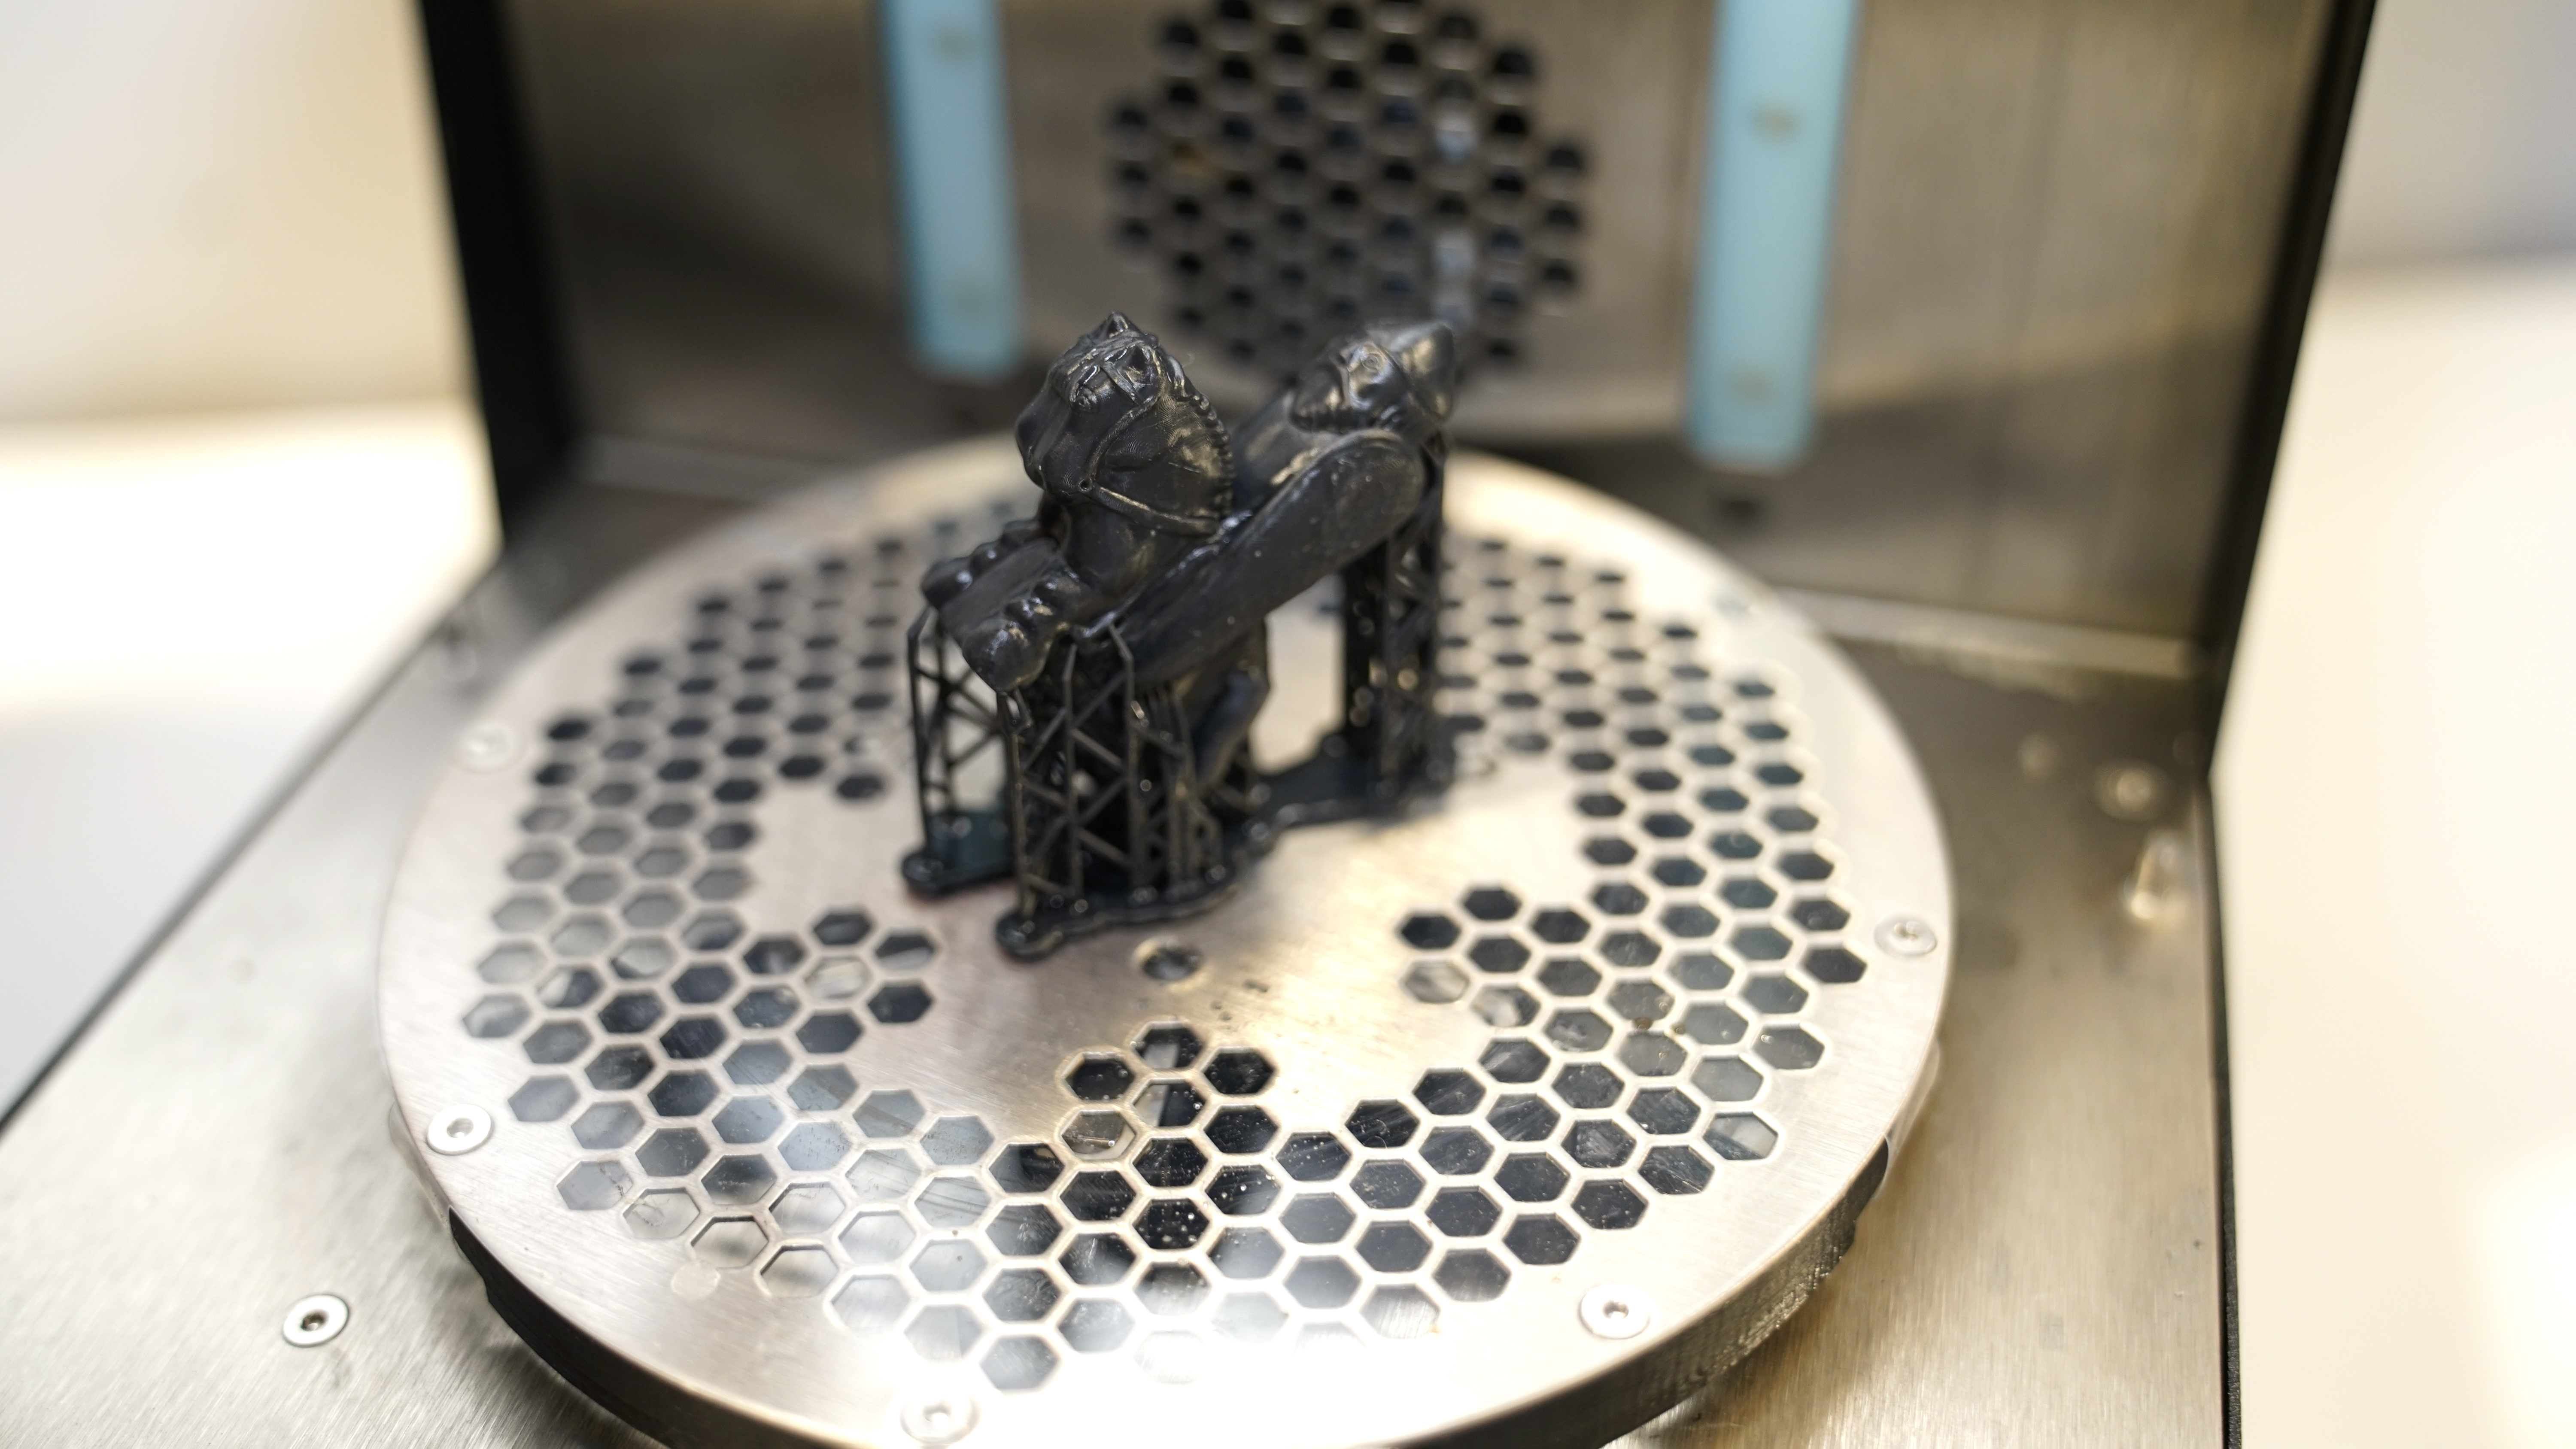
SLA printers stand out from FFF because of the intricate print quality that they enable, and the Original Prusa SL1S is certainly no exception. The quality of the prints is exceptional, but it's the edge definition that pushes the quality of the prints here.
Display type: Monochrome LCD
LCD resolution: 5.96-inch, 2560×1620p
LCD lifespan / warranty: 2000 hours
Print volume size: 127×80×150 mm
Layer exposure time: 1.3 - 2.4
Tilt time: 3 seconds
Supported layer heights: 0.025-0.1 mm
Minimal layer height: 0.01 mm
Supported materials: UV sensitive liquid resin (405nm), long-exposure materials supported
Connectivity: USB, Wi-Fi, LAN
SL1S printer box dimensions: 32×45×50 cm (X×Y×Z)
SL1S dimensions: 8.8×9.3×15.7 in / 225x237x400 mm (X×Y×Z)
SL1S energy consumption while printing: ~100W (±5W)
Looking closely at the prints from the SL1S next to those from the SL1 and it's not instantly apparent what the difference is; it's only when you look closely at the fine detail that you see the sharpness of the edges is just a touch better.
That touch better makes a difference, especially if you're printing finely detailed models, jewelry or detailed prototypes.
As I went through the test, I found that the work you do in PrusaSlicer is key to getting the best out of the printer and prints.
Always use a base and supports, and making sure that you print your more complex models at a slight angle on the print platform help boost print success and quality.
As with FFF printers, there are some models that you need to split to print correctly. Bridged areas, for example, must have a slight angle on them and support in many cases; otherwise, they'll stick to the resin tank and break off instantly. After a short time, you generally get a feel of what will and won't print.
Final verdict
The SL1S looks much the same aesthetically as the SL1; there are a few cosmetic changes, such as the black non-transparent top to the lid and the plastic resin tank change. Otherwise, on the outside, it's hard to tell the difference.
Under the hood, the engine, however, has changed; the old LCD panels have been swapped out, tuned and replaced with something far more refined.
Print speed is considerably faster; quality leaps and reliability has improved or at least is more forgiving, adding yet another positive into the mix.
The Original Prusa SL1S is one of the best SLA printers I have used, and at a price, it's a decent investment. As ever, this is PRUSA Research, so if you did invest in the SL1 and feel hard done by, don't; there's an upgrade kit available!
We've also featured the best 3D printer
0 comments:
Post a Comment