Adventurer 4 3D printer
Adventurer 4: One-minute review
The FlashForge Adventurer 4 3D printer is designed with high-end users in mind, people that are experienced with the hobby and are looking to take their setup to the next level.
Makers looking for a 3D printer to fit amongst traditional tools in their workshop may appreciate the Adventurer 4’s case and fan, which help to keep the print bed relatively clean and dust-free. Users will also appreciate the ability to monitor the 3D printer from afar, with live camera feed showing how your print’s progressing.
But at the same time, this $850 / £700 / AU$1,088 tool lacks basic high-end features, like true auto-bed leveling. We were also underwhelmed by any of its cool add-ons during our testing: the low resolution on the camera, for example, leaves a lot to be desired, particularly if you’re hoping to share a cool time-lapse of your build on social media.
The printer can also really struggle with some classic FDM printer issues – like producing prints with steep overhangs – which is a shame since we’ve tested cheaper printers that don’t struggle as much in some of these areas.
That said, if you put the time into perfecting your setup, and factor in the device’s limits, you can create some great-looking 3D prints.
Adventurer 4: Price and availability
The FlashForge Adventurer 4 3D printer costs $850 / £700 / AU$1,088. For that price, you’ll get the printer, two swappable nozzles, and 1Kg of filament (the color of ours was red, but you might get something different).
At this price, the Adventurer 4 3D printer is not an entry-level option. If you’re after something more beginner-friendly, you’d be better off with something like the Anycubic Kobra. The Adventurer 4 is geared towards more experienced users, those who are looking to upgrade their current setup. It’s just that a few of the upgrades on this machine aren’t worth the extra cost. More on that below.
Adventurer 4: Design
- Printer housed inside a large heavy case
- Separate compartment for filament
- Doors feel a little flimsy
From the moment the Adventurer 4 arrives at your door, it’ll be impossible to ignore one aspect of its design: it is big. The whole machine comes preassembled and will be 500 x 470 x 540 mm (19.7 x 18.5 x 21.2 inches), which is significantly larger than its build volume of only 220 x 200 x 250 mm (9.7 x 7.9 x 9.8 inches).
Printing Technology: FDM
Supported filaments: PLA, ABS, PETG, PC
Build Volume: 8.7 x 7.9 x 9.8 inches / 220 x 200 x 250 mm
Print resolution: 0.1mm - 0.4mm
Positioning accuracy: X/Y 0.011mm; Z 0.0025mm
Extruder number: Single; Nozzle diameter: 0.4 mm
Print Speed: 10 - 150 mm/s
Ambient Operating Temperature: 8°C - 40°C
Operational Nozzle Temperature: 509 °F / 265 °C
Operational Hot Bed Temperature: 230 °F / 110 °C
Connection mode: USB, Wi-Fi, Ethernet
Machine size: 19.7 x 18.5 x 21.3 inches / 500 x 470 x 540 mm
Weight: Machine weight: ~26kg
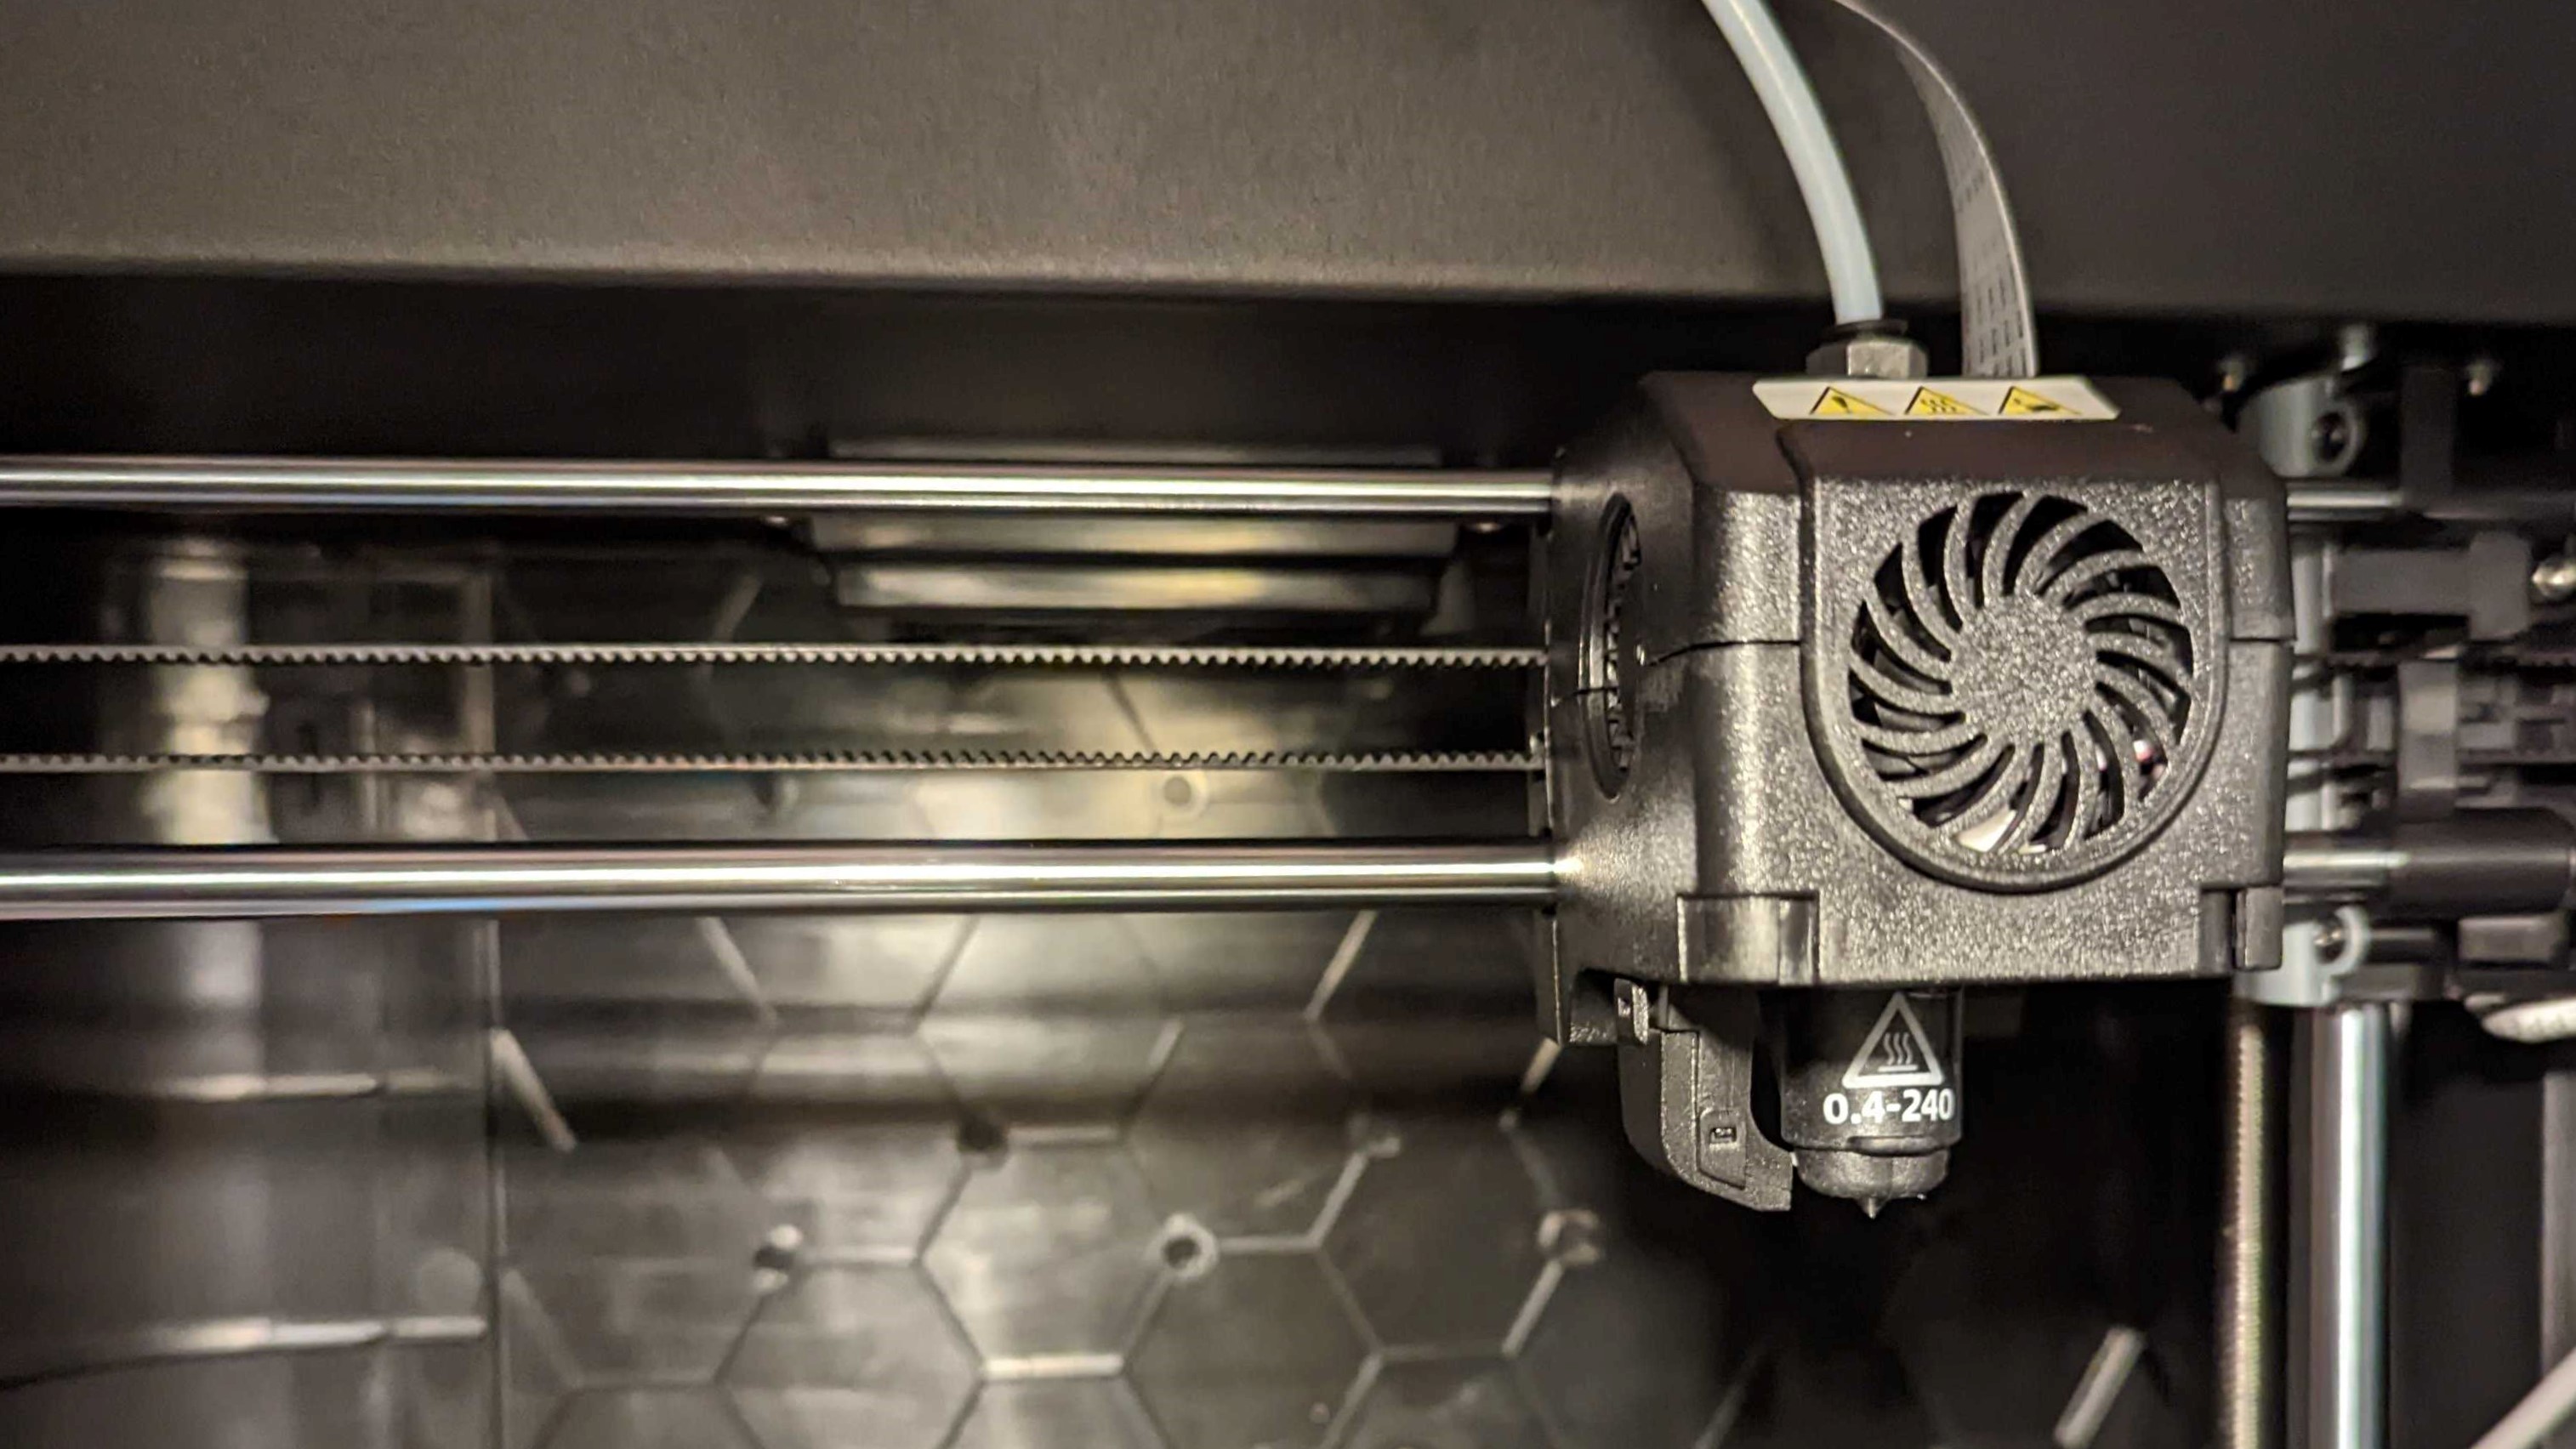
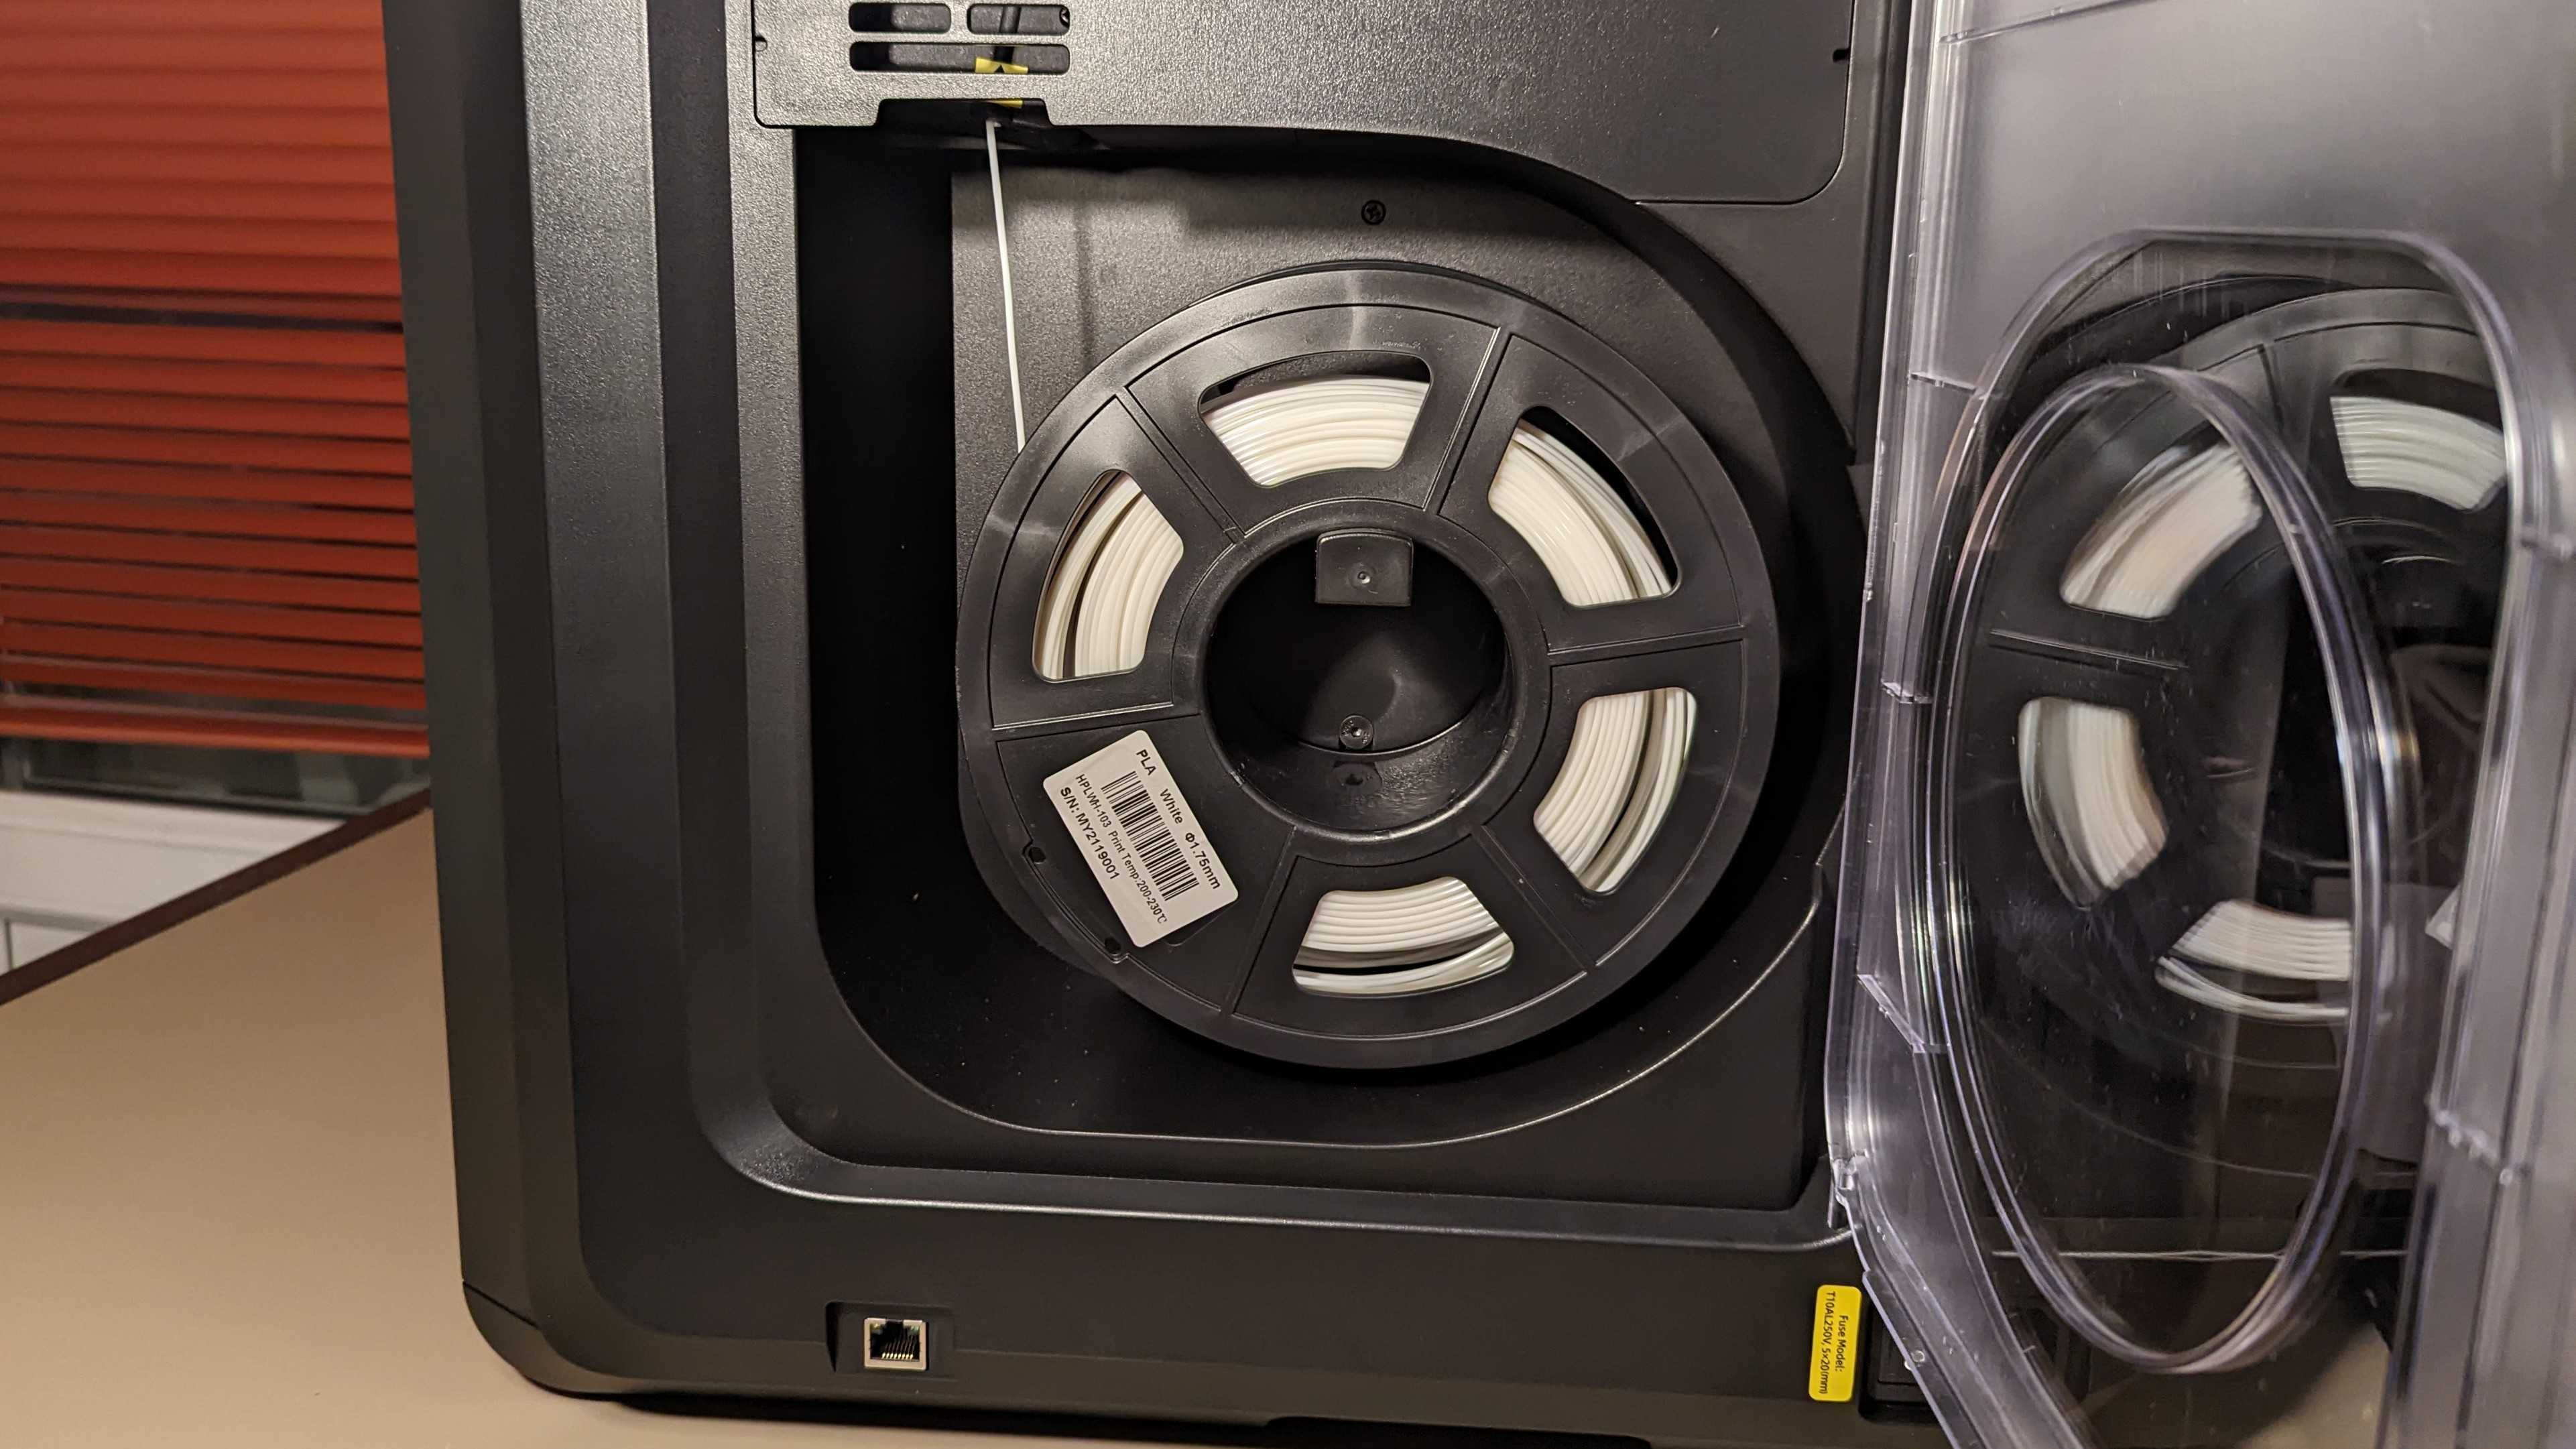
The reason for the discrepancy between build volume and printer size is that the whole print zone is enclosed in a massive black plastic box. The main compartment features the actual printer – the bed and extruder. Around this space are clear plastic walls on two sides and a clear door at the front. You can watch how your printer is doing through the walls without disturbing it. A second compartment is dedicated to the plastic filament, with a slot for one end so it can be liquified and fed into the main chamber.
Unlike resin printers – which typically rely on toxic-fume-emitting materials to produce prints – there isn’t as much impetus, from a safety standpoint, to keep a FDM printer enclosed. This is particularly true for the Adventurer 4, because it includes a fan and filter that keep the machine relatively odor-free.
Still, if you hate the smell that usually comes from FDM printers, the design of the Adventurer could help you find printing more bearable. Additionally, if you’re planning to put this printer in a messy workshop with tools that regularly get coated in wood or metal shavings, the Adventurer 4’s built-in enclosure should help keep its printing bed and components fairly clean.
The printer itself features a magnetic heated bed that can be removed and reattached with ease. This lets you take the bed out of the box, which is massively helpful if you want to remove prints without fear of bashing the printer’s components.

- Design score: 4/5
Adventurer 4: Features
- Extractor fan helps to keep printer odor free
- Camera is very low quality
- No automatic bed levelling
One major disappointment for a 3D printer of this price is that it doesn’t come with automatic bed leveling; instead, you’re given two manual options. Either you can set the bed height at just the center point or at nine distinct points spread across the bed (corners, middle of the edges, and center point). The printer will then average the bed height across the rest of the bed based on what your inputs.
Having to manually level the bed isn’t the end of the world, but it can be a laborious process. This is especially true if you need high levels of precision and have to rely on the nine-point setup option. It’s disappointing that there isn’t a true automatic-leveling system inbuilt, especially when the feature appears in more budget-friendly printers like the Anycubic Kobra. It feels like you’re paying more but getting less.
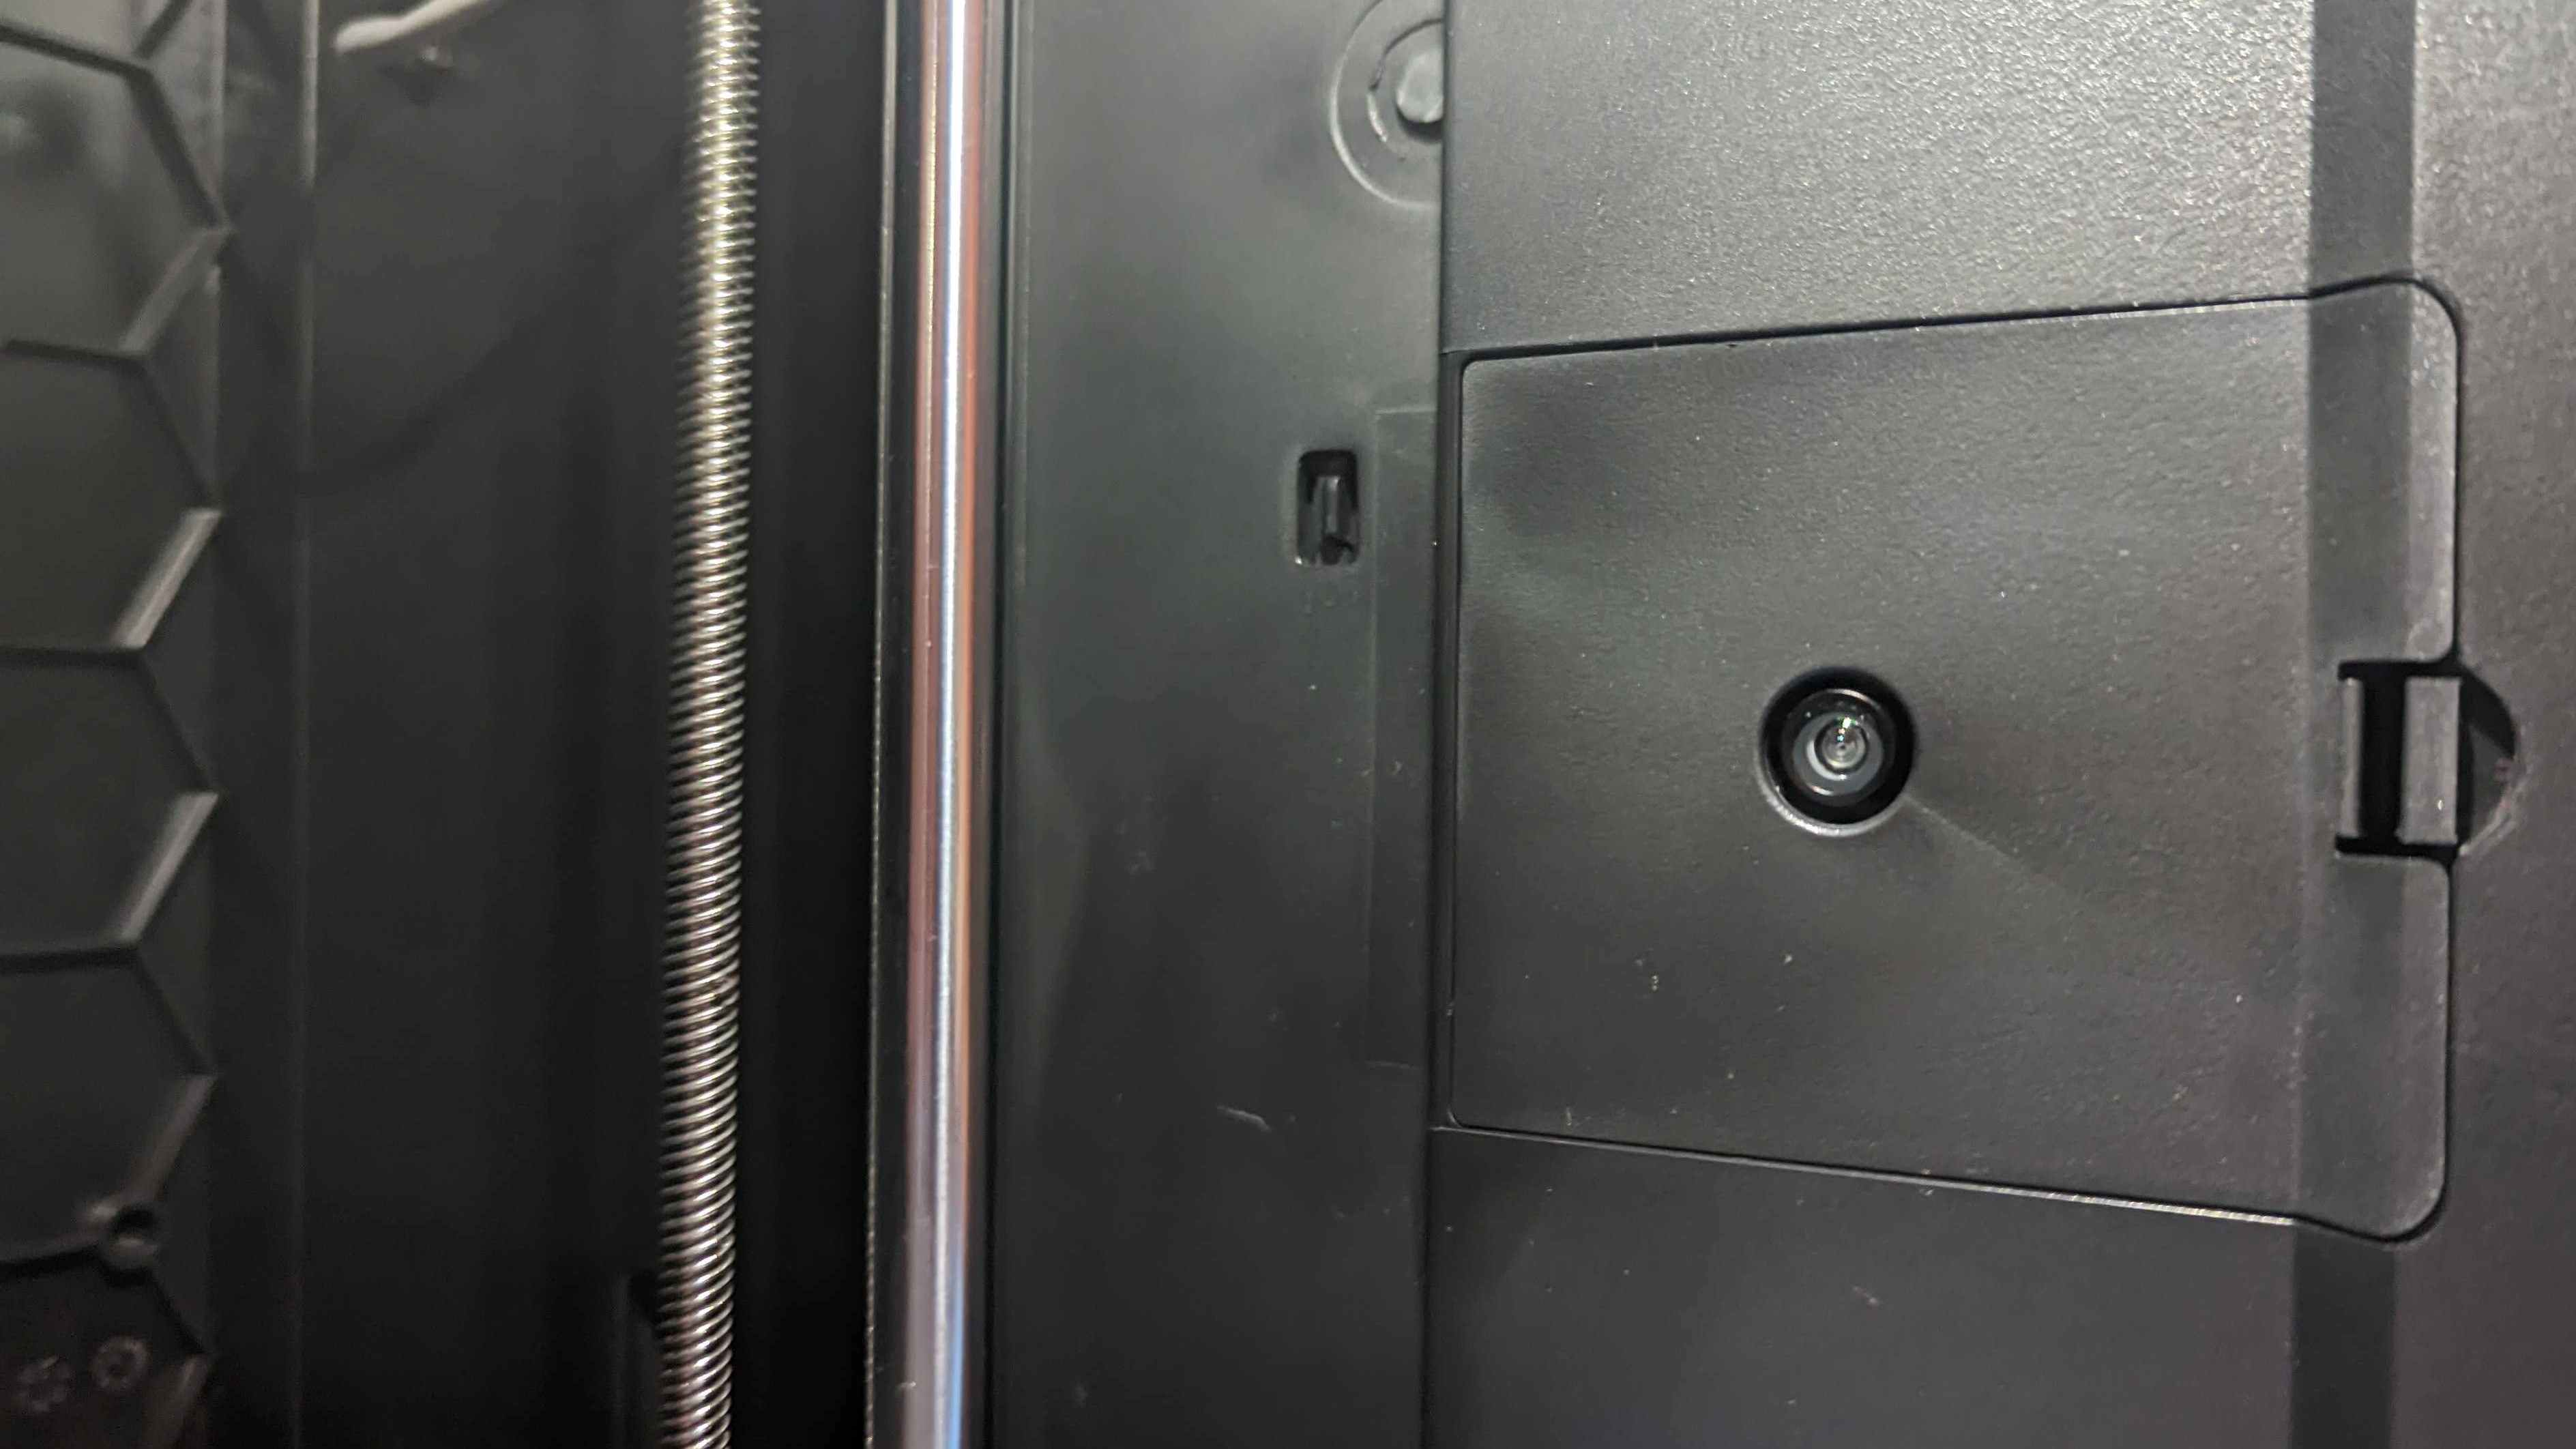
Another of the printer’s features is also a bit of a disappointment: the in-built camera. If this is the main reason you’re choosing this printer over its rivals, you might want to think again. The low-resolution snapper can let you check on the status of your print remotely if you hook the Adventurer 4 up to WiFi, but it feels like a niche use-case; and for those hoping to create an Instagram-ready time-lapse of your prints, the picture quality is nowhere near good enough for that.
If you’re desperate to get a camera for your 3D printer, buy a cheaper one and use the leftover money to invest in a half-decent camera and tripod.

But the printer isn’t all bad.
The included extractor fan and filter help to keep your printer odor-free (at the cost of being pretty darn loud) and the FlashPrint slicer that’s included on the memory stick is also pretty good, as far as slicers go.
Slicers are the programs used by 3D printers to turn 3D model files – typically saved as STL files – into something the printer can read. It literally slices the model up into layers that are fed into the Adventurer 4 one at a time. FlashPrint works well, and even includes quick set-up options for the Adventurer 4 printer so you can get started fairly quickly – but you might find you need to tweak some of the settings as some of our prints didn’t come out quite right when using the default options.
Last but not least, the Adventurer 4 is controlled via a 4.3-inch touchscreen situated on the front panel. This intuitive interface makes navigating the Adventurer 4’s menus a breeze.
- Features score: 2/5
Adventurer 4: Performance
- Can make decent sized prints
- Settings require some tweaking to get right
- Can't handle steep overhangs
To put the FlashForge Adventurer 4 through its paces, we turned to some of our ol’ reliable benchmarks to see how well it can handle whatever you might want to throw at it.
Our two favorite benchmarks are the classic 3D Benchy boat and the All In One 3D Printer test. These two models should give us an overall impression of how capable the Adventurer 4 is with overhangs, spindly towers, and awkward geometry that can be a challenge to get right. We also began by using the printer’s and FlashForge’s default settings to see if you can plug in the Adventurer 4 and get printing or if you’ll need to tweak things before you have a usable machine.
Both models generally looked good, but there were a few common issues we came across.
First and foremost the models had layers that were quite noticeable. The boat in particular doesn’t look like one smooth object, but looks as though it has clearly been constructed by a 3D printer. Not what you want out of a 3D-printed model, as strange as that sounds. Additionally, the Adventurer 4 has a tough time with overhangs that are at a 50-degree angle or more. These sections of the prints were clearly deformed and would require a lot of work to clean up. On top of that, the base layers didn’t quite print correctly, and removing the models from the bed cleanly was impossible.
We found that tweaking the temperature settings solved the layering and bed adhesion issues, but our overhang concerns persisted.
You won’t be using your printer just to create benchmarks though. With that in mind, we used the Adventurer 4 to create a large bust of Spider-Man and a pen pot (which was actually one of the printer’s default models, but we thought it looked neat).

Once again, we faced similar issues to what we saw with the benchmarks. Spider-Man’s suit features were decently recreated, and the model looked to be more of a single piece than a mash of noticeable layers, but the overhanging parts were an absolute mess. The pen pot on the other hand, looked as cool as we’d hoped with its mesmerizing repeating isometric pattern being recreated perfectly.
Overhangs are generally more of a challenge for FDM as opposed to resin printers, but the Adventurer 4 seemed to fare particularly poorly in comparison to other printers that we’ve tested in this regard.
- Performance score: 3/5
Adventurer 4: Score card
| Attributes | Notes | Rating |
|---|---|---|
| Design | This printer may be big and bulky, but the case helps make it easier to maintain in a messy environment. | 4/5 |
| Features | The camera is neat but too low-res, and the lack of auto levelling is a major disappointment | 2/5 |
| Performance | The print quality is fine, however overhangs were a major issue | 3/5 |
| Value | This printer is fine for the price but we've cheaper options with a better build quality | 3/5 |
0 comments:
Post a Comment