AnyCubic Photon M3 3D printer review
One-minute review
If you’re looking for an entry-level resin printer to get you started in the world of 3D printing, you can’t do much better than the AnyCubic Photon M3.
This easy-to-use machine can be assembled and calibrated in no time at all – even if you’re a complete novice. The instruction booklet will take you through everything step-by-step, though when you get to the part where you’re told to print the provided test model we’d recommend not doing that (more on that in the Performance section).
Along with your AnyCubic Photon M3 you’ll get a mask, latex gloves, and a few printing accessories like scrapers and resin funnels. The only thing missing is some UV resin, but once you’ve got that you’ll be good to go.
Place this machine in a well-ventilated workspace and you’ll be able to print some incredibly detailed models because of its 7.6-inch 4K+ LCD screen. The only downside when it comes to printing is that the maximum volume is a little on the small side at just 180 x 163.9 x 102.4mm / 7 x 6.5 x 4-inches.
That said, considering that the AnyCubic Photon M3 is priced at just $299 (about £275 / AU$480) it’s a relatively minor limitation if you’re after a budget-friendly 3D printer – especially as the M3 makes relatively few compromises in other departments.
Design
- Easy to set up
- Compact machine, but poorly placed USB port
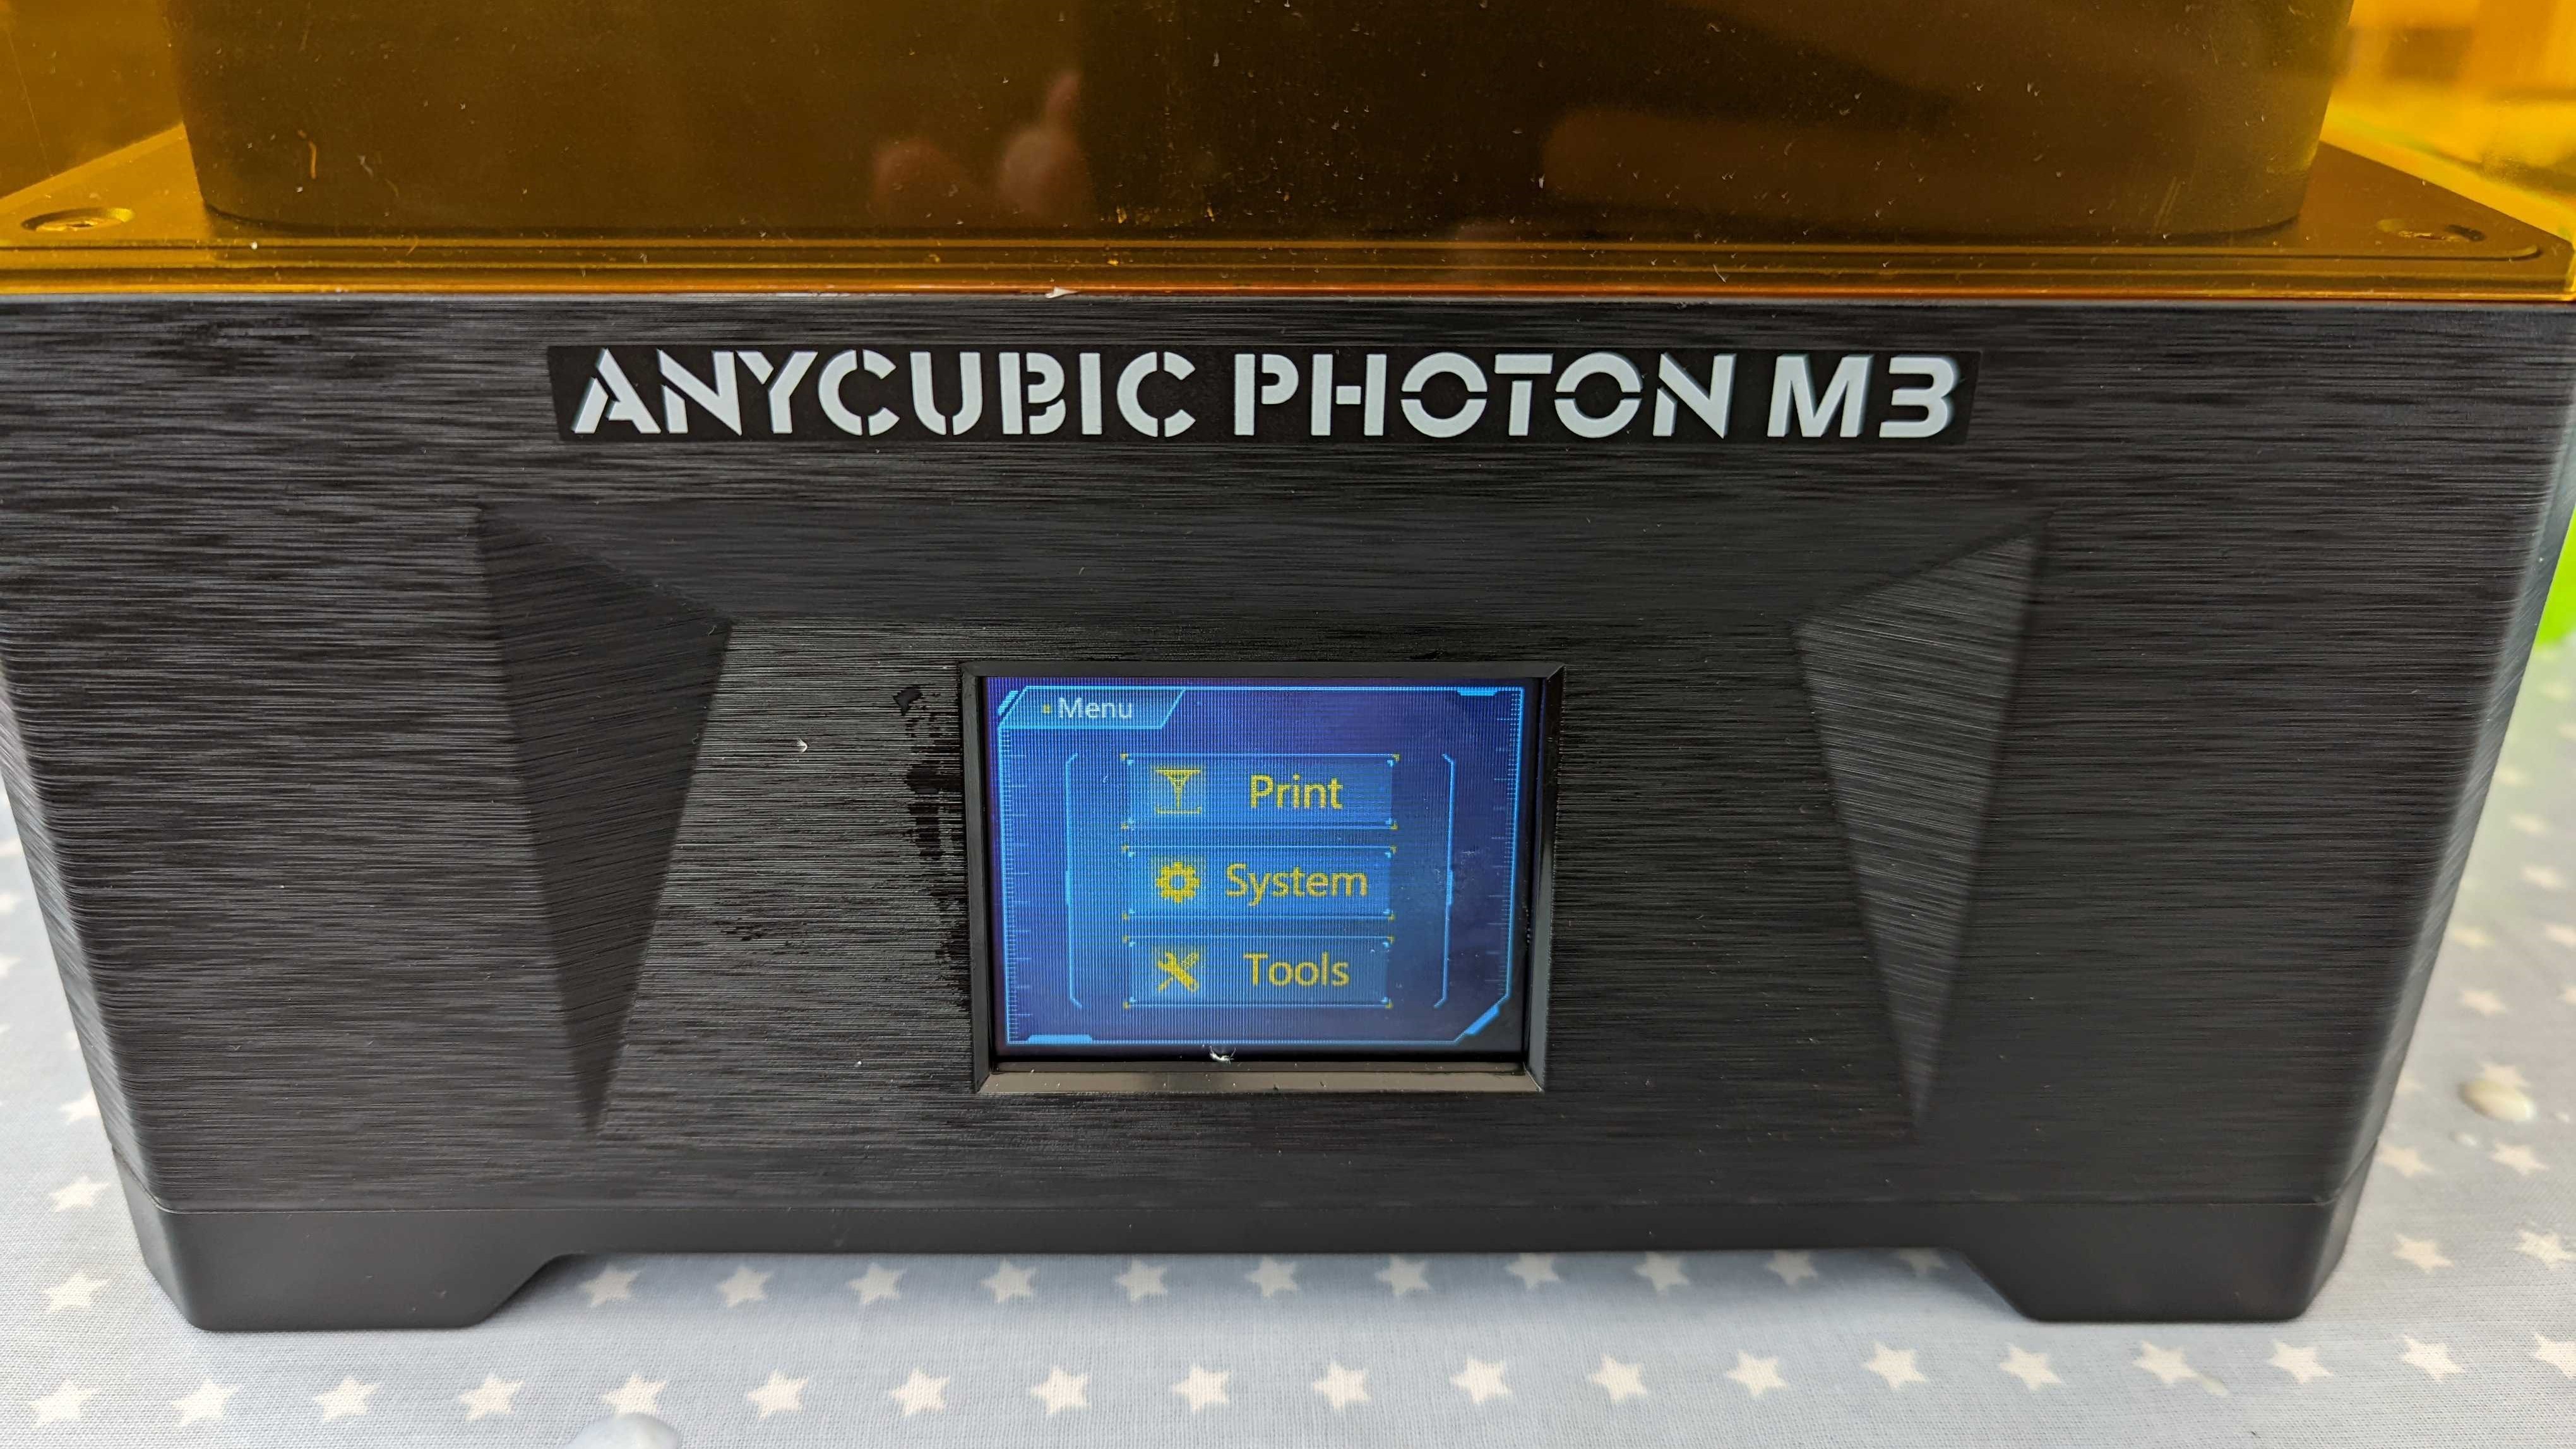
- Touchscreen control panel
AnyCubic’s Photon M3 is a single-screw resin printer, with a yellow-colored hood to keep your liquid resin from hardening prematurely due to external UV light.
The device arrives in a well-packaged box, with foam and plastic keeping it protected from dents and scratches during shipping. Once you open it up, putting everything together takes a matter of minutes.
There’s barely anything to assemble – you just have to attach the build plate and tray to the printer, and screws are a piece of cake to install without any assistance. The calibration process is simple too if you follow the instructions.

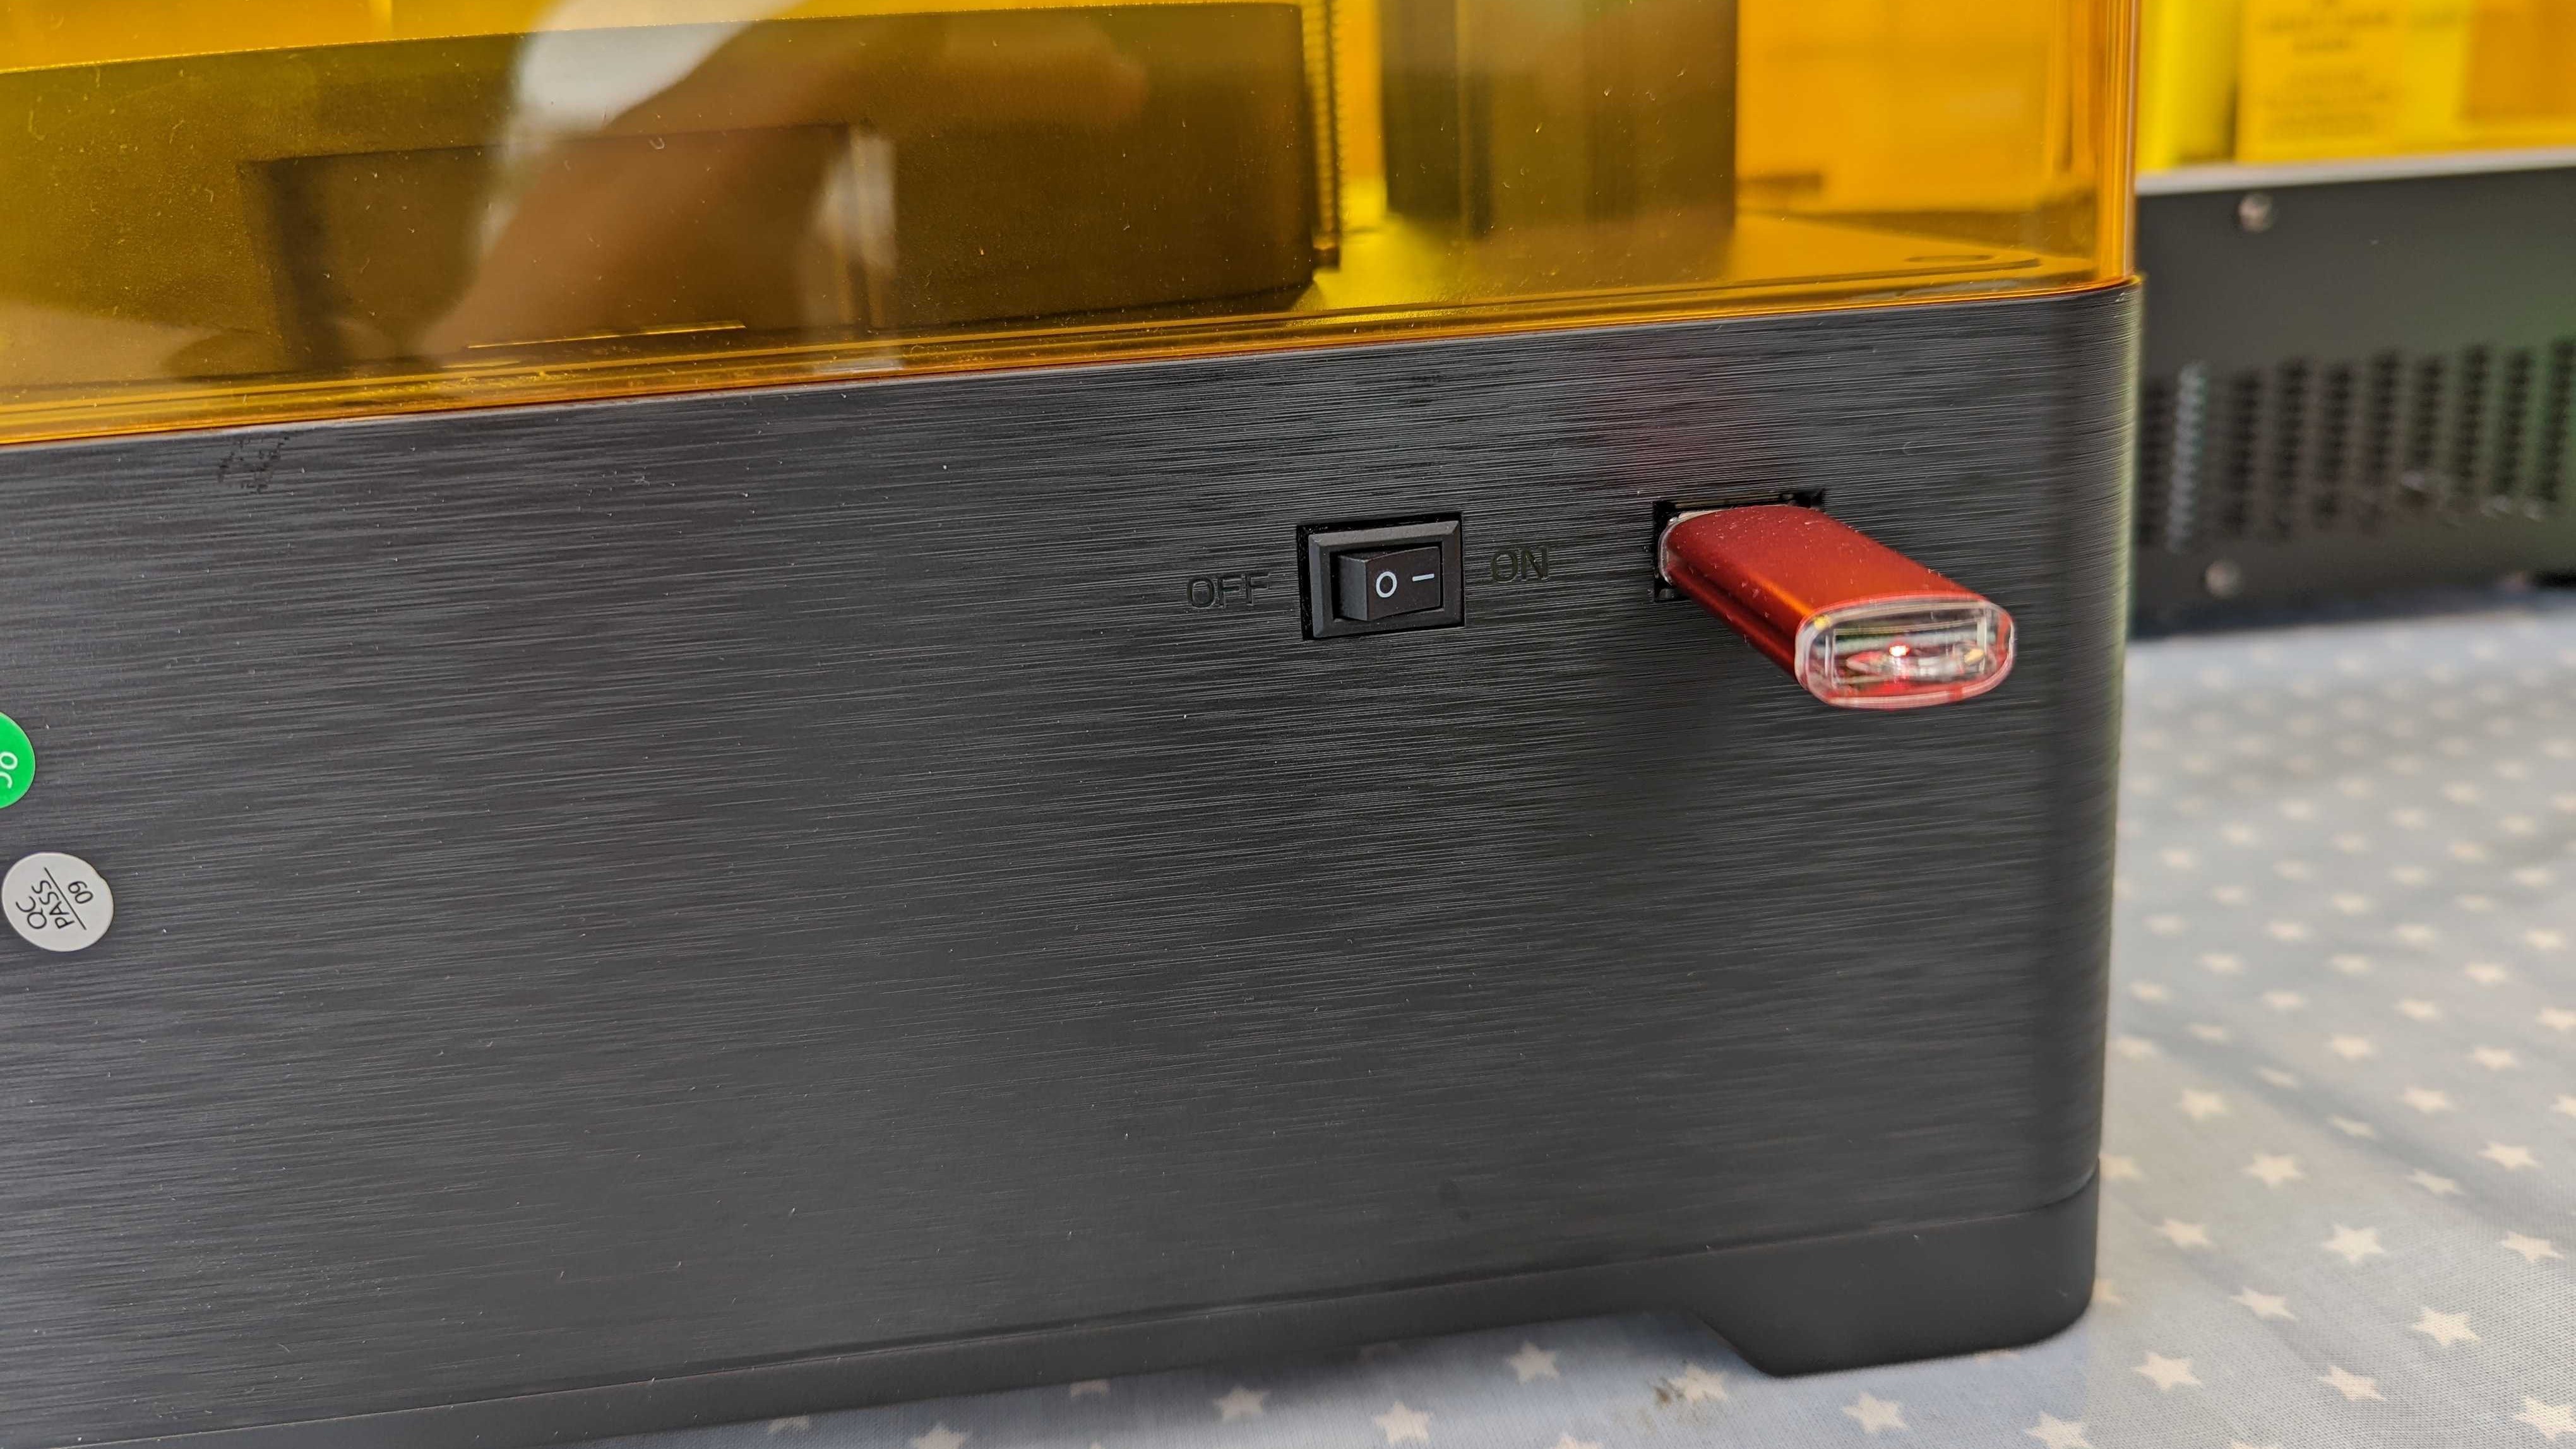
On the front of the printer is the touchscreen control panel, and on the right side is the USB port, into which you can plug a stick containing the various designs you want to create.
This port is the source of our only major design gripe, as we’d prefer it to be on the front, to avoid having the stick jut out in an awkward direction. If you’ve measured your workspace and you’ve only got barely enough space for this machine (it measures 425 x 269 x 256mm / 16.7 x 10.6 x 10.1 inches) you might need to rethink your 3D printer choice, as you’ll need a few inches on the side to leave room for the USB stick.
Along with the printer, you get a few accessories in the box to help with your first builds. There are some latex gloves to keep the resin off your hands, paper filters to help with cleaning resign, a face mask to provide some protection against fumes, and a USB drive that’s loaded with the software you need to slice STLs.
For the uninitiated, this software chops (or slices) your 3D model (which is typically saved as an STL) into many hundreds of layers and packages them into a separate file that the Photon M3 can read. When you then print that new file, the M3 will go layer by layer steadily forming the object out of resin.
On top of the items above you’ll also find two scrapers, one made of metal and another of plastic. We’d recommend opting for the plastic scraper to remove your printed models from the build plate unless it’s absolutely necessary, as the metal one can cause damage if you aren’t careful. If you’re trying to remove failed prints from the FEP sheet in the resin tray, then ignore the metal scrapper completely.
Features
- 4K+ 7.6-inch LCD screen
- Includes Photon Workshop slicing software on USB stick
- No air filter or rubber seal
The Photon M3 uses a 7.6-inch LCD with a 4K+ resolution (4,096 x 2,560 pixels). You’ll get an XY resolution of 0.04mm, or 40 microns – here the smaller the number the better, as it leads to finer detailing in your prints.
Unlike more premium resin printers, the AnyCubic Photon M3 lacks any kind of air filter or rubber seal, so alongside wearing gloves and a mask you’ll need to make sure you use it in a well-ventilated room. You also won’t want to be spending much time in the same space without a mask on – so if your workshop doubles as a home office you might want to rethink your layout a bit (or opt for a printer with its own filter).
Before you start printing, the build plate will need leveling, and helpfully the Photon M3 has a feature that can do this automatically. If you’ve followed the instructions then you’ll calibrate it as part of the setup process, but if you haven’t done this you’ll need just one tool: a regular sheet of paper (one is included in the box).
Simply remove the resin tray, put the paper directly on top of the screen, open up the Z-axis settings and press the home button. The build plate will gently lower itself until it’s lightly pressed against the paper; you then hit the Z=0 option and you’re all done – raise the bed up, remove the paper and reinstall the tray.

Last but not least, is AnyCubic’s Photon Workshop slicing software (which is loaded onto the packed-in USB stick). This digital tool offers everything you need to be able to prepare prints, including basic model manipulation to make them bigger/smaller and move them around the build plate. You can also add in supports to reduce the chances that a print will fail, but be careful with the auto-support option.
This feature is helpful, but can be a bit hit or miss – you may need to move supports around or add/remove some to get the best-quality prints possible. You’ll also need to make sure the settings are calibrated to your printer model and the resin you’re using, but this is easy enough to change in the application.
Performance
- Highly detailed and excellent quality prints
- Perfect for Dungeons and Dragons minis and smaller statuettes
- The smaller resin tray restricts the maximum model size
Using AnyCubic’s own white-colored resin we put the Photon M3 through its paces by printing some standard 'torture tests’, or benchmarks if you prefer. In every example the printer performed admirably; our larger structures (like this castle and bridge) were created with no noticeable warping, and minute details on the AmeraLabs Town were rendered perfectly.
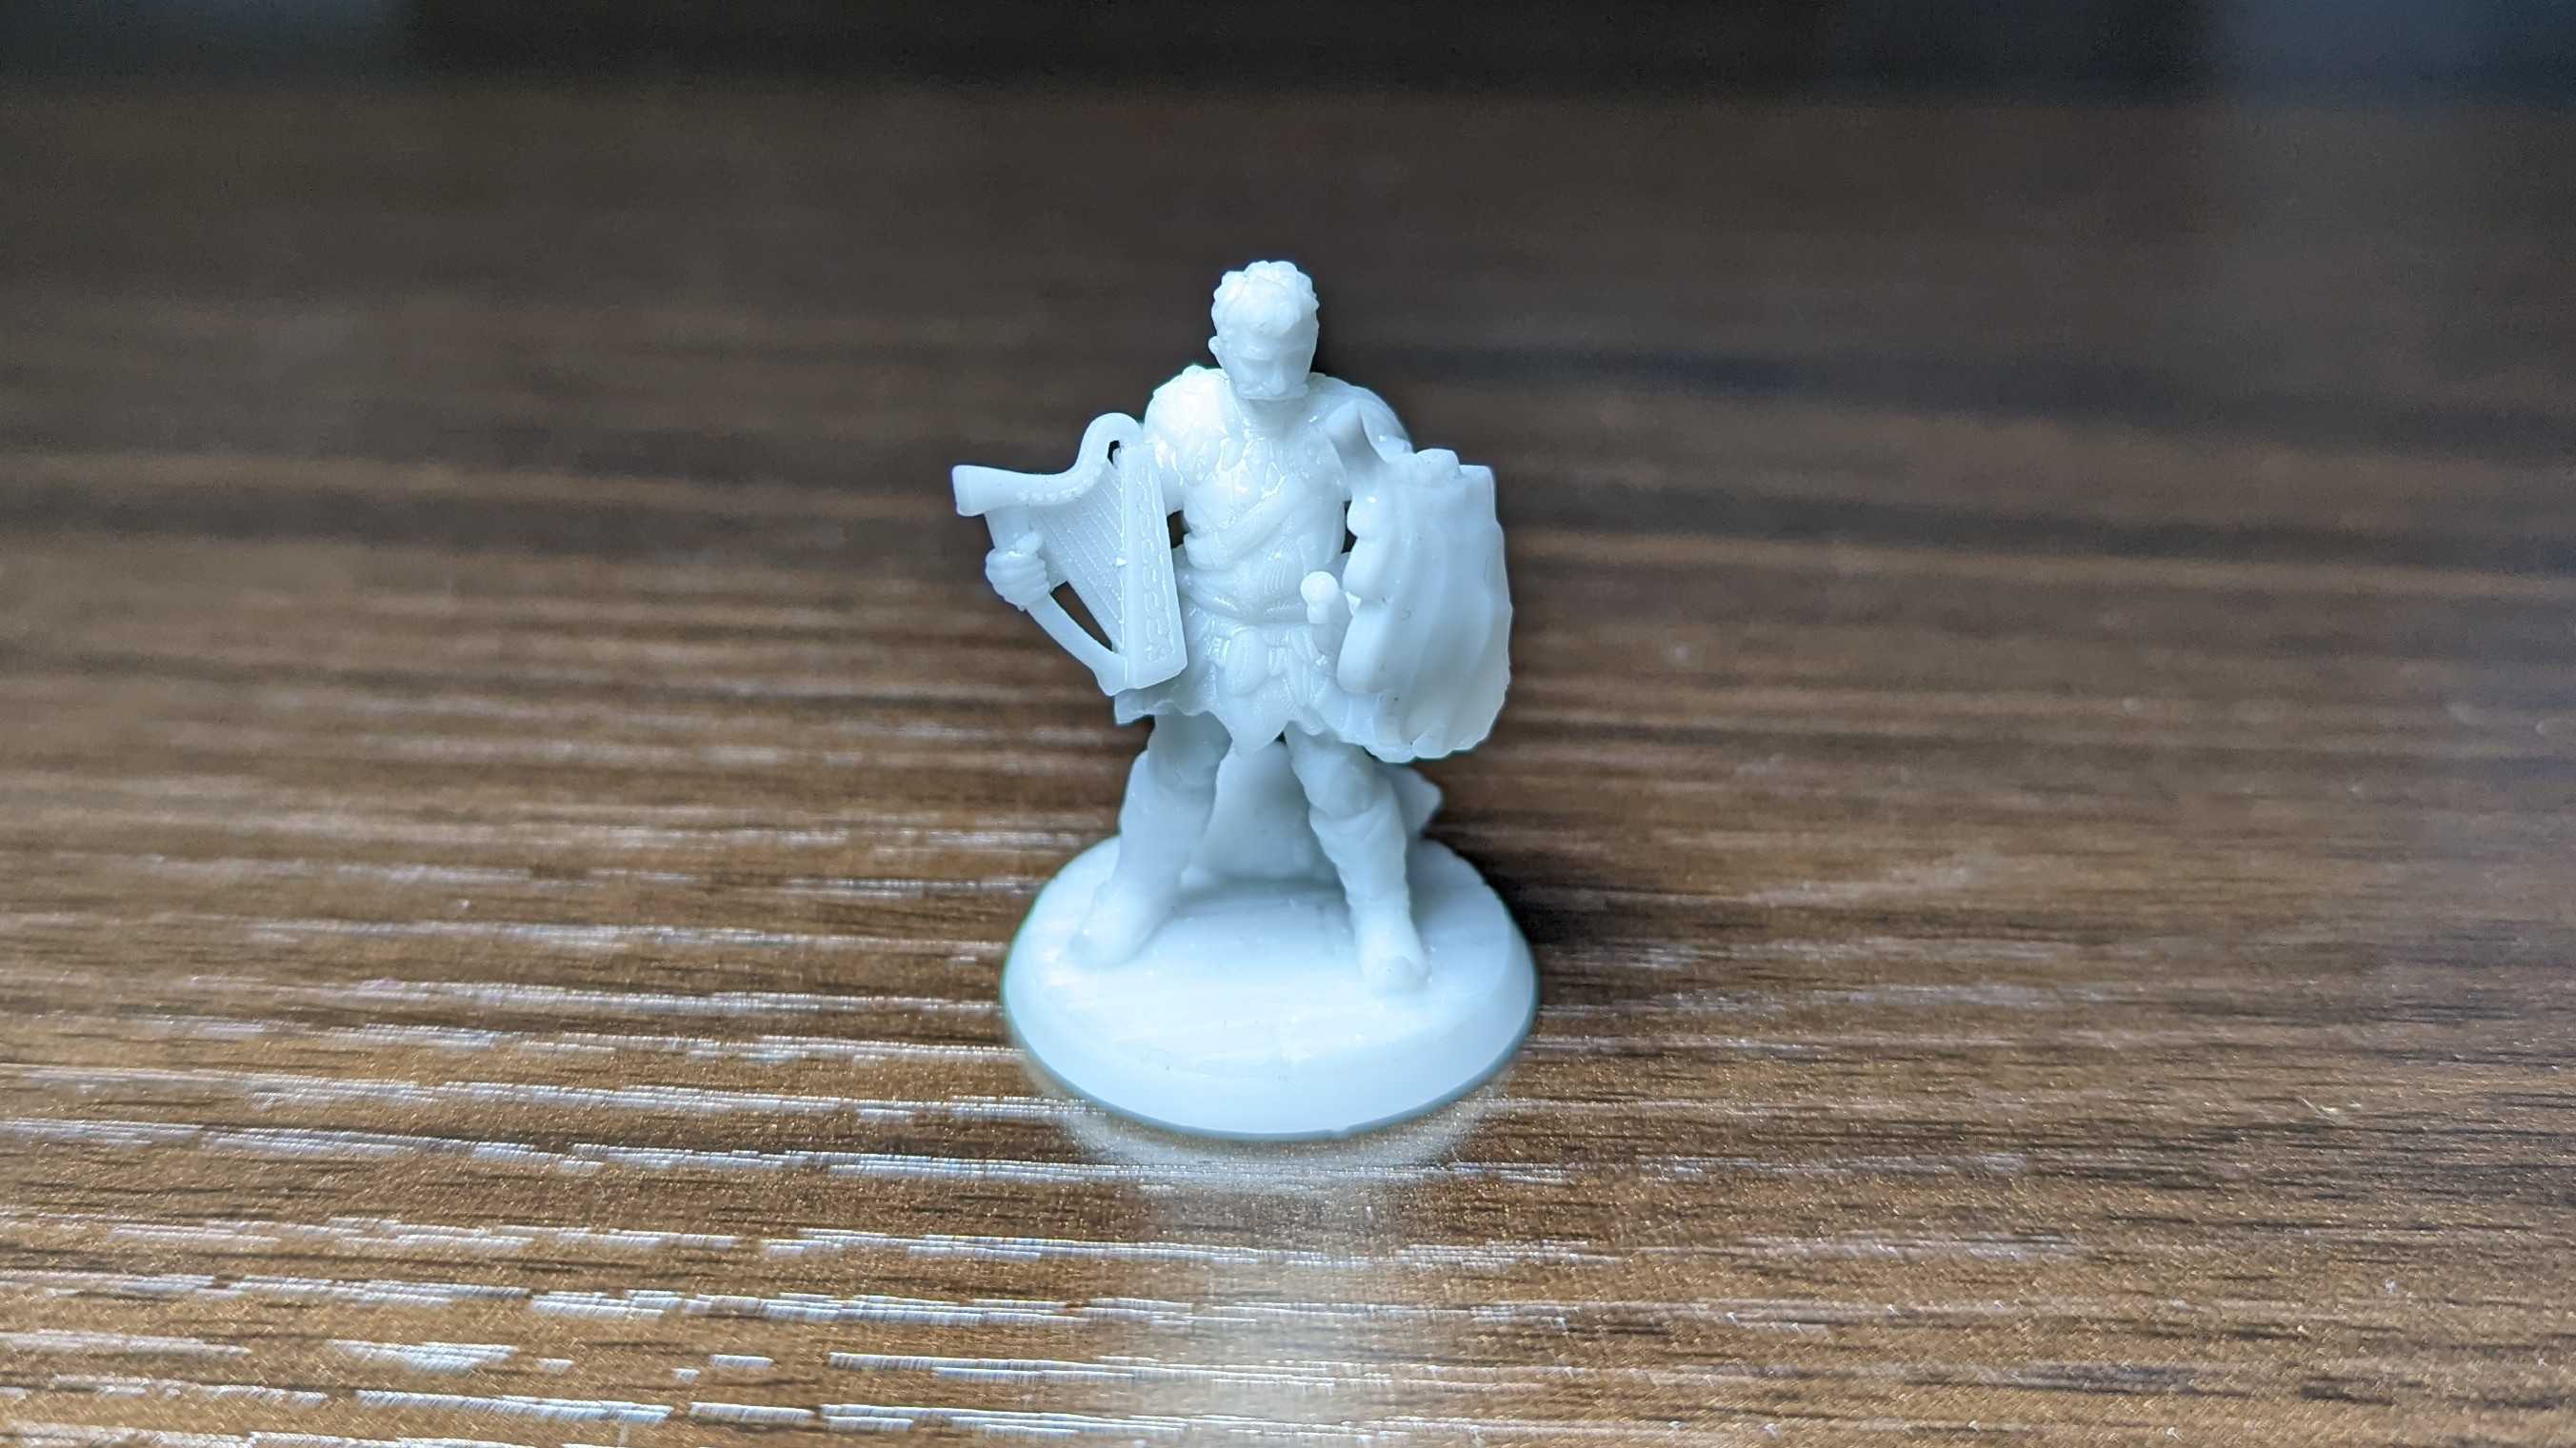
We got the same excellent print quality when we tried printing some standard role-playing game minis of characters from our Dungeons and Dragons campaign. The details on our bard’s mustachioed face and intricate clothing were translated expertly from the digital file into real life, and our winged paladin looks like they might actually take off.
Our only issue is that the Photon M3’s resin tray is a tad smaller than some may like. If you’re hoping to create an epic-scale model to decorate your desk or want to create full-size costume props as a single piece then you may want to opt for one of AnyCubic’s larger printers.

You’ll also want to watch out when printing AnyCubic’s test model. Because the model is built straight onto the build plate, removing it without damaging anything can be a nightmare.
The structure is neat, but we’d recommend loading the STL file into Photon Workshop first. Once it’s loaded up, raise the digital model off the bed by about 5mm, and then use the auto-platform feature so that it’s held in the air by easy-to-remove supports.
If you end up with the model cemented to your build plate though, don’t panic. You can either grab a razor window scraper that might be able to just slide underneath, or you can pour boiling water over the plate to try and dislodge the model.
0 comments:
Post a Comment