Matterport Pro3 3D camera
Matterport’s newest release, the Pro3 3D camera, has found the sweet spot between quality and ease of use. During our time reviewing, we tested out imaging small rooms, large spaces, and everything in between to get a complete overview of what to expect - here’s what we found.
Unboxing
Unboxing the Matterport Pro 3D Camera was unlike most experiences we usually have with hardware. While normally we pull out an abundance of packaging, such as with our standing desk unboxings, there was just a single box that opened effortlessly. The package was essentially just the case with the camera inside, a charger, and an adapter to mount the camera to a tripod or camera stand.
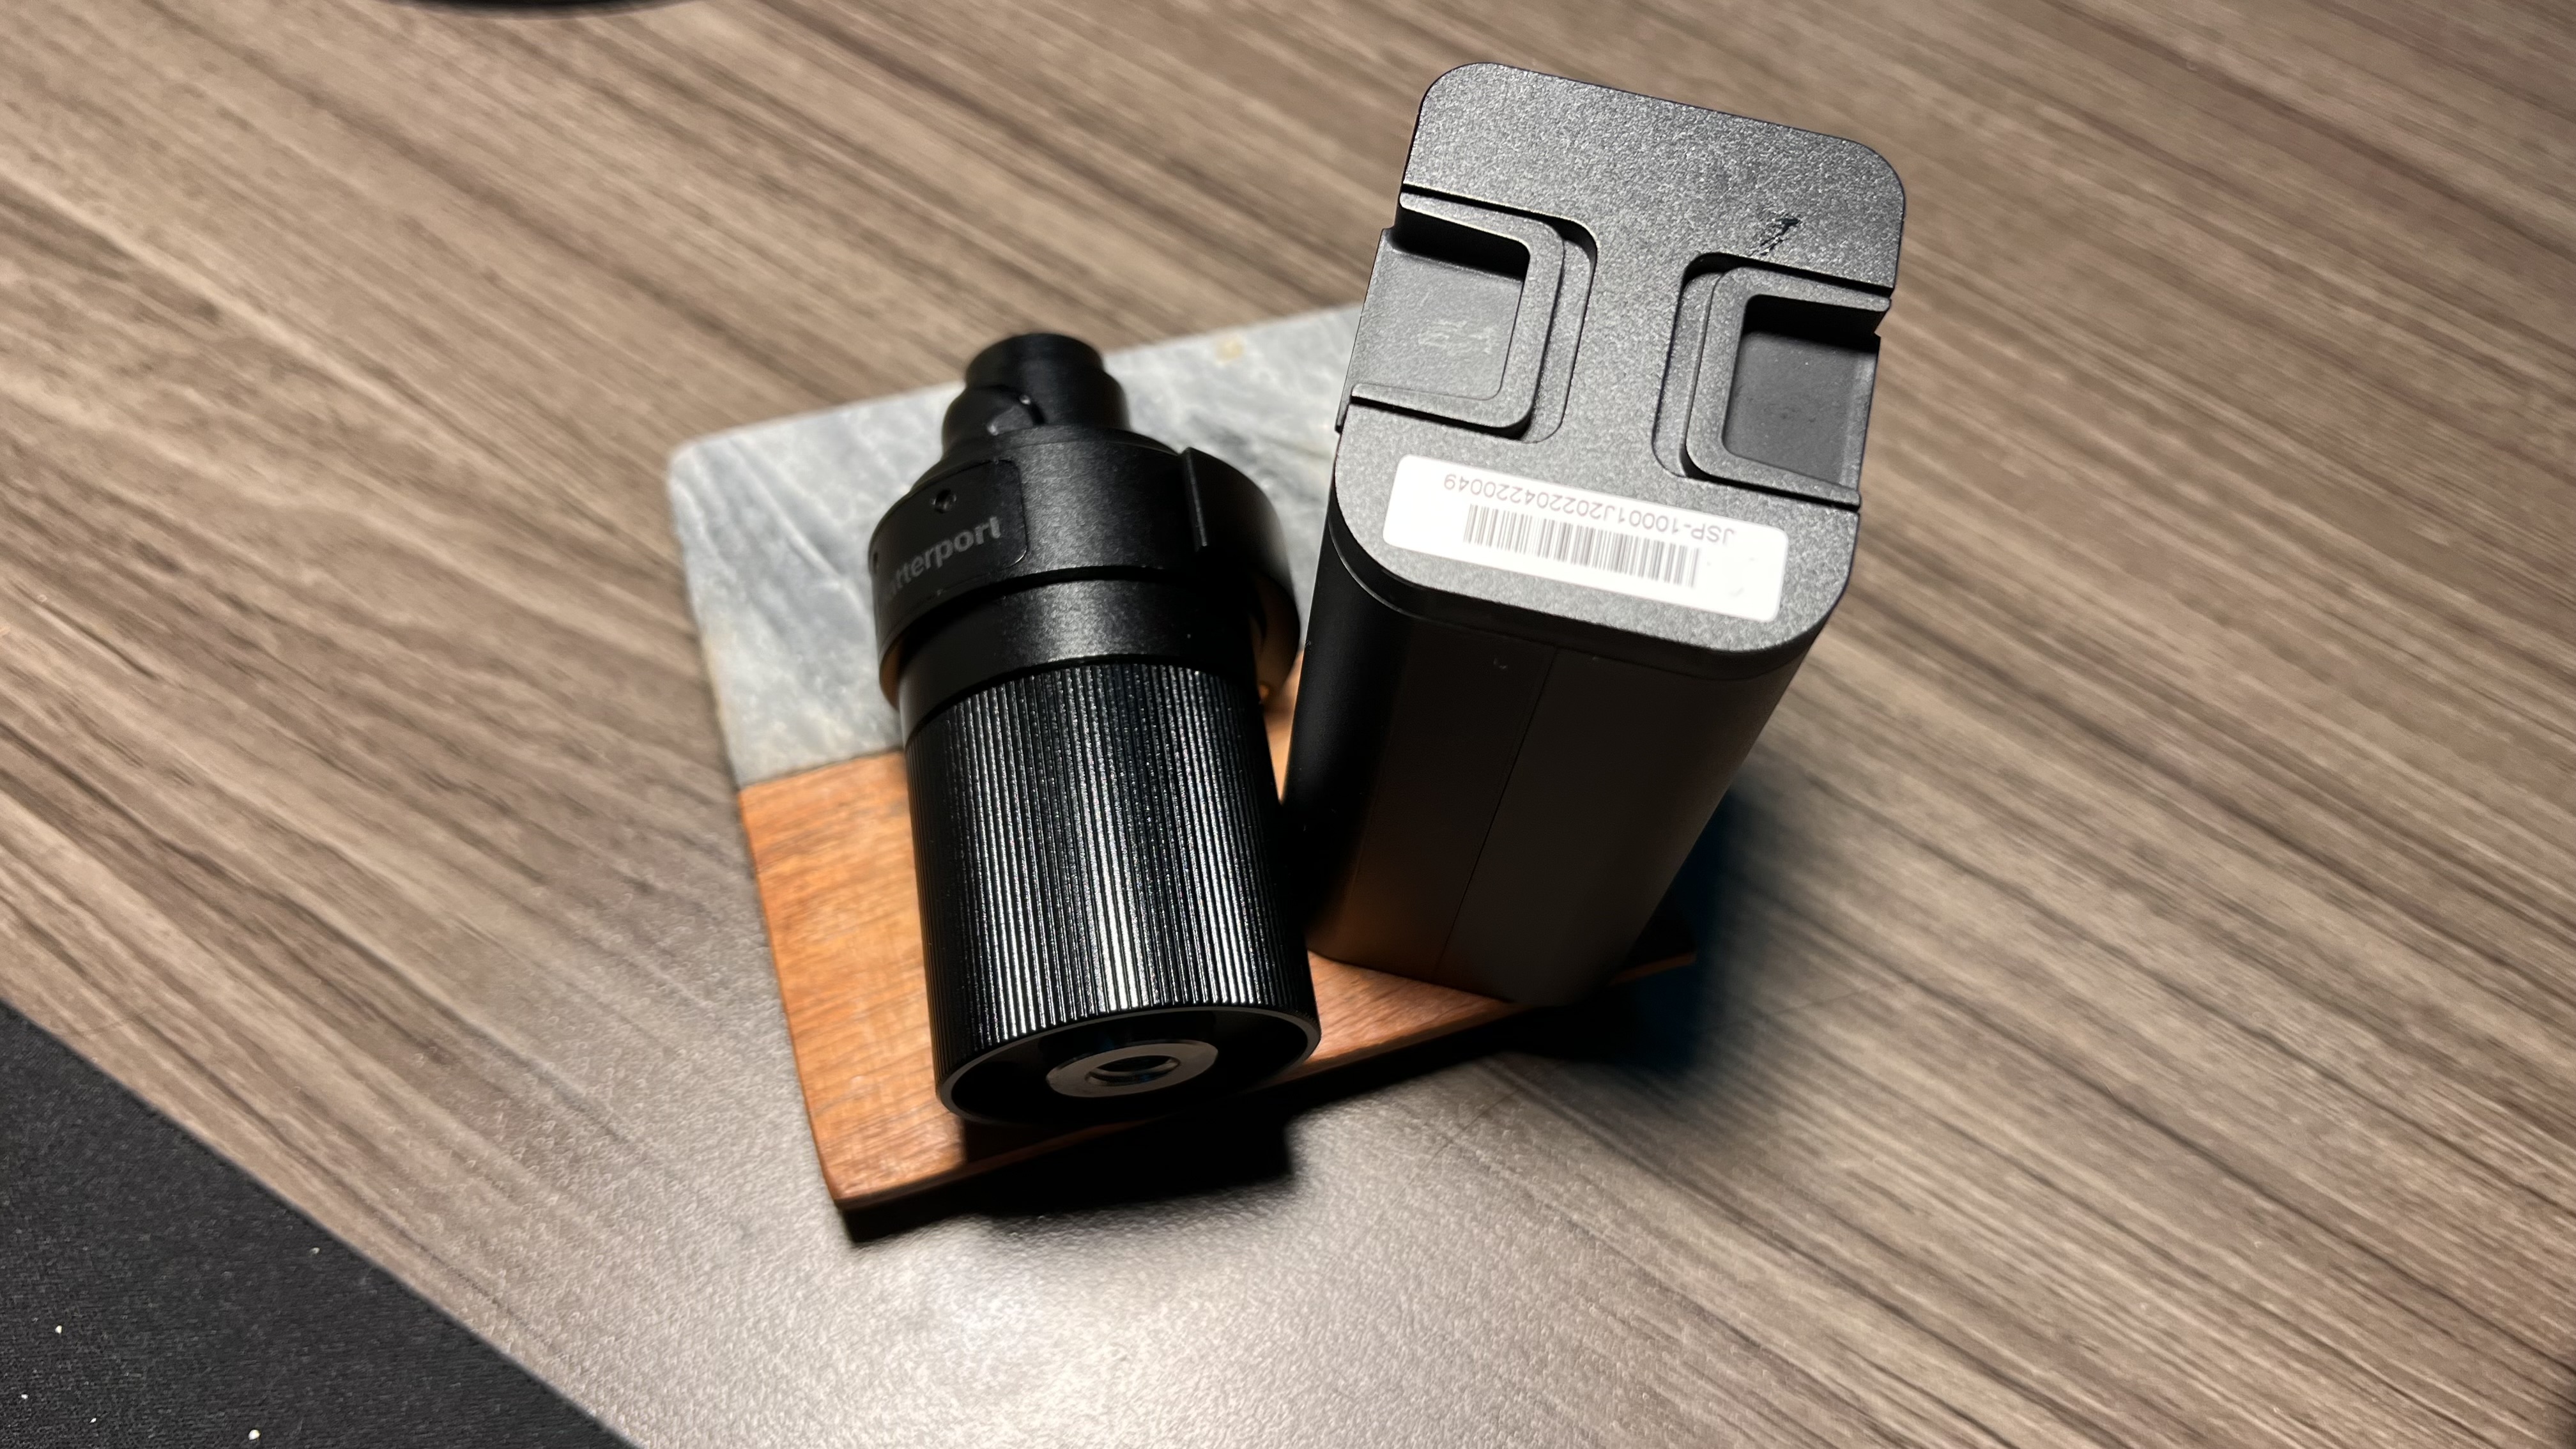
The carrying case for the camera is a simple zippered hard case. This gives the camera a minimal yet premium feel, all whilst knowing it’s protected. Without help from instructions, we were able to open the packaging, grab the charger, and the battery, and plug everything in.
Lastly, there was clear instruction on how to download the companion app on either iOS or Android. The app was a mere 650MB for our iOS testing purposes and was easy to sign in to, set up, and prepare for use with the camera.
First Impressions
Our first impressions of this camera were positive. We knew what this camera is supposed to do, but it looked so minimalist and clean. The case, as mentioned, provides a good amount of protection from scratches, but only holds up a little bit on drop protection. The camera is clearly premium build and is surprisingly heavy for how small it is.
In Use
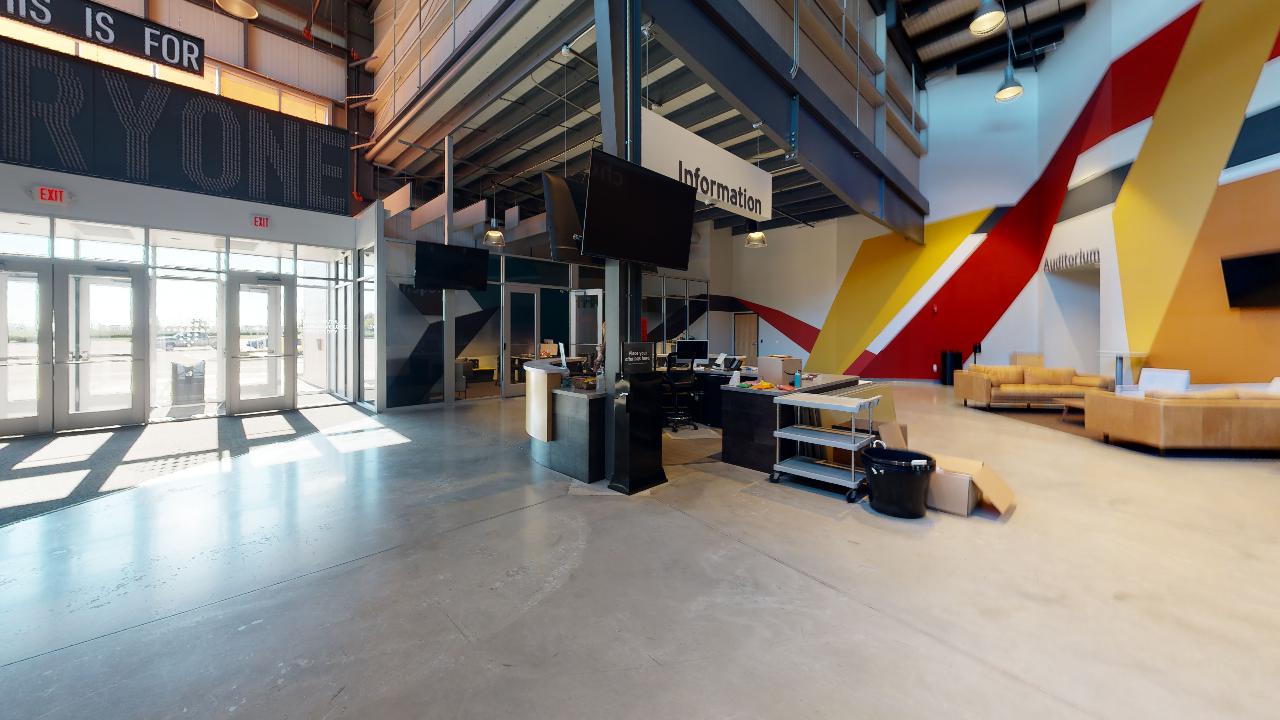
We chose to test this camera by bringing it to a larger facility local to one of our expert editors to get a full understanding of the breadth and scope of its abilities. The building itself was a perfect test ground, offering all of the necessary elements to test out in a single space, including stairs, windows, doors, multiple floors, open concept spaces, and also some more closed-off, smaller spaces.
We first set up our tripod, then screwed the mounting piece to hold the camera onto the tripod, took the camera out of the case, put the fully charged battery in, and then placed the camera on the mount. Next, we turned the camera on with a simple press and short hold on the one button on the entire device – on the back, furthest away from the camera lens. Once the camera was up and running, per prompting in the companion app, we connected a mobile device to the Wi-Fi signal being broadcasted by the camera and returned to the Matterport companion app.
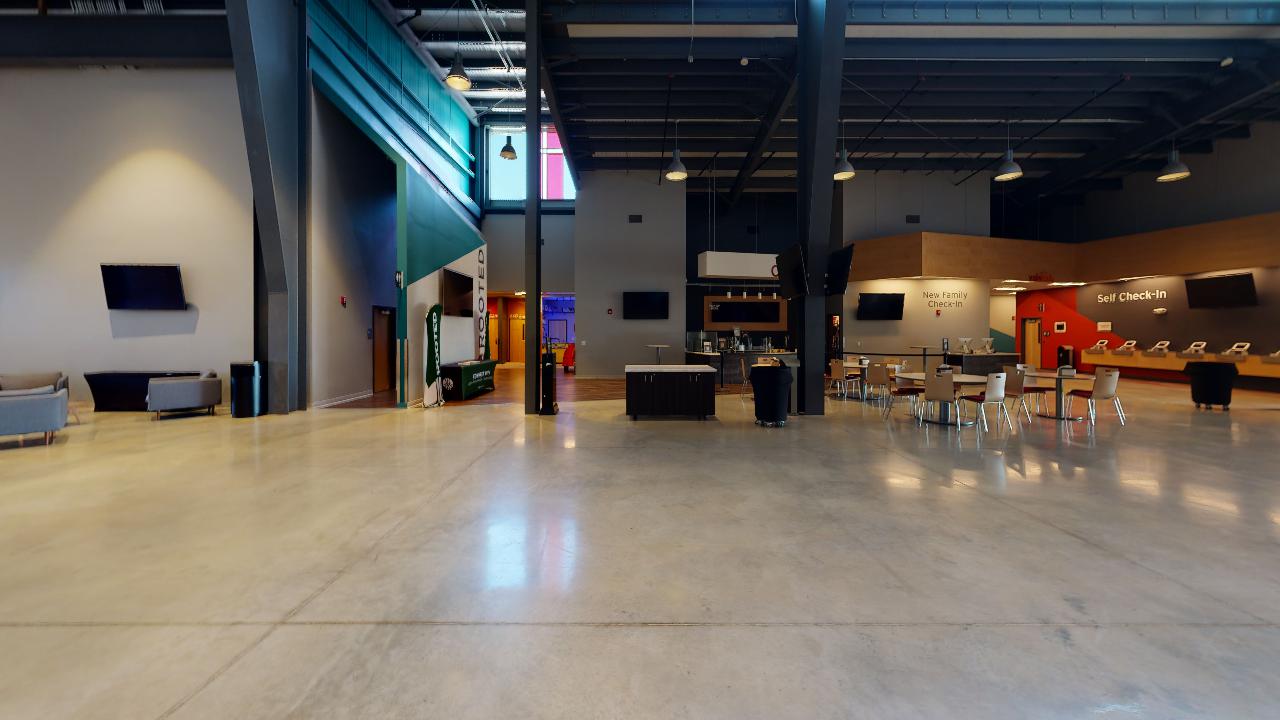
When choosing the appropriate settings for what kind of photos we wanted to take, there were several options available, ranging from full scans to simple 360° images. After this, we were able to hit “scan” on the phone and let the camera begin. So as to not be in every image, we chose to usually walk behind the camera around in a circle while it spun around on the tripod stand. Occasionally, however, if the opportunity presented itself, we chose to hide behind a wall, in a different room, etc.
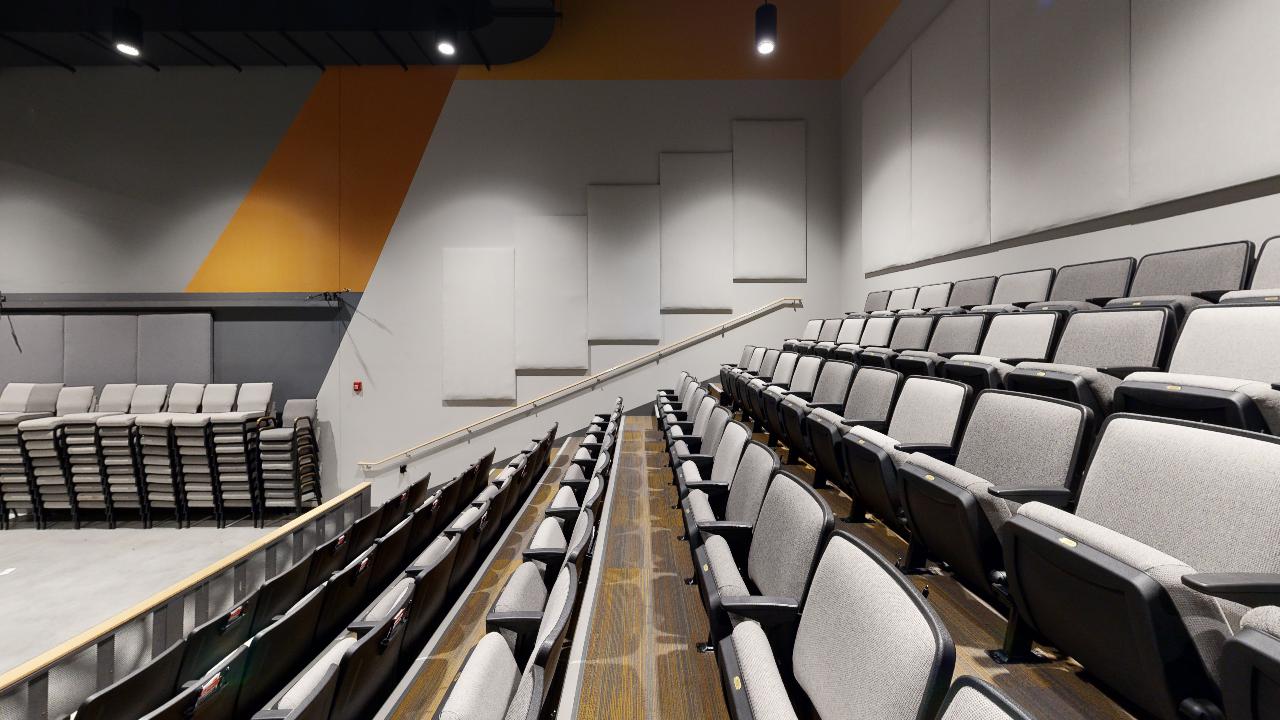
Each photo took less than 10-15 seconds to complete a full rotation. Once the image or rotation was completed, a prompt on the companion app would notify us that it was time to move the camera to the next spot. For testing purposes, at first, we took about three paces between each camera shot, before later on choosing to try five or so paces between each shot to see if we could notice a significant difference in image quality. While all around the photos are impressive, we did notice a clearer shot in the portions where we chose three paces over five.
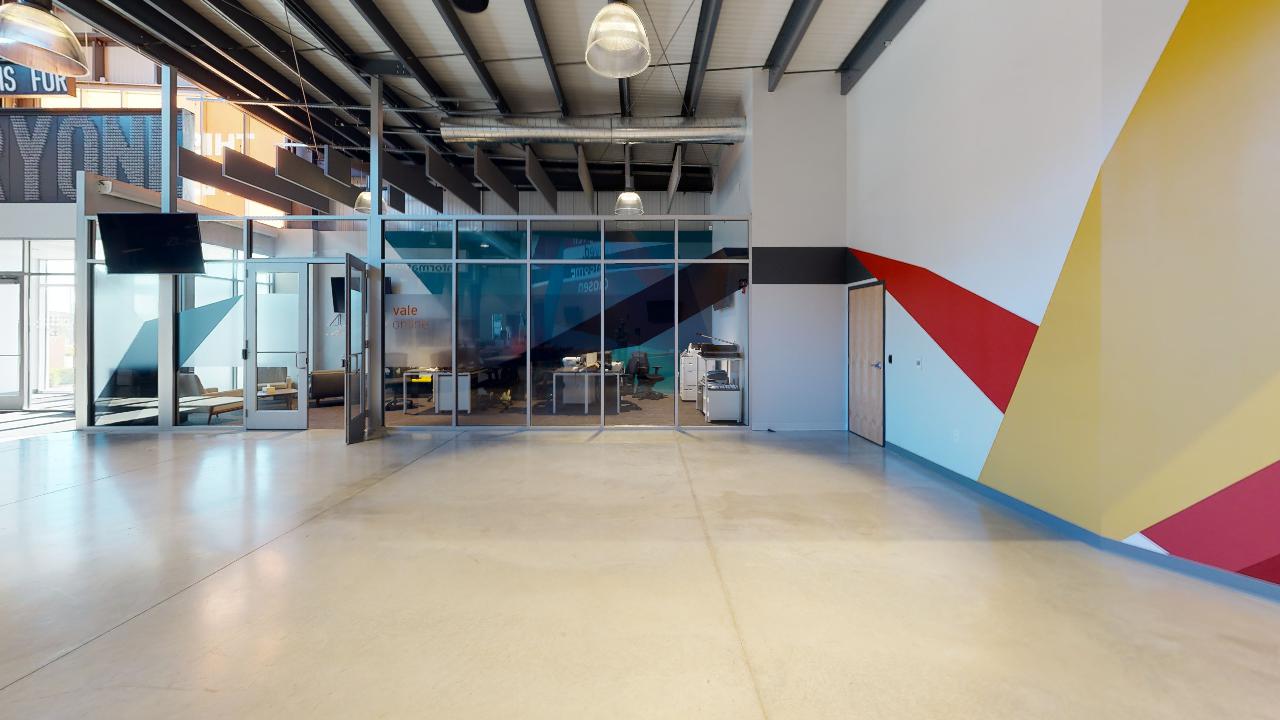
Right away, in the companion app, we were able to start seeing the rough outline of where everything was in the building we were imaging. We could very clearly see depth drop-off down hallways we had not gone down yet, areas just outside of where we just imaged, and in mirrors/windows.
For this test, in particular, we ended up taking about an hour and a half to image everything we wanted. While the app gave us near-immediate feedback, the rendering for the actual 3D imaged final product took hours to fully process. According to Matterport, 200 photos would take upwards of 48 hours to fully render and process. Thankfully, for us, we took just north of 50 photos, so it took probably around six to eight hours.
> 4x faster (compared to the Pro2)
> 100m range
> 12-element lens
> Ultra-wide field of view
> 20 megapixel sensor
> 3 hours of scan time per battery
Once we indicated on the app that we were done imaging, we were prompted to mark and label all windows and mirrors, as well as exterior “trim” to help identify the proper and appropriately marked areas. There is also an option to blur post-imaging, allowing us to block out any license plates, faces, or sensitive data we may have captured while taking photos.
Final Verdict
This camera hits a sweet spot in the 3D imaging space. Regardless of your 3D imaging knowledge, or even just photography knowledge at that, just about anyone could pick up this device and start using it confidently and accurately, as just a knowledge of how to follow digital instructions was more than adequate.
The final imaging quality was impressive, to say the least. Given how quickly we covered such an expansive space with so many details, we were able to get highly detailed images of our testing area.
While this could be incredibly helpful for a wide range of use cases, this is clearly designed perfectly for spaces where one may want a walkthrough or to showcase a space. With even Google Maps having the ability to upload and utilize 3D images/walkthroughs of buildings, this could be beneficial for nearly any business that wants to be able to show what their building looks like to others.
- For more 3D imaging fun, check out how we used a compact camera to shoot 3D images for an Oculus Quest 2
0 comments:
Post a Comment