OBS Studio 2022
Streaming is huge. There’s tons of equipment to help make sure you keep up with the best of them. And that means investment. Sometimes, quite large investments. But if one crucial part of the equation happened to be free...
OBS Studio is an open-source, free streaming software for Windows, Mac, and Linux. It also features free screen recorder tools. But could it be that the best things in life are free, or do you truly get what you pay for?
OBS Studio: Interface
- An empty canvas, but an interface that is easy to learn
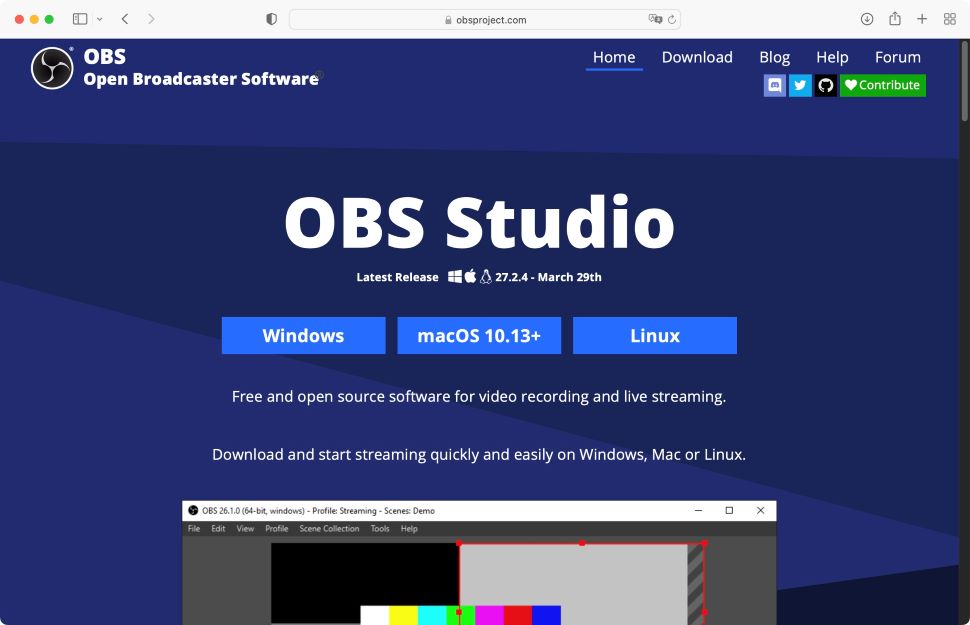
Grabbing your copy of the software is incredibly straightforward: point your browser to obsproject.com, click on either ‘Windows’, ‘macOS 10.3+’ or ‘Linux’, to download the latest version.
The first time you launch OBS Studio, you’ll be asked a series of questions to help the software optimize itself to your needs. These are simple queries, but if you’re not sure what you’re after just yet, you can always access this process again by going to Tools > Auto-Configuration Wizard at any time.
You’re then graced with an empty canvas. Literally. If you’re new to streaming, this could feel a little daunting. OBS Studio does provide a quick start guide and an overview on their website to help you get started. But to be honest, it isn’t that difficult to find your way around, and a few minutes of prodding will help you understand how everything works.
- Interface: 3.5/5
OBS Studio: Streaming setup
- Preparing for a stream is easy - once you understand the process
OBS Studio is set up around the notion of scenes. Just as you would cut from one scene to the next using video editing software, here, you can create as many scenes as you need prior to going live. Name them, organize them in the lower left section of the interface, ready to switch from one to the other at any time.
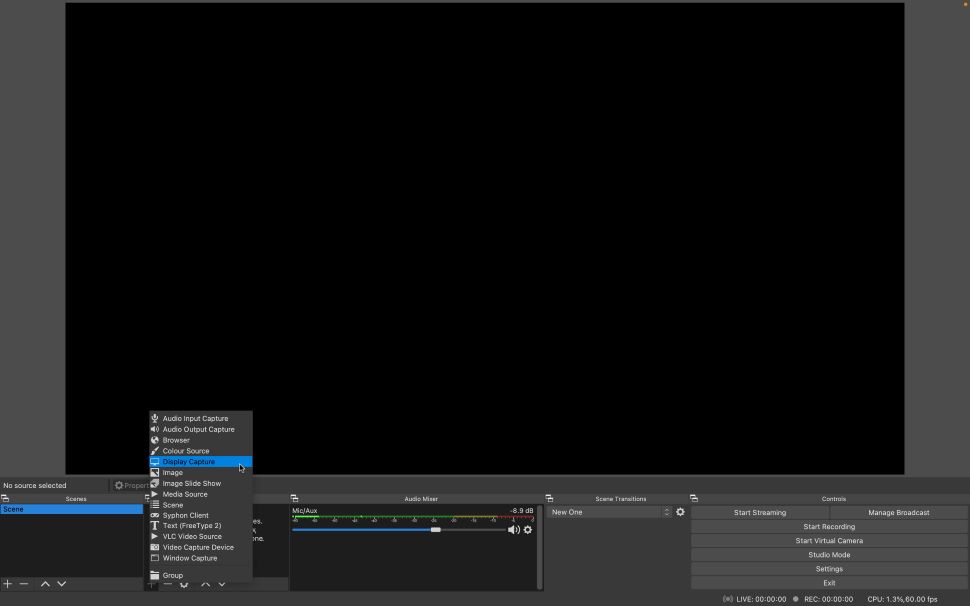
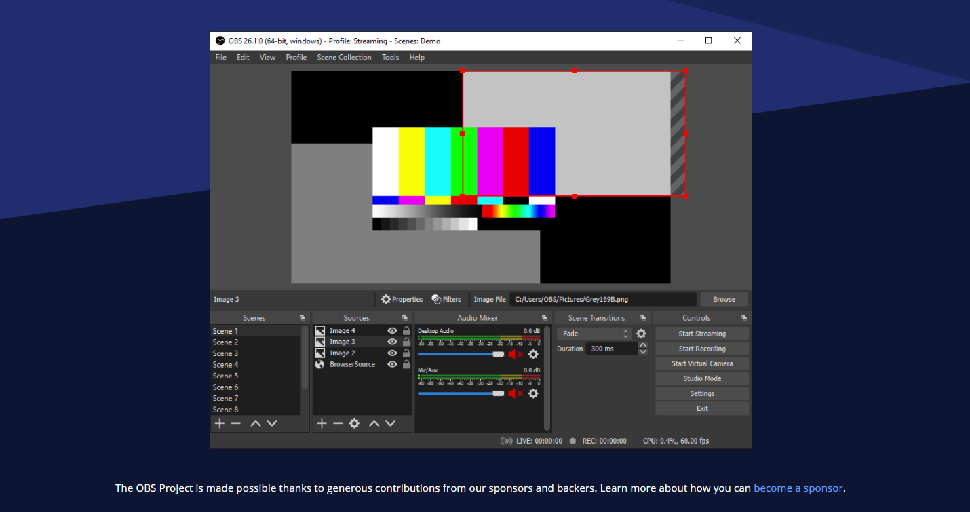
Adding Scenes in that tiny little corner is easy, but by default, there’s nothing in them. That’s where the Sources tab comes in most handy.
Click on its ‘+’ button, and you’ll see all the inputs you can include. Anything from audio, to a coloured background, an image or video, a webcam, and, of course, a way to broadcast your desktop. It’s all there.
And, if you happen to find a dreaded black screen when trying to access your desktop, make sure you allow OBS to have screen recording privileges in your computer’s privacy settings.
Those who are concerned about revealing how messy their work environment is, will heave a sigh of relief when they realize they can limit what is streamed, to a specific window for instance, or even just a webpage.
- Setup: 3.5/5
OBS Studio: Glitches and frustrations
- Confusing interface for newbies, and upside-down media
OBS Studio features a huge amount of flexibility, but the interface doesn’t feel that user-friendly. It’s a bit like you have to wrestle with its way of working, until you capitulate and have to work on its terms. It feels like there’s always one too many clicks to get the work done.
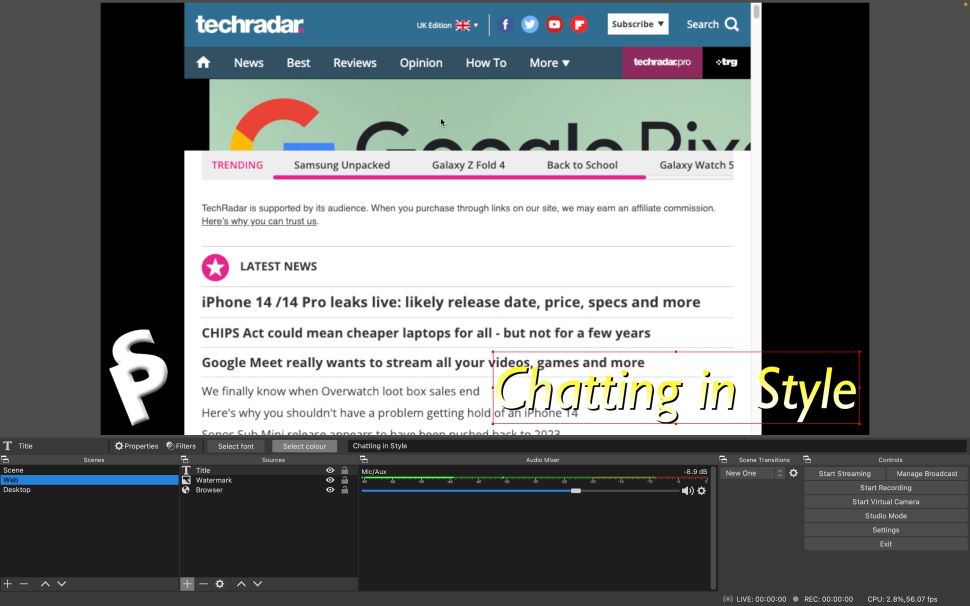
For instance, when adding text to a scene, you can click on it directly in the preview window to resize it and move it around, and it almost feels like a double-click would allow you to edit it - like you can with image compositors.
But this isn’t the case: you need to double-click on its listing in the Source panel in order to do that. Of course this is also where you get to choose its font, style, color, and so on. But it feels overly time-consuming to have to go there just to change a word, or fix a typo.
Be that as it may, once you’ve familiarized yourself with such peculiarities, you will find a supremely flexible tool - apart from one issue that we’ve also encountered in some video editing packages in the past. It never fails to frustrate.
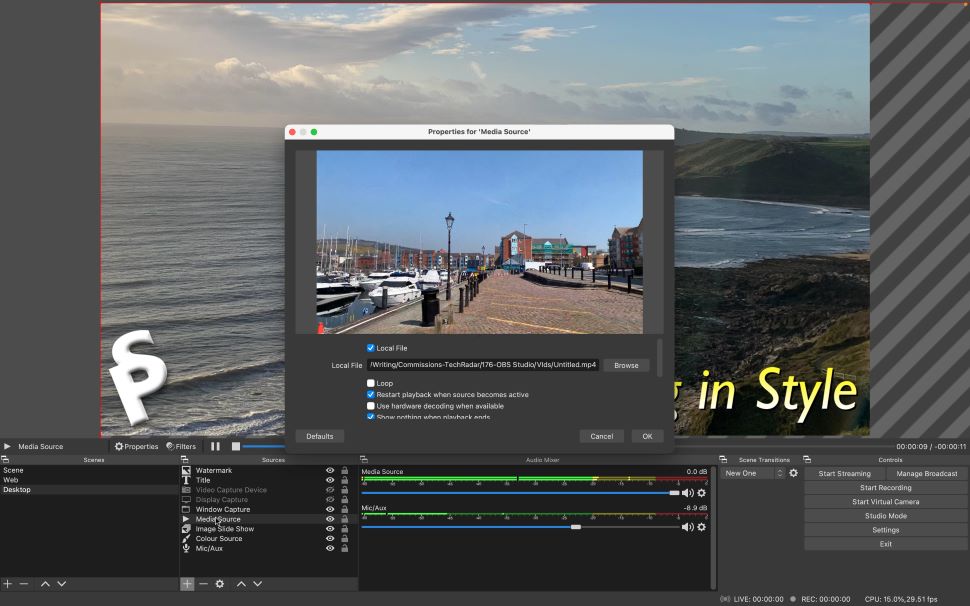
See, any photo or video shot on an iPhone will appear upside down when imported - even on a Mac. The only way around this we could find was to open it in a photo or video viewing app, and save it as a new file. Somehow, that solves the problem, but it’s very annoying, not to mention a waste of time, especially if you’re setting up a slideshow with many images.
- Glitches: 2/5
OBS Studio: Tools
- Many tools to help you create great content
However, it must be stressed that for what you’re getting for free, these are minor inconveniences - and no software is perfect, right?
We found the options offered by OBS Studio to be impressive: each scene can be filled with multiple sources. These sources, once applied, can be reordered, exactly like layers in an image editor or video editor app, with the one above obscuring those beneath it.
One thing we particularly liked was the ability to reuse the same object in multiple scenes. Create some text or add a watermark in one scene, and you’ll see them available when creating a new source in the ‘add existing’ section. Even better, if you make alterations to one, those changes will be passed on to other scenes that contain the same source.
Better still, if you need an object placed in a specific location throughout your stream, you can simply copy it from one scene, and paste it choosing ‘Paste (Reference)’ to not only enable those editing possibilities mentioned above, but also make sure its size and position on the screen are preserved.
But this is just scratching the surface: you have so many other tools available to you, like setting up transitions when cutting from scene to scene - there are but a handful available but you can also bring in custom ones via the ‘Add : Stinger' option.
You can include up to six audio tracks, name them, and even add unique settings and filters to each. The ability to include custom filters is also a possibility.
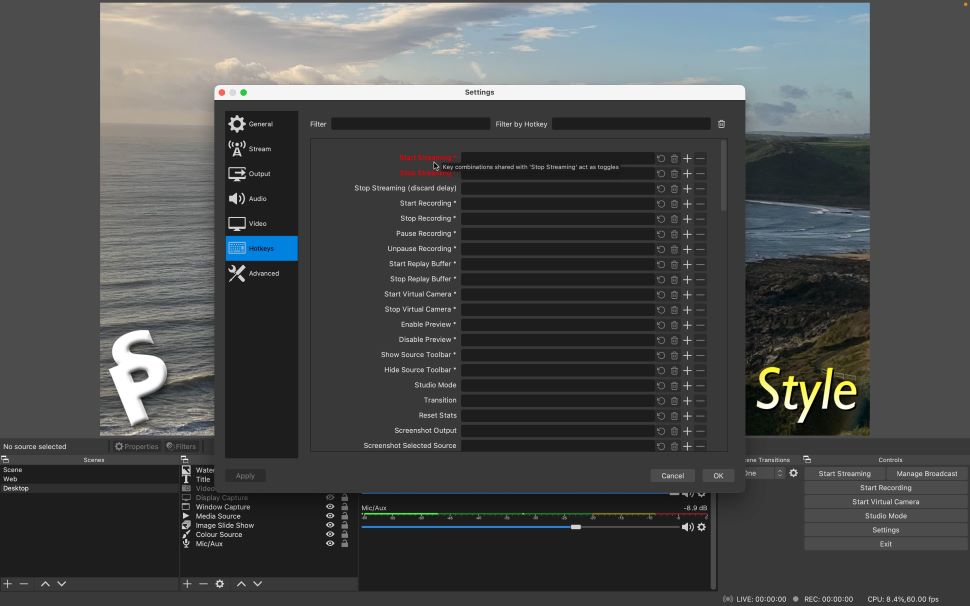
If you’re keen on keyboard shortcuts, you can set them up and customize them to your heart’s content with OBS Studio.
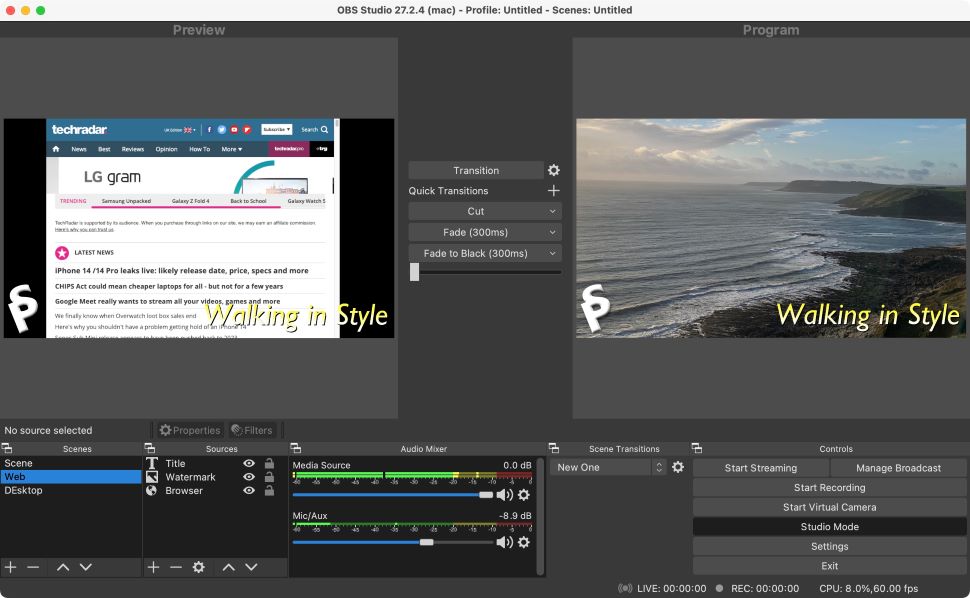
Another great tool is Studio Mode. This splits your screen in two, showing you what’s being broadcast on the right, and displaying a preview of what could come next on the left. This allows you to set us the next scene during broadcast, even making alterations to it before showing it to your audience. This also works while using OBS Studio as a recording device (i.e., when recording something but not broadcasting it live).
- Tools: 5/5
OBS Studio scorecard
| Interface | Can be complex for newcomers | 3.5 |
| Setup | Easy once you know how | 3.5 |
| Glitches | A frustrating medley of minor bugs | 2 |
| Tools | Everything you need to start streaming professionally | 5 |
Should I try?

0 comments:
Post a Comment