iDevices Switch Wi-Fi Smart Plug
Smart switches are a dime a dozen. Most of them work perfectly well, but there’s not much to distinguish one from another.
Thankfully, however, some of the newer switches offer more than just smart control at a reasonable price. Like, for example, the new iDevices Switch, which isn’t just a smart switch, but also monitors your energy and boasts a built-in light as well.
Are those key features enough to make the switch worth buying? And is the built in night-light really enough to make it a better choice than other smart switches?
We put the iDevices Switch to the test to find out.
Design and setup
As usual, the first thing you’ll notice about the iDevices Switch when you open the box is its design - which is good considering it’s a pretty nice-looking switch.
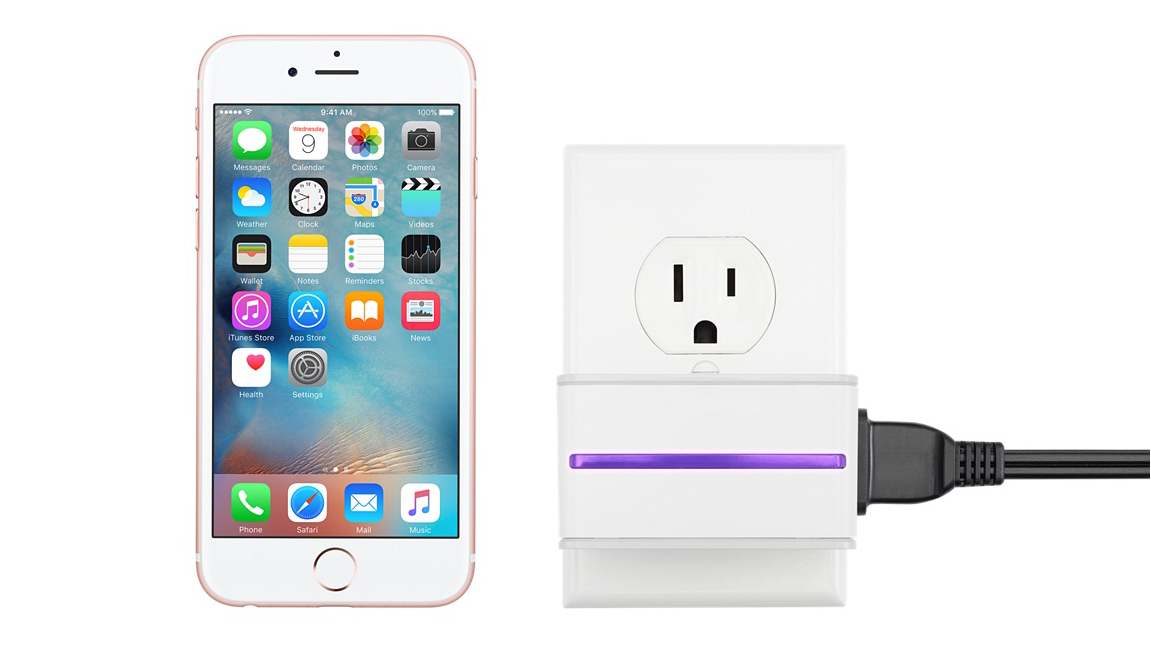
And while you might not see a massive difference right away, there are a few ways in which this switch sets itself apart from other smart switches: For starters, instead of the outlet being on the front of the switch, it’s on the side, with the manual power switch being located on the other side. For some situations, that may not be the most practical design - but, for others, it’ll work perfectly.
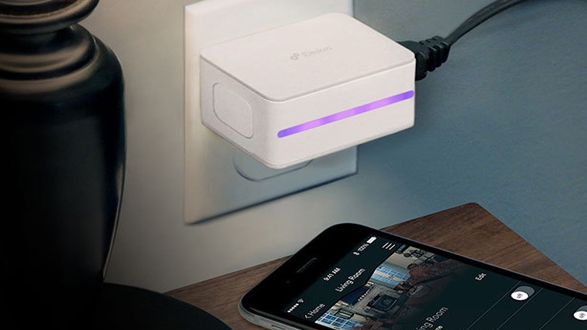
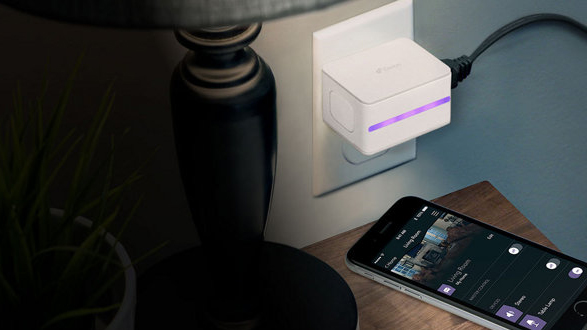
Another major difference between this switch and others is the fact that on the front, you’ll find an LED light strip. This is perhaps the biggest differentiator between iDevices and other smart switches as it means that there are two things to control within the Home or iDevices apps. Not only will you be able to control the power switch, but you’ll also be able to control the color and brightness of the light on the front - making it an excellent night light.

We set the device up in the bathroom connected to the electric toothbrush charger, not because we wanted to control when the toothbrush would charge, but because a night light in the bathroom eliminates the need to turn the bathroom light on late at night when you go to the bathroom. It worked perfectly in that regard - offering just enough light to be able to see, but not enough to be painful late at night.
Setting up the switches was an absolute breeze through the Home app on an iPhone. Simply plug the switch in and open up the Home app, then scan the included HomeKit code, and you should be good to go.
Once the switch was set up, we were told that it required an update - which could only be installed through the iDevices app. iDevices’ app also allows for things like improved automation and scheduling, as well as energy monitoring, so it might be worth downloading anyway.
In general, we liked the fact that it has a light on the front, and the fact that the light is customizable and controllable. While the power outlet is located on the side may not work for all, it’ll work better for some situations.

App and day-to-day use
As mentioned, the Home app may tell you to download the iDevices app - but thankfully, the iDevices app isn’t all that bad. Sure, you may prefer to use the Home app as a one-stop-shop for all of your Home control, but the iDevices app does allow you to control other Home-connected devices (like Philips Hue bulbs), plus it offers automation and scheduling without the need for an iPad, HomePod, or Apple TV.
Overall, the app is also pretty well-designed and easy to navigate. The main interface is divided up by room, and from there you’ll be able to control each device within the rooms. There, you’ll also set up schedules - which are largely limited to turning the devices on or off at specific times.
There’s also the fact that the switch can monitor energy usage, and you’ll be able to see that energy usage by tapping on the switch in its app. The app will show things like average energy consumption per day, week, month, and year, and it’ll tell you how long the switch is used and an estimate of how much that energy costs, too.
The app is one of the Switch's strongest suits honestly, and you may even prefer to use it over the Home app. That being said, if you're tied into the Apple ecosystem, it’s nice to be able to control all your HomeKit devices from one app - and if you end up deciding that you want to stick with the Home app instead, you can delete the iDevices app and rest assured that you’ll still be able to control your switch.

Smart home compatibility
As the name suggests, the iDevices Switch is largely built for those that are plugged into the Apple ecosystem and who use HomeKit but, if instead you have an Android phone, you’ll still be able to use the switch: iDevices has an Android app, too.
Of course, the integration is largely limited to the app on Android - the device doesn’t “Work with Nest,” and it won’t connect to your Samsung SmartThings hub or Google Home system. It does, however, work with Alexa - so if you have Amazon Echo speakers you want to use, you’ll be able to use your switch with them.
While the iDevices Switch is best-suited to those that use an iPhone and HomeKit if you really like the concept of a light built-in to a smart switch and don’t mind using the dedicated app, or you use an Amazon Echo regularly, then it’ll work fine on Android too.
Verdict
The iDevices Switch is well-designed, easy to use within the Apple HomeKit ecosystem, and works great. The best thing about it? It’s pretty inexpensive too, especially given the fact that it offers energy monitoring: While the likes of the Eve Energy Elgato monitoring switch come in at $50 or more (£44.95, AU$84.95), the iDevices Switch comes in at only $30. That makes it perhaps the best smart switch for the money, especially given its extra features.
Of course, there are some downsides - namely, that the switch only really works well within the Apple ecosystem.
Sure, it’ll work with Alexa, and you can piece together Android compatibility, but if you want to use the switch to its full potential with the rest of your smart home devices, then using it with Apple products is probably the best way to go.
Editor's note: The iDevices Switch is currently only available in the U.S. however we will update this review once it becomes available in other territories.
- These are the best smart home devices
0 comments:
Post a Comment